
Okay, so I’ve been wanting to upgrade my home gym for a while, and the flooring was the last big piece. I’d been using those interlocking foam tiles, but they just weren’t cutting it for serious workouts. I decided to go all-in and install a real basketball court-style floor – you know, the kind with that springy feel. I did some digging and found out that what gives it that bounce is the keel system underneath.
Getting Started
First things first, I cleared out the entire room. This was a good excuse to get rid of some junk I’d been hoarding anyway. Then, I made sure the concrete subfloor was totally level. I used a self-leveling compound for a couple of low spots – nothing major, just wanted to make sure everything was perfect. I also clean up the dust after leveling.
Building the Keel
This was the fun part (and also the most time-consuming). I bought a bunch of 2x4s – pressure-treated, since they’d be in contact with the concrete. The plan was to build a grid, like a really big waffle. I spaced the 2x4s about 16 inches apart, going in both directions. I used construction adhesive and concrete screws to secure them to the floor. Man, my drill got a workout that day!
- Cut the wood: I spent a whole afternoon just cutting 2x4s to the right lengths. My miter saw was my best friend.
- Assemble the grid: I laid out the first row, making sure everything was square. Then I started connecting the cross pieces, using more adhesive and screws. It was like putting together a giant puzzle.
- Add the blocking: In between the main grid pieces, I added smaller “blocking” pieces. These provide extra support and help distribute the weight evenly.
The Plywood Layer
Once the keel was done, it was time for the plywood. I went with ¾-inch tongue-and-groove plywood. The tongue-and-groove part is important because it helps the sheets lock together and prevents any shifting. I laid down the first sheet, making sure it was lined up with the edges of the keel. Then I used construction adhesive and screws to attach it. I staggered the joints between the plywood sheets, just like you would with hardwood flooring. This makes the whole thing stronger.
The Wooden Surface
Finally, the good stuff! I chose a pre-finished maple hardwood – it looked amazing and was supposed to be super durable. I followed the same process as with the plywood, using adhesive and nails to secure it to the plywood subfloor. I rented a flooring nailer for this part, which made the job way easier. It took me about a day to do the whole room and I do make sure the floor is beautiful.
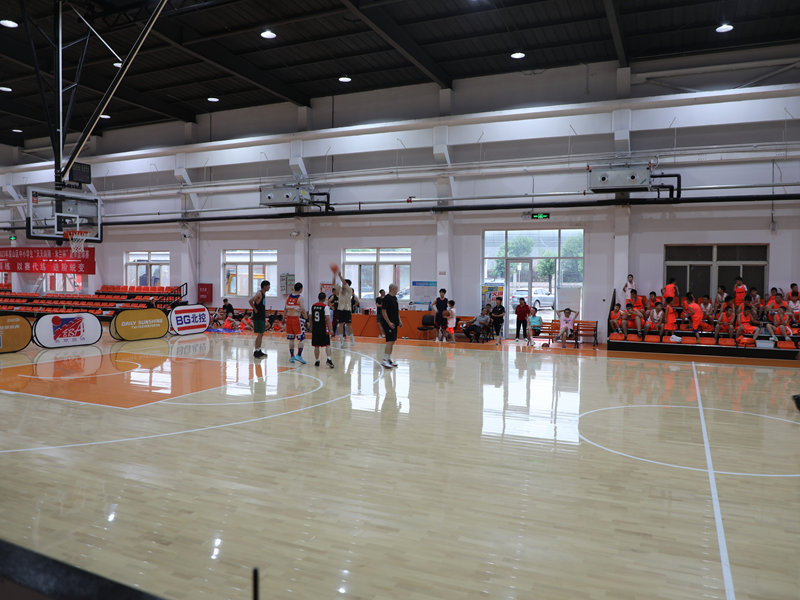
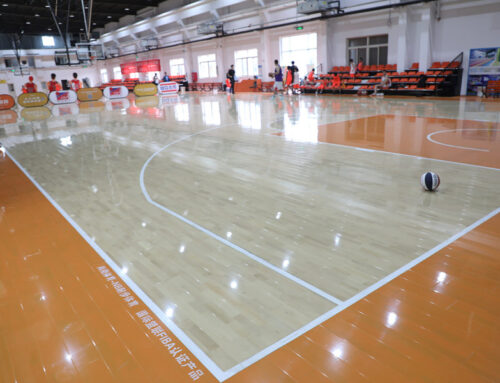
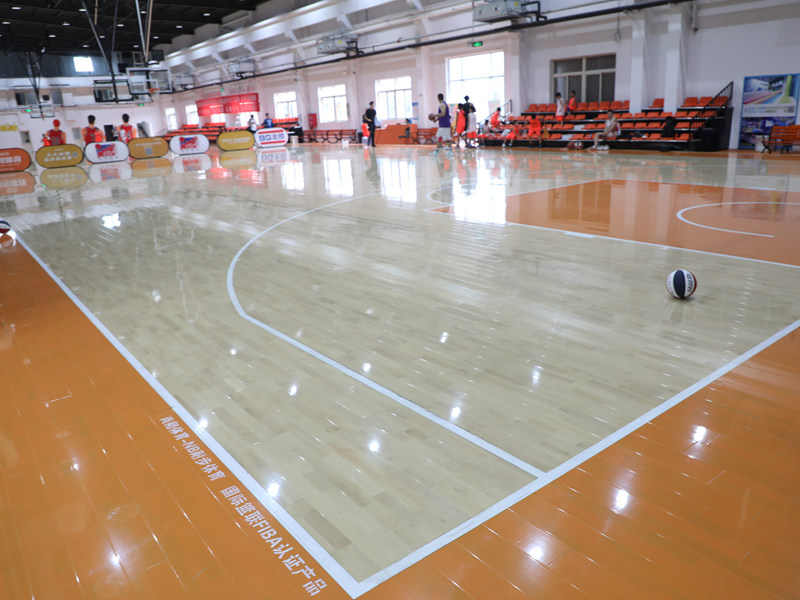
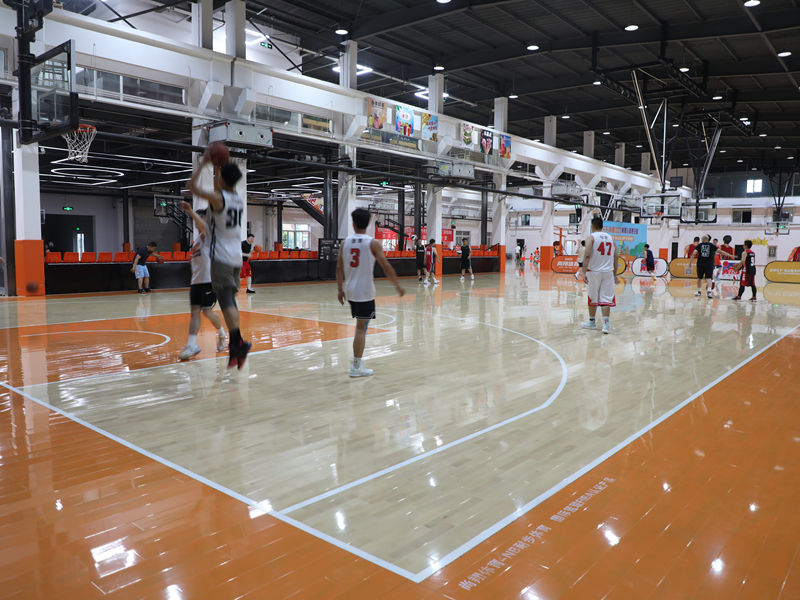
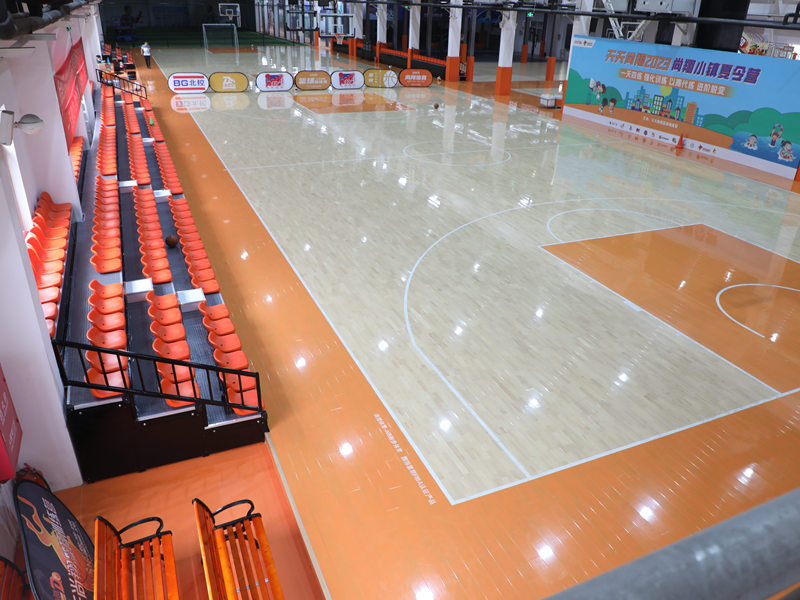
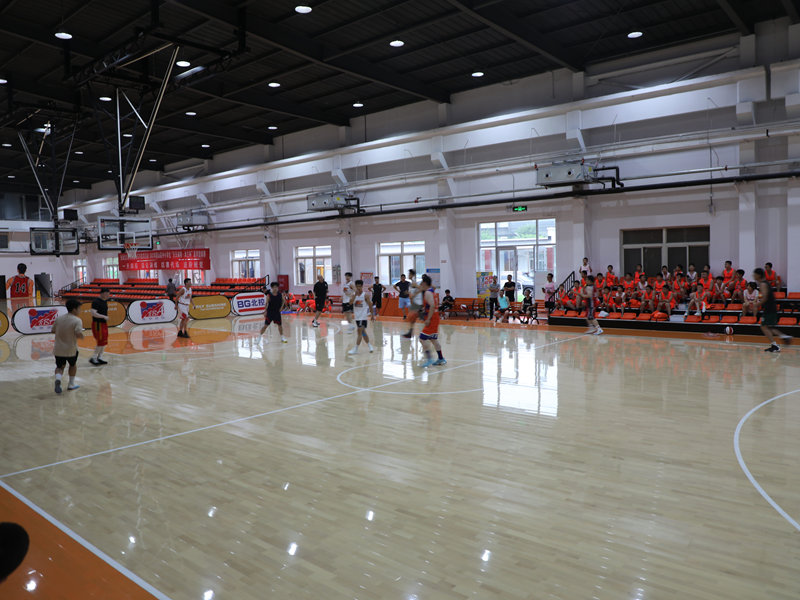
The Finished Product
After all that work, I finally had my basketball court floor! It felt amazing – solid, but with just the right amount of give. I added some baseboards around the edges to finish it off, and that was it. I’ve been using it for a few weeks now, and I’m loving it. It’s so much better than those old foam tiles. It was a lot of work, but totally worth it in the end!


