
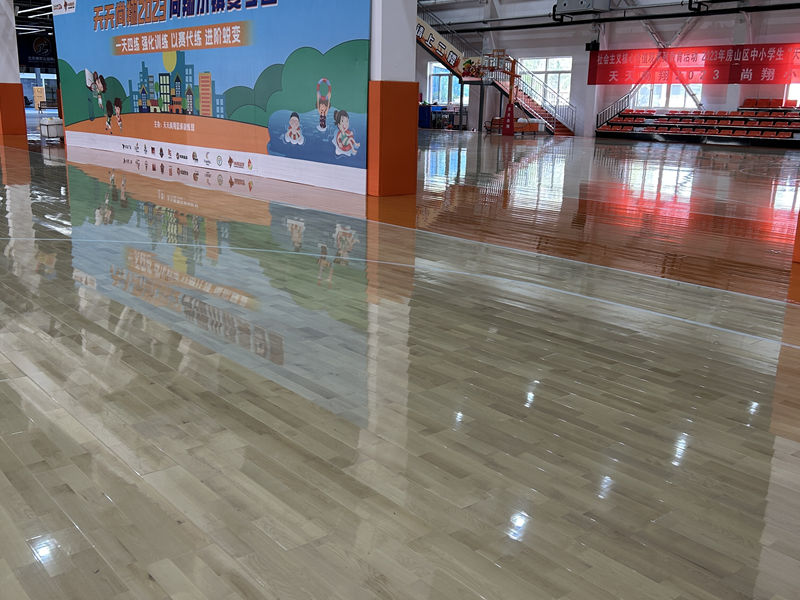
Okay, here’s my blog post about assembling wooden flooring for a basketball court keel, written from a personal, hands-on perspective:
Alright, so I took on this project – laying down the wooden floor for a basketball court. It wasn’t just the pretty top layer; I was dealing with the keel, the understructure, the guts of the whole thing. I’ve messed around with DIY projects before, but this was a whole new level.
Getting Started: The Prep Work
First things first, I cleared out the space. Completely. It’s sounds very obviously, but i have to make sure It had to be spotless because any little debris could mess with the level of the floor. Then, I spent a good chunk of time just… staring at the concrete subfloor. I checked it with a long level – multiple times, in multiple directions. It wasn’t perfectly level (no surprise), so I grabbed some self-leveling compound and went to town patching up the low spots. That stuff is messy, but it’s crucial.
I Waiting for that to dry, I double-checked the plans. I read the instructions that came with the keel system and watched a couple of online videos – just to make sure I wasn’t missing anything obvious.
Building the Keel Basketball engineer
- I started laying out the sleepers. These are the long, treated wooden pieces that form the base of the keel. I followed the spacing guidelines from the manufacturer. That’s super important for proper support and bounce.
- Next up, I put the cushioning pads. These little rubbery things go under the sleepers to absorb shock and help with sound dampening. I stuck those down with construction adhesive – that stuff is strong!
- Then, the real fun began. I started assembling the actual keel structure. It was like a giant puzzle, with interlocking pieces that fit together.I used a lot of screws. A lot. My drill got a serious workout that day.
I have to tell that, I made sure everything was square and level. I kept checking and re-checking with my level and a framing square. If things are even a little bit off at this stage, the whole floor will be wonky.
The Final Touches
Once the keel was all screwed together, and I mean it’s very strong, I went over the entire thing one last time, looking for any loose screws or anything that didn’t look quite right. And I’m very exciting, because It’s looks pretty darn good!
It was a long and tough day, for real. My back was killing me, my hands were sore, but seeing that keel structure all finished and ready for the actual flooring? That felt amazing. I know it’s just the underlayer, the part nobody really sees, but it’s the foundation of the whole court. I’m pretty proud of how it turned out.


