
Okay, here’s my blog post about installing keel basketball beech wooden flooring, written in a casual, first-person style, and using simple HTML tags:
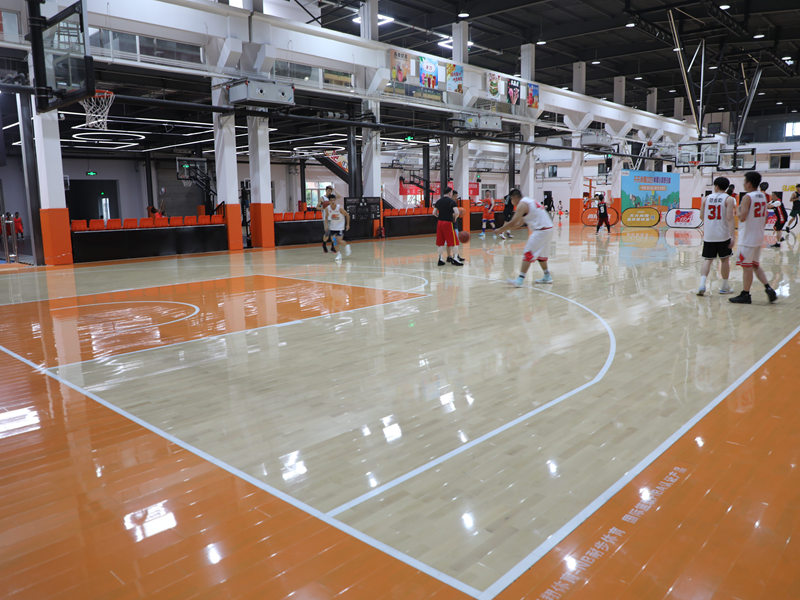
So, I finally got around to putting in that beech wooden flooring for my indoor basketball “court” (it’s more like a glorified practice area, really). I’d been dreaming of this for ages, and let me tell you, the whole process was a bit of a rollercoaster.
Getting Started
First things first, I had to pick the wood. Beech seemed like a good, it is durable and looks pretty sweet. Then came the underlayment, I’m not a flooring expert, I figured I needed something to go between the concrete slab and the wood.
The Keel System
The tricky part was the keel system. This is basically the support structure under the floor that gives it that nice bounce. I went with a floating keel system, the pieces weren’t actually attached to the concrete.
Laying it all out was a bit of a puzzle. I started by placing the keel sleepers, making sure they were evenly spaced. Then, I spent what felt like forever cutting and fitting the cushioning strips into the grooves of the sleepers.
Putting Down the Wood
With the keel system in place, it was finally time for the actual wood! This part was surprisingly satisfying.
- I made shure to install the perimeter boards first.
- I placed the the first board, making sure to have enough space around the perimeter of the room.
- Then use chalk lines, mallet and tapping block to connect each board with its tongue and groove.
Nailing down each board, row by row, felt like making real progress. I made a few mistakes, sure, had to pull up a couple of boards and redo them, but hey, that’s how you learn, right?
The Final Touches
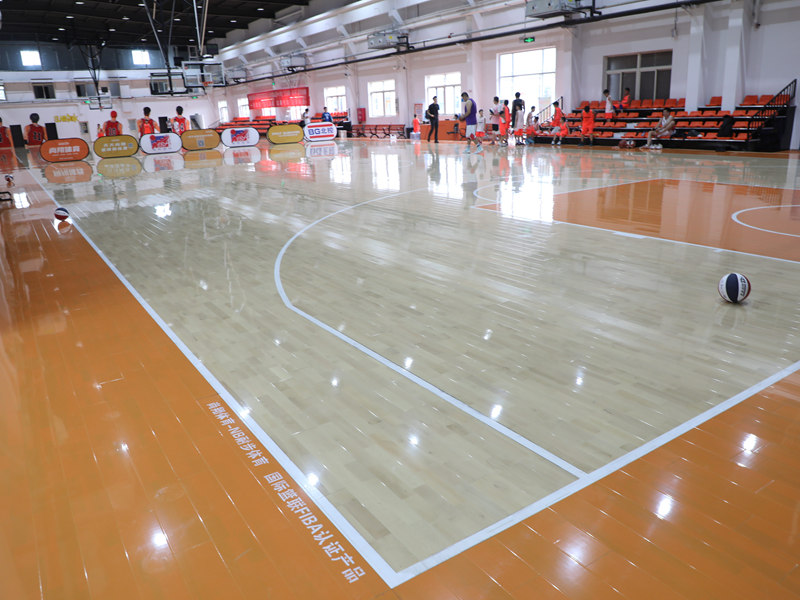
Once all the wood was down, I installed the baseboards to cover the expansion gap around the edges. Then came the sanding. Oh, the sanding! It took forever and created a mountain of dust, but it was worth it to get that smooth, even finish.
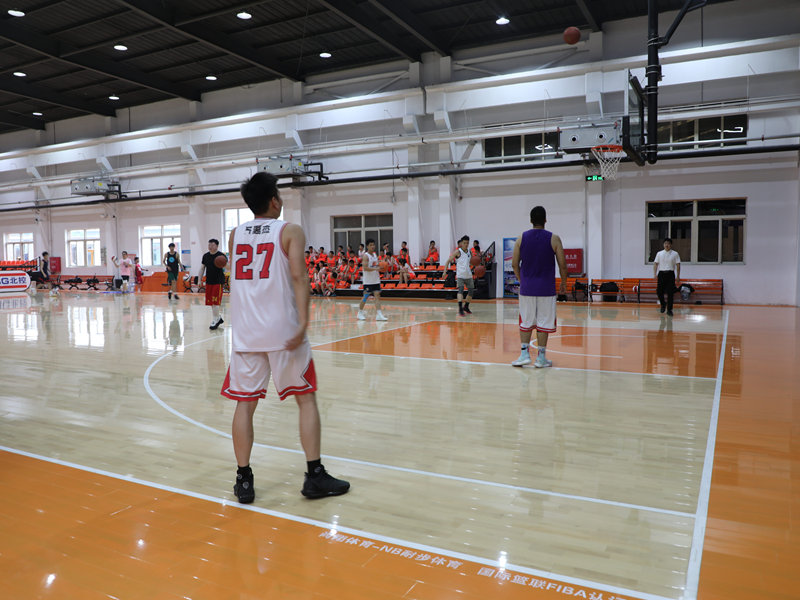
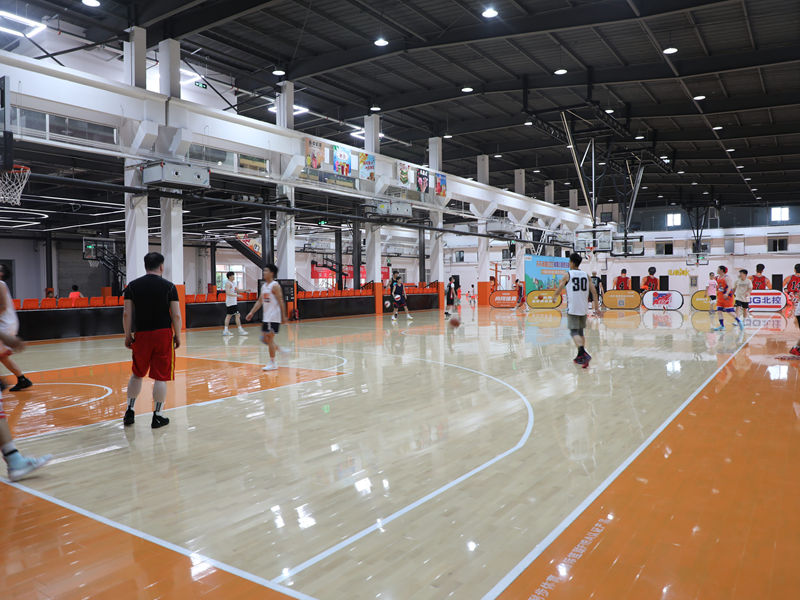
Finally, I applied a few coats of polyurethane sealant. This stuff is supposed to protect the wood and make it last longer. It also gave the floor this awesome, slightly shiny look.
All in all, it was a ton of work, but totally worth it. Now I’ve got my own little basketball haven, and it feels amazing to play on a floor I built myself. I also share pictures of my finished work on social media for others to see.


