
Okay, so today I got my hands dirty with some keel basketball beech timber. Let me tell you, it was a bit of a learning curve, but a fun one!
Getting Started
First things first, I gathered all my materials. I had:
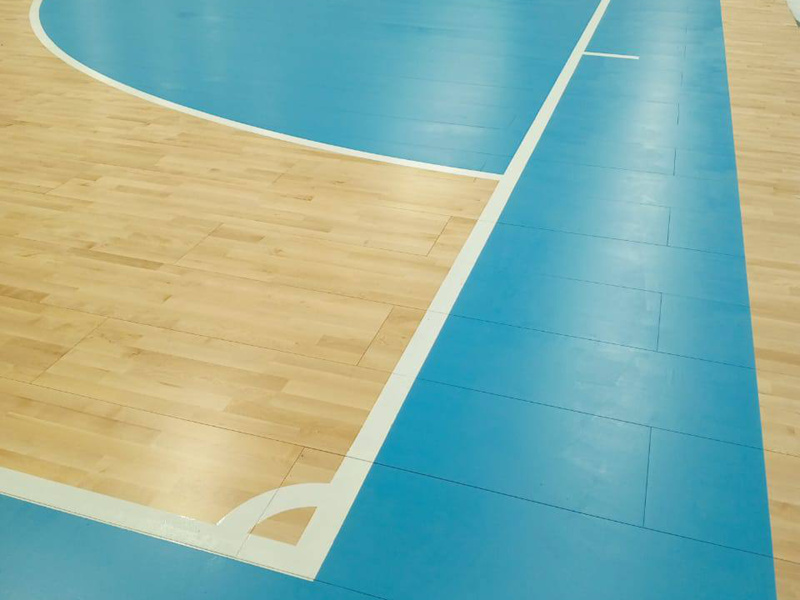
- The beech timber itself, of course. It felt really solid and smooth.
- Some heavy-duty screws. I didn’t want this thing going anywhere!
- My trusty drill, a level, and measuring tape. Accuracy is key, folks!
- Safety glasses. Always protect your eyes!
The Process
The main challenge was, surprisingly, figuring out the right way to position the keel. I have done some research, to ensure it would provide the proper support for a basketball court, it took a bit of trial and error. I marked out the planned location on the floor, making sure to double-check my measurements. I do a lots to make sure is right.
Then, I pre-drilled some pilot holes in the beech timber. This helps prevent the wood from splitting when you drive in the screws. I learned this the hard way in a past project…let’s just say it involved a lot of wood filler.
Next, I positioned the keel and carefully started screwing it into place. I worked slowly, making sure the keel stayed level as I went. I kept checking with my level and adjusting as needed. It’s easy to get a little off-kilter if you’re not paying attention.
Finishing Up
Once the keel was securely in place, I gave it a good once-over. I checked for any wobble or movement, and tightened any screws that felt a little loose. I wanted this thing to be rock solid. Also, make sure to give it a few good taps with a hammer to make sure it’s really in there good.
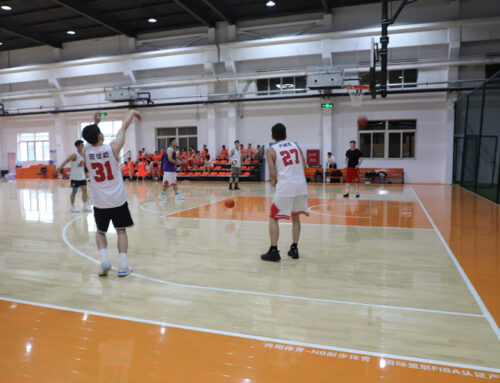
Honestly, it turned out way better than I expected! The beech timber looked great, and the keel felt super sturdy. I’m no pro carpenter, but I was pretty proud of how this little project turned out. It’s always satisfying to build something with your own two hands, even if it’s just a keel for a basketball court.


