
Okay, here’s my blog post about installing that laminate basketball court flooring:
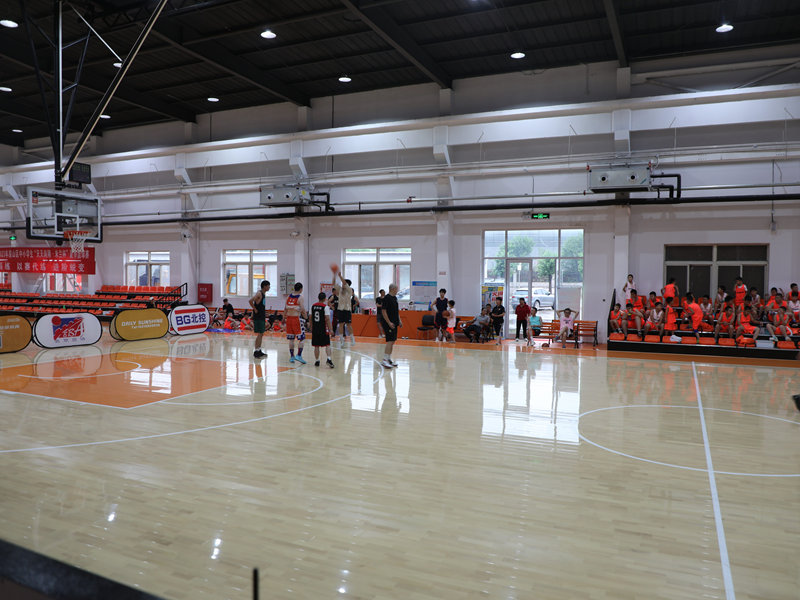
So, I finally got around to tackling that project I’ve been putting off – turning my sad, old spare room into a mini basketball court! I’d found this laminate flooring that looks like a basketball court, engineered wood, you know? And I was hyped to get it down.

The Prep Work
First things first, I cleared everything out of the room. EVERYTHING. It was like an archaeological dig, unearthing stuff I’d forgotten I even owned. Then came the fun part – ripping up the nasty old carpet. It’s so old, it should rip easily. That took, like, a whole afternoon, and I found a lost remote and some questionable snacks under there. Gross.
Next, I had to make sure the subfloor was level. It’s pretty much important, right? This was probably the most boring part. I used a long level and crawled around on my hands and knees, feeling for any dips or bumps. Found a few spots that needed some self-leveling compound. That stuff is like magic – pour it on, and it finds its own level. Science!
Laying Down the “Court”
Once the leveling compound was dry (took overnight, ugh), I rolled out the underlayment. This is like a thin, foamy layer that goes between the subfloor and the laminate. It helps with sound and a little bit of cushioning. I taped the seams together so it wouldn’t shift around.
Finally, time for the main event! I started laying the laminate planks. The first row is crucial, gotta get that straight. I used spacers along the walls to leave a little expansion gap – apparently, wood expands and contracts with temperature changes. Who knew?
The planks had this click-lock system, which was pretty satisfying. You just kinda angle one plank into the other and snap it down. It’s like giant, wooden LEGOs. I went row by row, making sure everything was snug and lined up. I did have to cut some planks to fit around the door frame and the closet. Used a jigsaw for that – safety glasses are a must, folks! Don’t want wood chips in your eyes.
The Finishing Touches
After all the planks were down, I installed the baseboards. This hides that expansion gap and just makes everything look cleaner. I used a nail gun for this, which is way faster than hammering. Plus, it’s fun to use power tools.
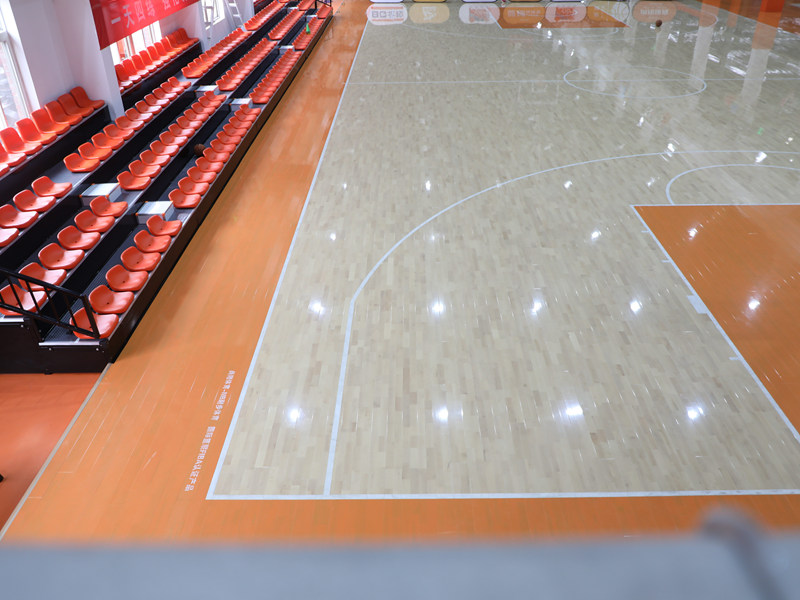
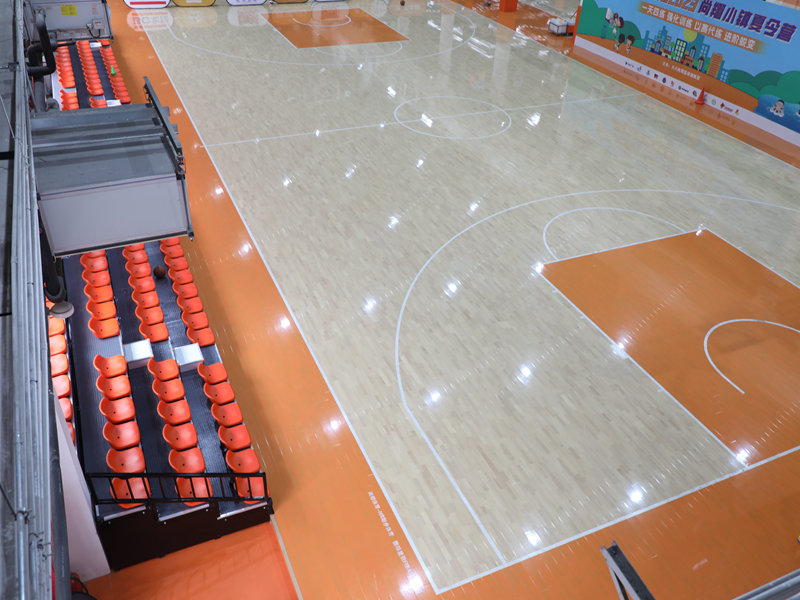
And that’s it! I stood back and admired my handiwork. My very own mini basketball court! It’s not regulation size, obviously, but it’s perfect for shooting some hoops and pretending I’m an NBA star (in my dreams, at least). I even drew my very own three-point line! So coooool!
It looked a little bit dull, so I mopped the floor, and it shone!
- Clear the room
- Rip up old carpet/flooring
- Level the subfloor
- Roll out underlayment
- Lay the laminate planks
- Install baseboards
- Mop the floor
It was a lot of work, but totally worth it. Now, if you’ll excuse me, I’m gonna go practice my jump shot.


