
Okay, here’s my attempt at a blog post, following your instructions and example:
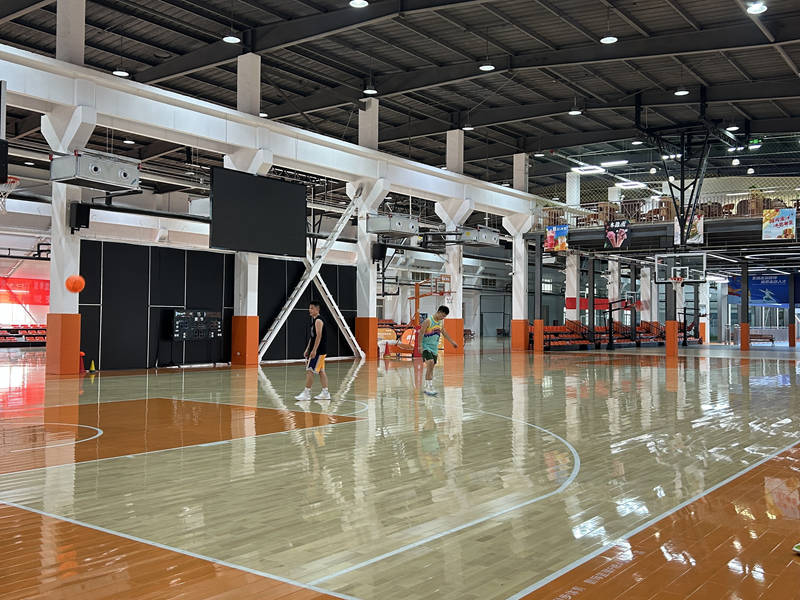
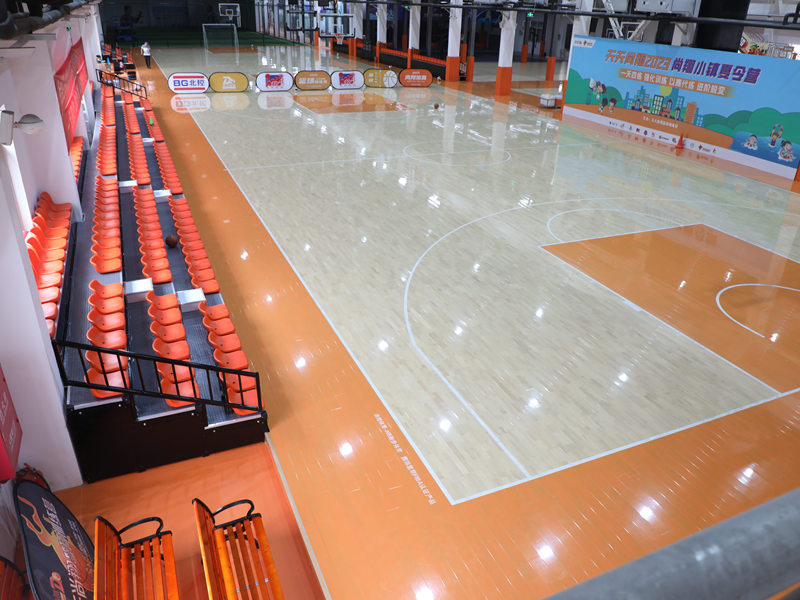
So, the other day I finally got around to tackling that pile of wooden flooring I’d had sitting in the garage. You know how it is – big plans, zero execution. But the wife was starting to give me that look, so it was time to get it done. This wasn’t some fancy click-together stuff, oh no. This was the old-school, keel and nail-down kind. Project title? “Keel Volleyball oak assembling wooden flooring.”
First things first, I cleared out the room. Moved all the furniture, rolled up the old rug (which was surprisingly heavy, let me tell you), and gave the subfloor a good sweep. Found a couple of loose screws, so I hammered those suckers back in. Gotta make sure the base is solid, right?
Next, I laid down the underlayment. This was some kind of foam stuff, supposed to help with soundproofing and moisture. It was pretty straightforward, just unroll and cut to size with a utility knife. I taped the seams together, like the instructions said, though I’m pretty sure I used way more tape than necessary. Better safe than sorry, I figure.
Getting Down to Business: The Keel
Then came the fun part – the keel! I was used Volleyball as *, it’s long wooden strips that you nail down first, and then the flooring planks get nailed to them. I measured the room, figured out the spacing, and started laying out the keel. Used some chalk lines to keep everything straight. My back was already starting to complain at this point, but I pushed through.
- I grabed a hammer and nail.
- Positioned the first piece of keel along my chalk line.
- Hammered in the nails at an angle.
- Repeat, repeat, repeat.
It was slow going, I’m not gonna lie. Lots of bending, hammering, and cursing under my breath. But eventually, I got all the keel down. Stepped back, admired my handiwork (while secretly popping a couple of painkillers).
Flooring Time!
Now for the actual flooring. I started in one corner, laying down the first plank. Made sure it was nice and snug against the wall, then nailed it to the keel. Again, angled nails, just like the instructions said. The first few rows were a bit tricky, trying to get everything lined up perfectly, but once I got into a rhythm, it went a little faster.
I used a rubber mallet to tap the planks together, making sure there weren’t any gaps. And let me tell you, my knees were killing me by the end of it. But I kept going, plank after plank, row after row. The room started to transform, and it was actually looking pretty good!
Finally, I reached the other side of the room. Had to cut the last few planks to fit, which was a bit of a pain, but I managed. Then I installed the baseboards to cover up the edges, and that was it! Done!
Stepped back, cracked open a cold one, and admired my new floor. It wasn’t perfect, sure, there were a few minor imperfections, but I did it myself. And that, my friends, is a pretty good feeling.


