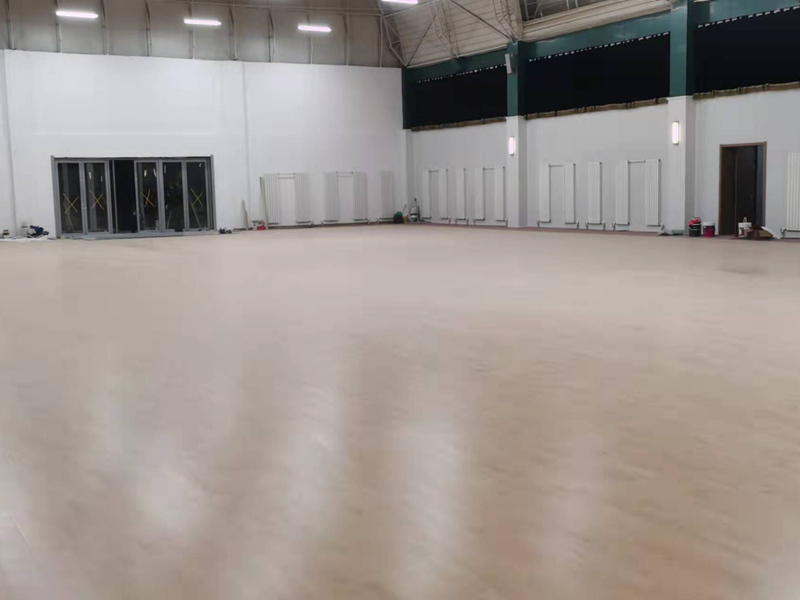
Okay, let’s talk about putting down this rubber dancing hard maple wooden flooring. Been wanting a proper floor for dancing for ages, something solid but with a bit of spring. Found this hard maple stuff that’s supposed to be good for that, and decided to pair it with a rubber underlayment. Seemed like the right combo.
First job, naturally, was emptying the room. Everything had to go. Then I took a good look at the subfloor, which was concrete in my case. Had to make sure it was pretty level. Found a couple of low spots, so I filled those in with some leveling compound. Let that dry properly, then gave the whole floor a thorough sweep and clean. You really don’t want any grit or dirt trapped under your new floor, causes problems down the line.

Next came the rubber layer. This stuff arrived in rolls, and man, it was heavy. Rolling it out wasn’t too bad, but cutting it to size took some care. Used a sharp utility knife and a straight edge. You want the edges to meet up perfectly, no gaps and definitely no overlaps. I used the recommended tape to seal the seams between the pieces of rubber. This rubber is the key part for that ‘dance floor’ feel, gives it that cushion and bounce.
Laying Down the Maple
Alright, then it was time for the main event: the hard maple planks. Beautiful wood. Before starting, I brought the boxes into the room and just let them sit there for maybe three days. Heard you’re supposed to let the wood get used to the room, the temperature and moisture and all that. Acclimation, I think they call it.
Started laying the planks along the longest wall. Popped some spacers against the wall first. Gotta leave a gap, maybe half an inch or so, because wood swells and shrinks with the weather. If you don’t leave a gap, it can buckle later. The first row is the most important to get straight. Locked those first planks together end-to-end.
For the next rows, it was the usual tongue-and-groove process. You angle the new plank into the groove of the one already laid, push it down flat, then use a tapping block and a mallet to gently tap it tight against the previous row and the plank next to it. You want no gaps between the planks. Went row by row across the room. Made sure to stagger the end joints of the planks from one row to the next. Looks way better and makes the whole floor stronger.
Cutting was involved, of course. Used a miter saw for straight cuts at the ends of rows. Had a couple of tricky spots, like around a doorway arch. A jigsaw worked okay for those curved cuts, just had to go slow and steady. Measuring carefully is key here, definitely a ‘measure twice, cut once’ situation. It wasn’t super difficult work, just repetitive and requires you to be patient and careful.
Once all the maple was down, I pulled out all those spacers from around the edges. Looked a bit unfinished with the gap showing. So, the final step was putting on new baseboards all around the room. Nailed those to the wall, covering the expansion gap neatly. Looks much cleaner. Also needed a transition strip where the new maple met the hallway tile, found a wood one that matched pretty closely.
Took me a couple of weekends, working mostly on my own. Definitely got a workout moving the rubber and boxes of wood. But standing back and looking at the finished floor? Totally worth it. It feels incredibly solid underfoot, but you can feel that slight give from the rubber, which is exactly what I wanted for dancing. Plus, the hard maple looks fantastic. Really happy with how it turned out, and pleased I managed to do it myself. Now, time to break it in!


