
Alright, let me tell you about this project I just wrapped up. Been wanting a decent spot to practice basketball drills, nothing huge, just a solid surface. Decided to go with assembling some wooden flooring myself, specifically using birch.
Getting Started
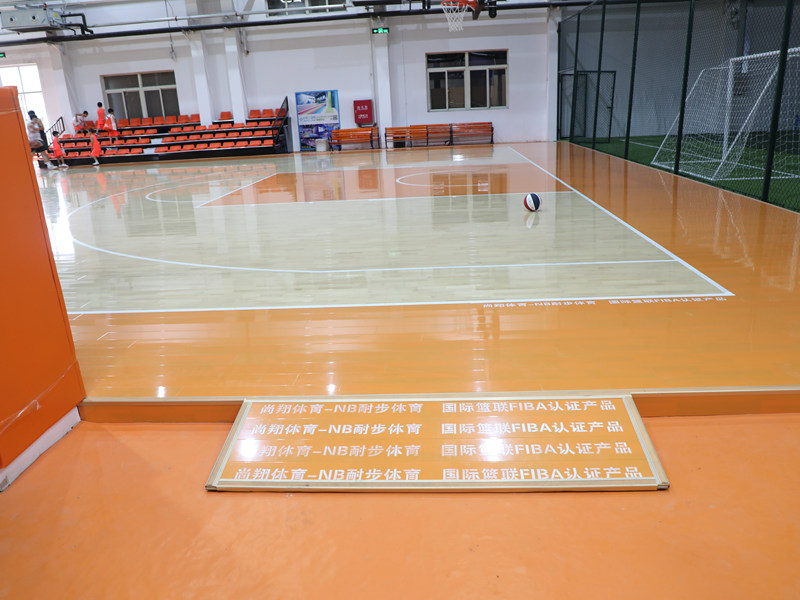
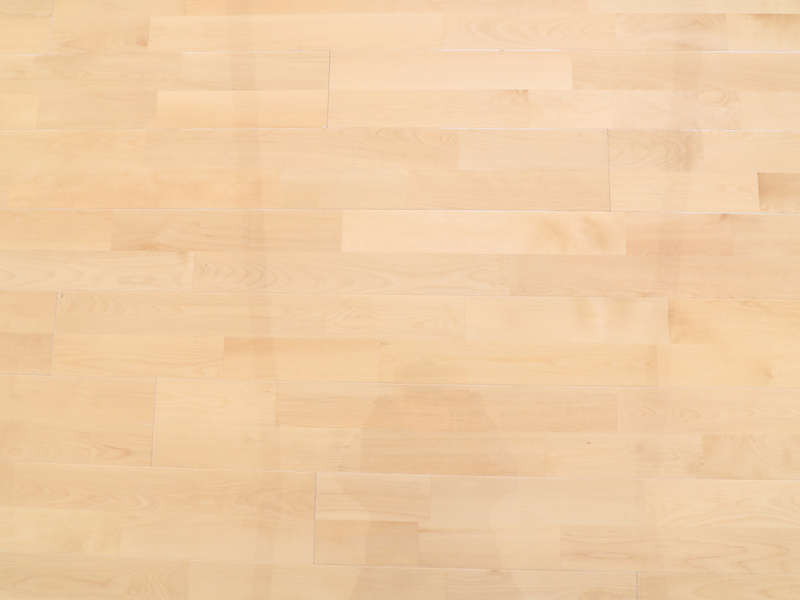
First off, the planning. I knew I couldn’t just slap wood onto concrete, especially for basketball. You need some give, some shock absorption. That’s where the idea for cushions came in – well, not literal sofa cushions, but a proper sports floor cushioning system. Found some dense rubber underlayment pads designed for this kind of thing. For the wood, I settled on birch. Looks nice, pretty tough, seemed like a good fit.
Gathering the materials took a weekend trip. Loaded up the truck with bundles of birch flooring planks and those heavy rubber cushion rolls. Also grabbed the usual suspects: adhesive, nails (just in case), transition strips, and rented a floor nailer – figured it’d be easier than doing it all by hand.
The Real Work Begins
Okay, step one was prepping the base floor in my garage space. Had to clear everything out, which was a job in itself. Then, lots of sweeping and shop-vac action. Checked if it was level – luckily, it was mostly okay, just had to patch one small dip.
Next up, the cushions. I rolled out the rubber underlayment. This stuff was heavy! Taped the seams together to make sure it wouldn’t shift around. It immediately felt different walking on it, softer.
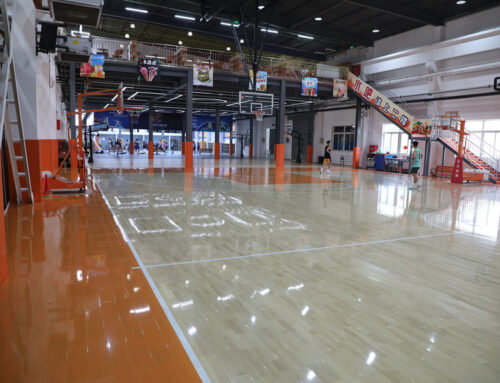
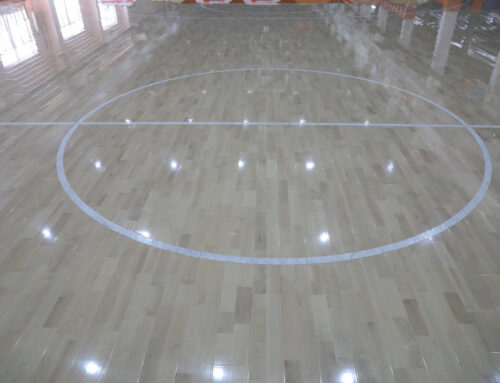
Then, the main event: assembling the wooden flooring. I started along the longest wall, like they always say. Laid down the first row of birch planks, making sure they were perfectly straight. Used spacers against the wall. Those first few rows are always tricky, gotta get them right.
- Laying the planks one by one.
- Tapping the tongue-and-groove edges together for a tight fit.
- Using the floor nailer – man, that thing makes the job faster, but it’s loud!
- Cutting pieces to fit at the end of rows was a bit dusty, took some careful measuring with the saw outside.
Staggering the joints is key, so it doesn’t look weird and adds strength. Took my time with this part. Had a few planks that were slightly warped, typical wood stuff, just had to persuade them into place or set them aside for cuts.
Finishing Touches
Once all the main field was laid, I installed the transition strips where the wood meets the regular garage concrete. Makes for a cleaner, safer edge.
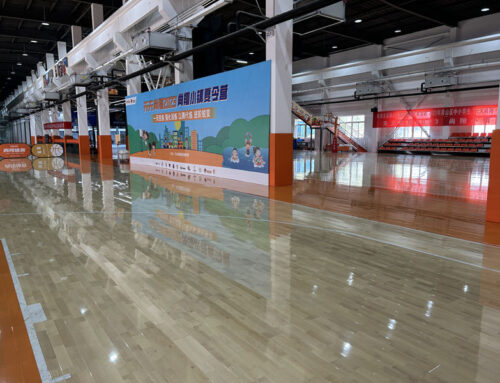
The birch I got was pre-finished, which saved a ton of work. No sanding or sealing needed right away. Just gave it a good clean-up, removing dust and any footprints.
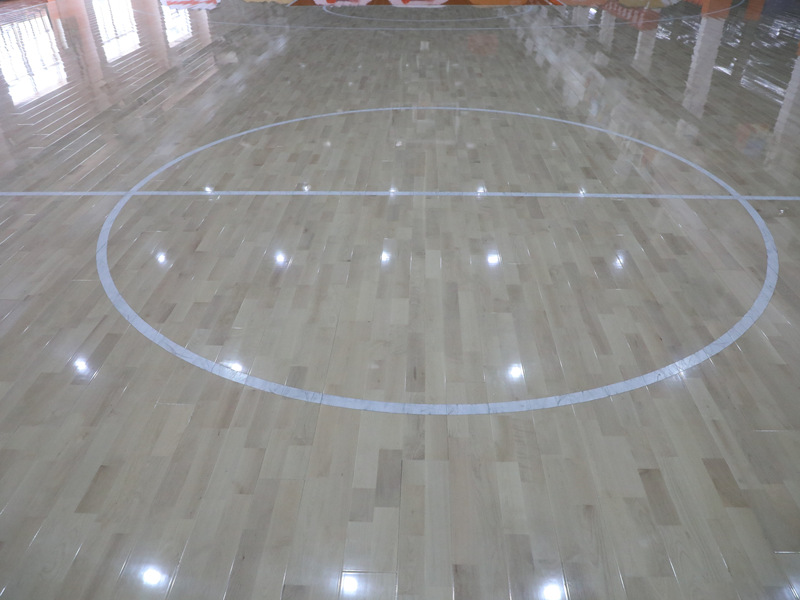
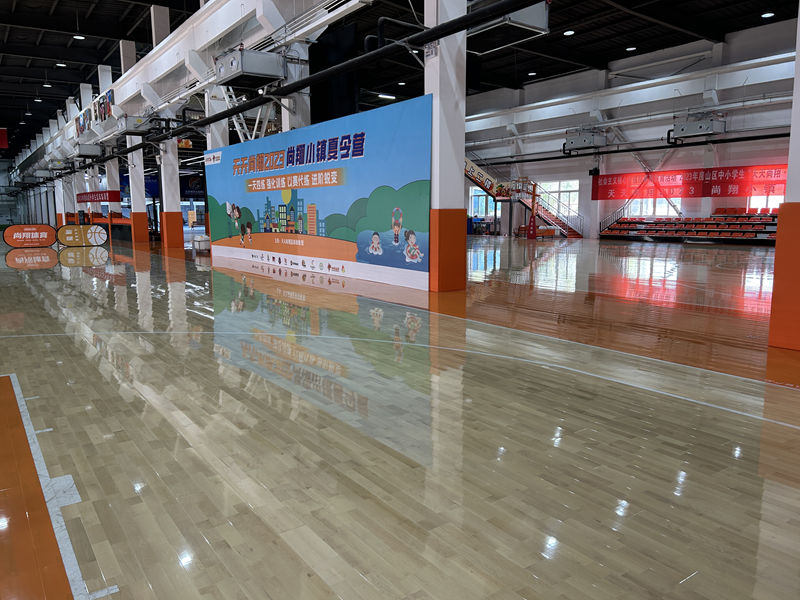
And that was pretty much it! Stepped back and looked at the finished floor. Feels solid underfoot, but with that slight give from the cushion system. Grabbed my basketball and bounced it a few times – yup, sounds and feels right. Much better than the bare concrete. Took a good chunk of time, mostly doing it solo, but totally worth the effort for a proper practice surface.

