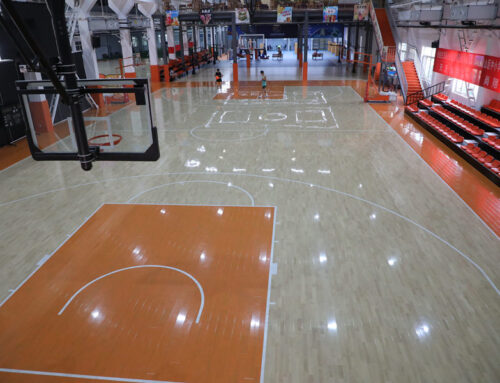
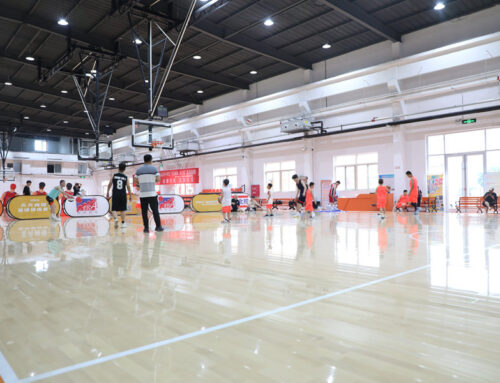
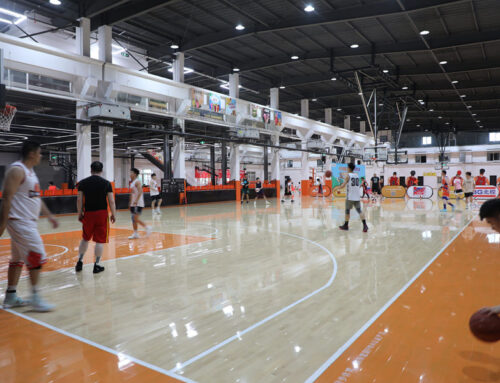
Okay, let’s get started with my experience installing batten basketball hard maple wooden flooring.
I’ve always wanted a proper basketball court feel in my home gym. So, I finally decided to take the plunge and install some real hardwood flooring. I went with hard maple because, well, it’s the classic choice, and it’s supposed to be super durable. This whole project started with a ton of research. I mean, hours and hours of watching videos and reading articles. Finally, I felt somewhat ready to begin.
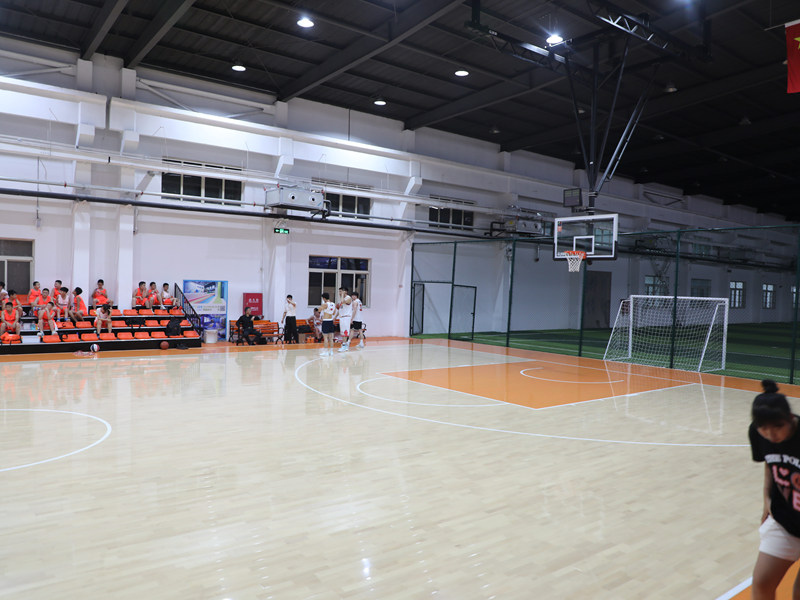
Prepping the Space
First things first, I had to clear out the entire room. This was a workout in itself! Moved all the gym equipment, took down the posters, the whole nine yards. Then came the slightly scary part: checking the subfloor. I had a concrete slab, which is pretty common, but I needed to make sure it was level. Turns out, it wasn’t perfectly level. So, I grabbed some self-leveling compound and spent a good afternoon getting that sorted. It was messy, but satisfying to watch it smooth out.
Laying Down the Battens
Next up were the battens. These are basically strips of wood that create a framework for the actual flooring. They provide some crucial airflow and help with shock absorption. I used pressure-treated lumber for this, because, you know, moisture is the enemy of wood. I carefully measured and cut the battens to size, making sure they were spaced evenly across the floor. I used a chalk line to keep everything straight – can’t have a wonky court!
- Measure and cut battens.
- Ensure even spacing.
- Use chalk line for straight lines.
- Secure battens to the subfloor. I went with construction adhesive and concrete screws. Overkill? Maybe. But I wanted this thing to be solid.
Installing The Hardwood
Now for the main event: the hard maple! I let the wood acclimate in the room for a few days, which is apparently important to prevent warping later on. Then, starting from one wall, I began laying down the planks.
I used a flooring nailer for this which is a tool. Let me tell you, that thing is loud! But it made the job so much easier than hammering each nail by hand.
The tongue-and-groove system of the planks made them fit together snugly, which was great.I did have to make some cuts around the edges of the room, and that’s where a good miter saw came in handy. Measure twice, cut once, as they say!
Finishing Touches
Once all the flooring was down, it was time for sanding. I rented a big drum sander and went over the entire floor multiple times, using progressively finer grits of sandpaper. This was dusty work, so a good dust mask is essential! After sanding, I vacuumed thoroughly and then applied a few coats of polyurethane finish. This gives the floor its shine and protects it from wear and tear.I also waited for a few days for it to fully cure.
And that’s it! My very own hard maple basketball court. It was a lot of work, but totally worth it. The feeling of playing on a real wood floor is just amazing. Now, if you’ll excuse me, I’m gonna go shoot some hoops!

