
Okay, let me tell you about this project I just wrapped up. It involved putting down some new flooring, specifically pine, for a little area we set aside.
Getting Started
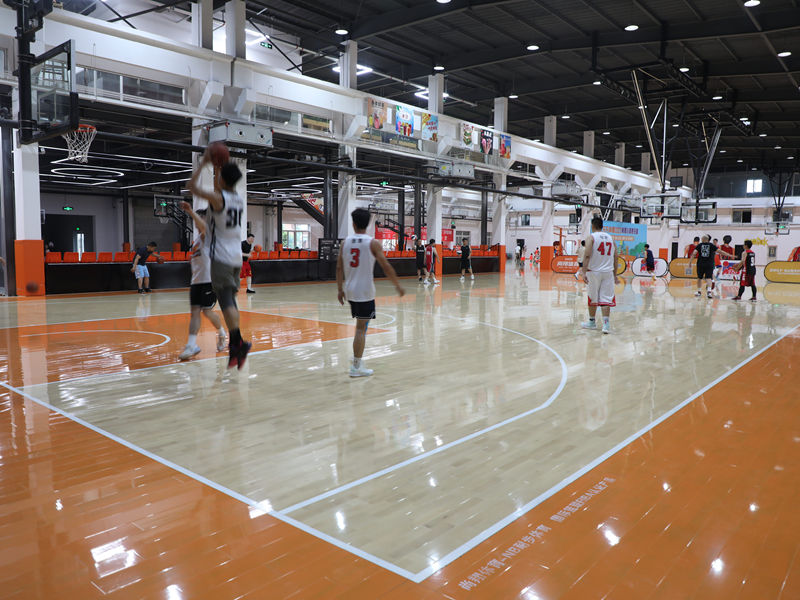
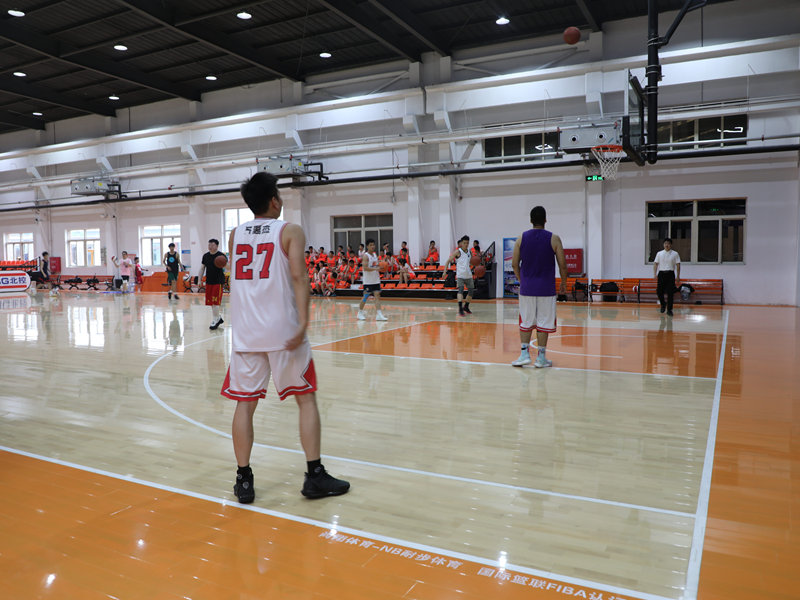
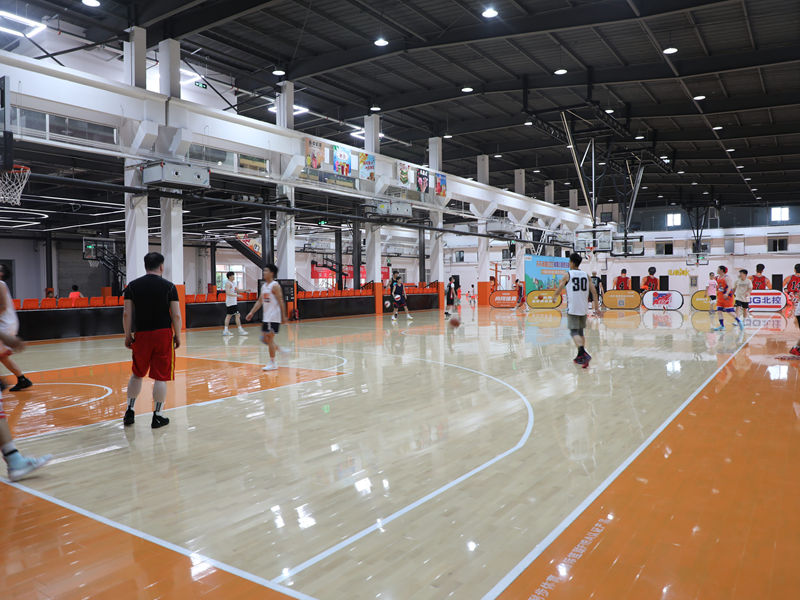
So, the idea popped up because the kids, well, mostly the older one, wanted a spot indoors to practice some basic basketball stuff. Nothing fancy, just dribbling and maybe some footwork. The garage floor was just bare concrete, cold and hard. Not ideal. We decided a proper wooden flooring surface would be much better.
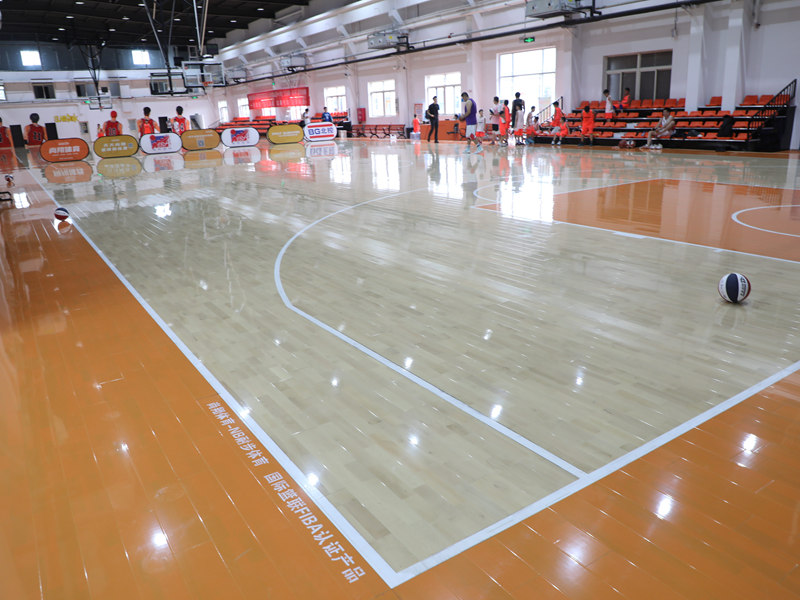
We looked around a bit. Hardwoods were pricey. Then I thought, hey, pine is pretty affordable, looks decent enough, and it’s wood. Good enough for a practice spot, right? It’s softer, sure, but we aren’t planning NBA tryouts in there.
Prepping the Space
First thing was clearing out a corner of the garage. That took longer than I thought, lots of junk accumulated there. Once it was clear, I swept it really well. Concrete dust gets everywhere.
Now, about the concrete floor – I didn’t want the pine sitting right on it. Too hard, too cold, and maybe damp sometimes. So, I decided to lay down an underlayment first. This acts like cushions, really. Makes it a bit softer underfoot, helps with sound, and gives a little barrier. I rolled out this foam-like padding, taped the seams. Pretty straightforward step.
Assembling the Floor
Then came the main event: assembling the wooden flooring. I got tongue-and-groove pine planks. Makes putting them together a bit easier, like a big puzzle.
- Started along the longest wall, like they say you should. Put down the first row, making sure it was straight. This is super important, messes up the whole thing if it’s crooked.
- Used spacers against the wall for expansion. Wood moves, you know.
- Cutting the planks was dusty work. Had my saw set up outside mostly. Measure twice, cut once… mostly I managed that. A few mistakes here and there, happens.
- Tapping the planks together took some effort. Used a rubber mallet and a tapping block so I didn’t damage the edges of the pine.
- Nailing them down. I rented a floor nailer. Makes the job way faster than doing it by hand. Angle the nails through the tongue, so the next board hides them.
It was slow going at first, but once I got a rhythm, it started moving quicker. Row by row, the floor started taking shape. The smell of fresh cut pine was nice, actually.
Finishing Up
The last row was a bit tricky, had to rip the planks down to the right width to fit. Then installed some simple trim around the edges to cover the expansion gaps and make it look finished.
I debated whether to seal the pine right away. Decided to leave it natural for now. It’s just a practice area. Might put a coat of clear sealer on later if it starts looking beat up.
So yeah, that was the process. From a concrete slab to a nice little pine wooden flooring spot. It feels much better underfoot now, definitely warmer and those underlayment cushions make a subtle difference. Ready for some low-impact basketball practice. Happy with how it turned out, good weekend project.


