
Okay, so I’ve been wanting to redo the flooring in my spare room for ages. It’s been carpeted since, like, forever, and I’m just over it. I decided to go with this “batten dancing sleeper assembled wooden flooring” thing I saw online. It looked cool, and I figured, “How hard could it be?” (Famous last words, right?)
Getting Started
First things first, I ripped up that old, nasty carpet. That was a workout in itself! Underneath was just plain old concrete, so I knew I needed to prep the surface.
I swept the heck out of it, and then I used some self-leveling compound to make sure everything was nice and even. That stuff is messy, but pretty satisfying to watch it spread out. I let that dry completely – took about a full day.
Building the Frame
Next up was the “batten” part. These are basically just strips of wood that create a framework for the flooring to sit on. I measured the room and cut the battens to size. I’m not gonna lie, my sawing skills aren’t exactly pro-level, but I managed.
I laid out the battens in a grid pattern, making sure they were evenly spaced. This is where the “dancing sleeper” part comes in – it’s some kind of system that’s supposed to help with soundproofing and give the floor a bit of bounce. Honestly, I’m still not 100% sure how it works, but I just followed the instructions. I used construction adhesive to glue those things down.
Putting it All Together
Once the adhesive was dry, it was time for the actual flooring. These were pre-assembled wooden panels, which made things a bit easier. I started in one corner and just clicked the panels together. It was kind of like a giant jigsaw puzzle.
The edges were a bit tricky. I had to cut some of the panels to fit, and let me tell you, that was a pain. I definitely messed up a few, but luckily I had ordered extra. Note to self: measure twice, cut once! Always, Cut twice if nessary.
The Final Touches
After all the panels were down, I installed some baseboards around the edges to cover up the gaps and give it a finished look. I’m pretty proud that I even managed to miter the corners – they’re not perfect, but hey, they’re not terrible either!
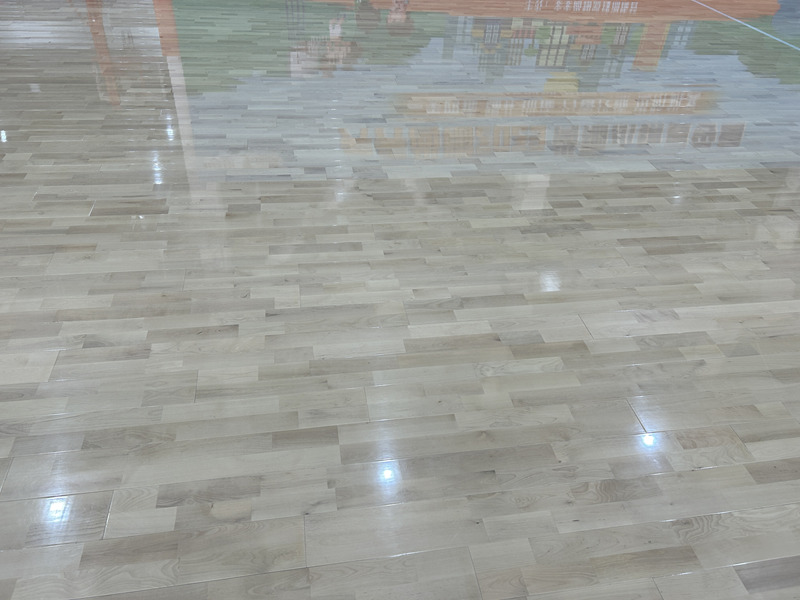
Finally, I gave the whole floor a good cleaning and stood back to admire my handiwork. It’s definitely not perfect, but it’s a HUGE improvement over that old carpet. And the best part? I did it all myself!
It is a tiring job, and the thing which I really spent much time doing is installation. I spent nearly half of a day to assemble these panels.


