
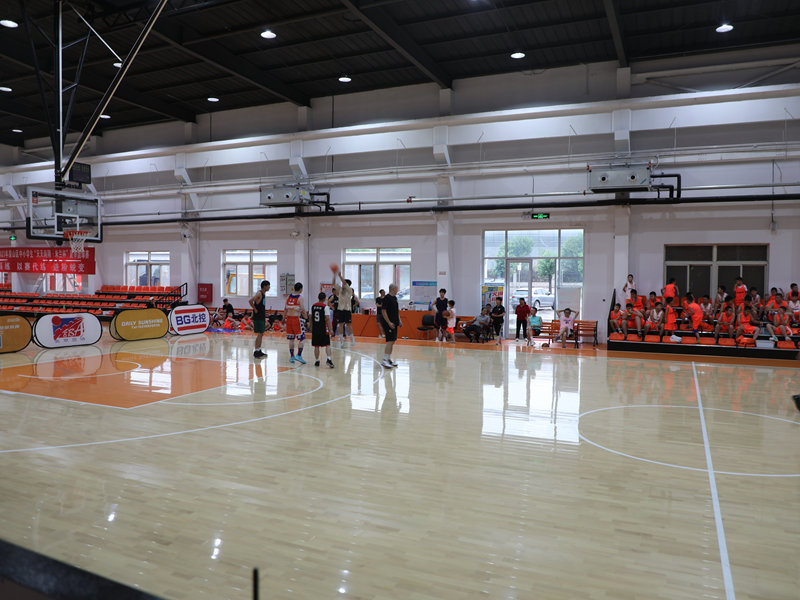
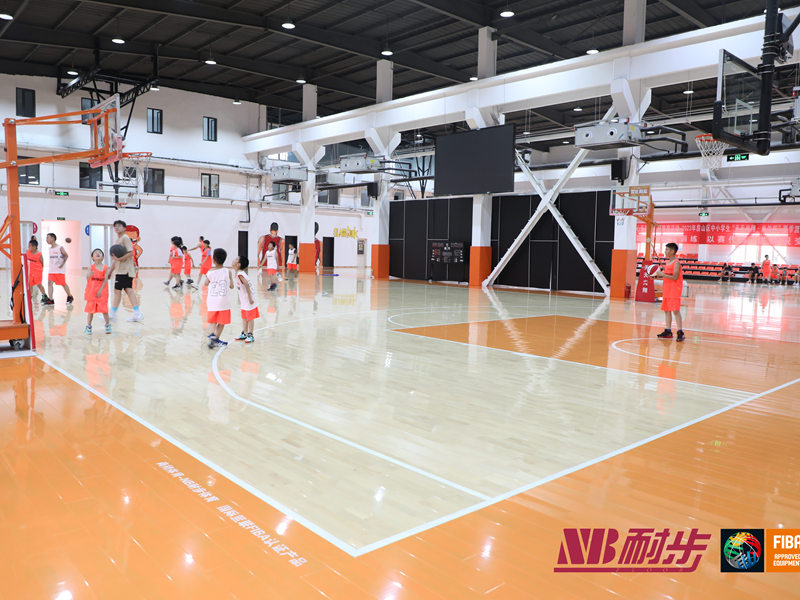
Okay, folks, let’s dive into this project I tackled: putting together a laminate basketball engineer board assembly wooden floor. Sounds fancy, huh? It’s basically just a type of flooring, but this one had a cool basketball court design.
First things first, I cleared out the room. This is always the most annoying part, moving furniture, and all the stuffs, but you gotta do it. Make your working space safety.
Next, I checked the subfloor. It was concrete, thankfully, and pretty level. I did a quick sweep and cleaned up any loose debris. If it was super uneven, I would’ve had to use some self-leveling compound, but luckily, I skipped that headache.
Then, the underlayment. I rolled that stuff out – it’s like a thin foam layer. It helps with sound dampening and provides a little cushion. I taped the seams together so it wouldn’t shift around.
Getting Started with the Boards
Now for the fun part – the actual flooring! I opened up the boxes and let the boards acclimate to the room for a couple of days. The instructions said to do this, something about preventing warping. I will follow all the steps.
I started in one corner, laying down the first row. The edges had this click-lock system, so you basically just snap them together. It took a little wiggling, but once I got the hang of it, it went pretty smoothly.
- Keep Spacing: Use the spacers to keep distance between the wall.
- Measure twice, cut once: This is the most important thing.
- Keep everything in order: It helps you to work faster.
I used a jigsaw to cut the boards around doorways and any weird angles. Honestly, my cuts weren’t perfect, but that’s what baseboards are for, right? To hide all my mistakes!
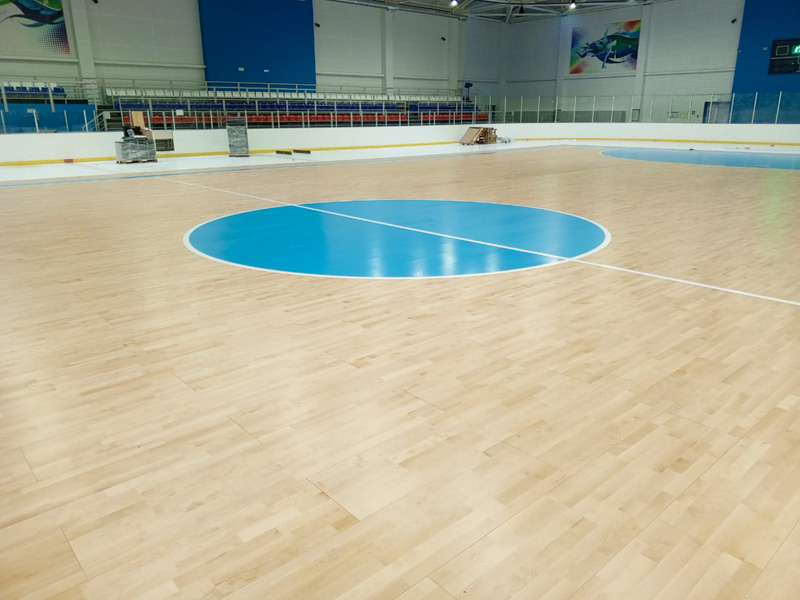
Row by row, I worked my way across the room. The basketball court design started to take shape, which was pretty satisfying. It’s like a giant puzzle. I used a tapping block and a rubber mallet to make sure the boards were snug together. You don’t want any gaps.
The Finishing Touches
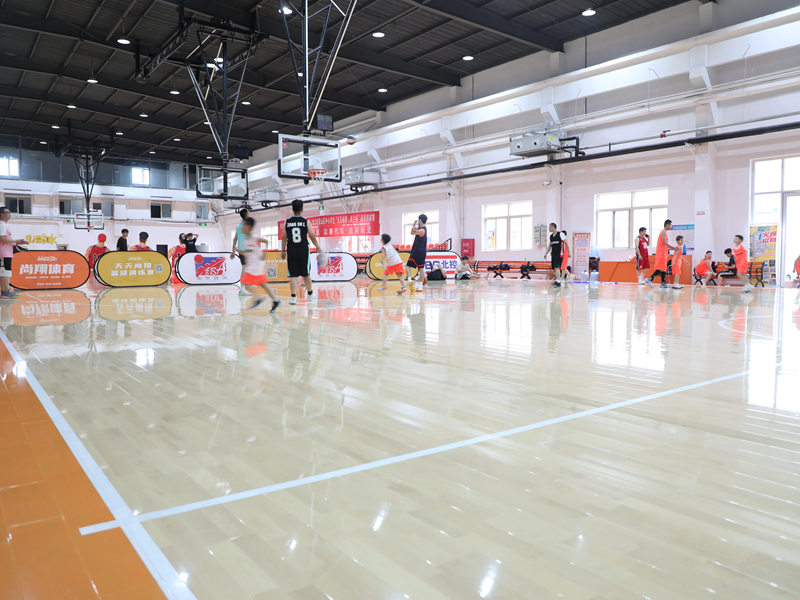
Once all the boards were down, I removed the spacers I’d put along the walls (to allow for expansion). Then, I installed the baseboards, and nailed them into place. It covered up any rough edges and gave it a nice, finished look.
Finally, I gave the whole floor a good cleaning to remove any dust or debris. It was all my work, and I am very proud of this!
And that’s it! It took me a couple of days, working on and off, but it wasn’t as hard as I thought it would be. The click-lock system made it pretty straightforward. Now I’ve got a cool-looking floor, and I learned a new skill. Not bad for a weekend project!


