
Okay, here’s my blog post about installing that batten volleyball oak portable wooden flooring:
Alright, folks, let me tell you about this little project I tackled. It all started when I decided our community center needed a decent volleyball court. We’d been playing on this sad, cracked concrete, and it was just killing our knees. So, I did some digging and found this “batten volleyball oak portable wooden flooring” thing. Sounded fancy, but I figured, why not give it a shot?
Getting Started
>
First things first, I had to clear the area. Moved all the old tables, chairs, and that weird exercise bike nobody ever uses. Swept the concrete like a madman, trying to get every last pebble and dust bunny out of there. Gotta have a clean base, you know?
The Unboxing
The flooring arrived in these big, heavy boxes. Seriously, my back was already complaining. I ripped them open, and inside were these… well, they looked like giant puzzle pieces made of wood. Each piece had these grooves and tongues on the sides, which I guessed were for connecting them. The “batten” part, I figured out, was these strips of wood underneath that gave it some spring.
Putting it Together
>
This is where the fun (and the frustration) began. I started laying out the pieces, trying to follow the very basic instructions that came with it. It was like a giant jigsaw puzzle, except if you messed up, you had to heave these heavy wooden planks around. I started at one corner, clicking the pieces together. That “click” sound was pretty satisfying, I gotta admit.
- First Row: The first row was the trickiest, making sure it was perfectly straight. I used a long level like twenty times.
- Connecting the Pieces: Basically, you line up the tongue of one piece with the groove of another and then kinda… stomp on it. Or gently tap it with a rubber mallet, if you’re feeling civilized. I mostly stomped.
- Row by Row: I went row by row, slowly but surely. It took a while. My knees started aching, my back was screaming, and I was sweating buckets. But, I was making progress!
The Finishing Touches
>
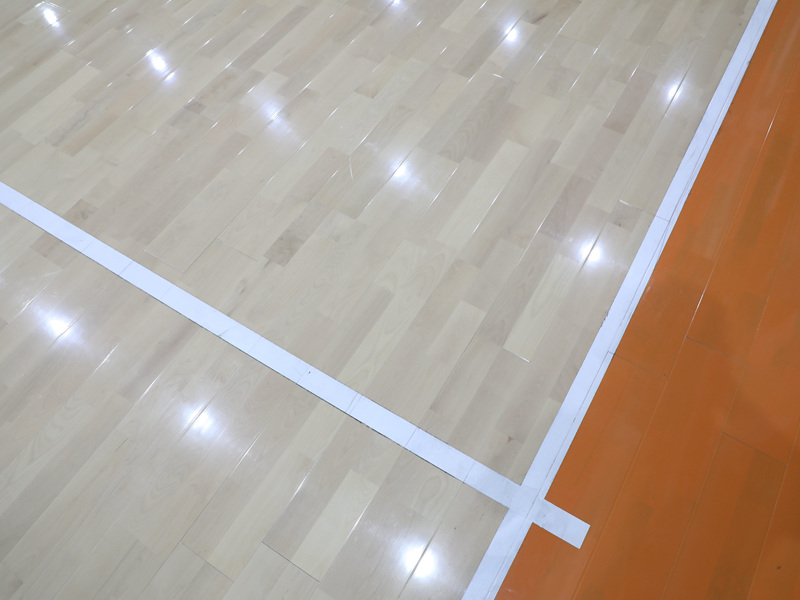
After what felt like forever, I got all the main pieces down. Then, I had to trim some of the edge pieces to fit perfectly against the walls. That involved a circular saw and some very careful measuring. I’m not gonna lie, I was a little nervous using that thing. But, I managed to get it done without losing any fingers.
And done!
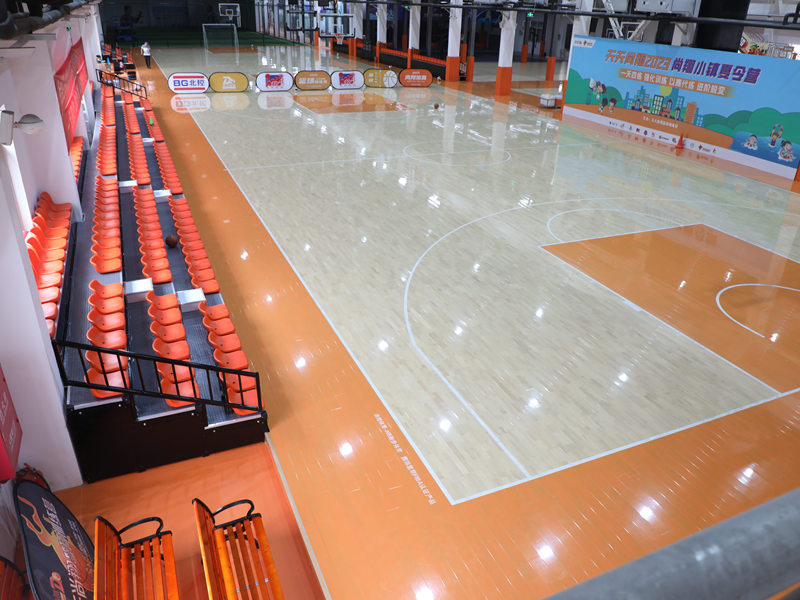
Finally after so much of my * flooring installed. I took me sometime to step back and looking at it. It looked pretty darn good, if I do say so myself. Smooth, shiny oak, with a nice bounce to it. We played our first volleyball game on it the next day, and it was a world of difference. No more sore knees! It was totally worth the sweat and the sore muscles.
So, there you have it. My adventure in portable wooden flooring. It wasn’t exactly a walk in the park, but it was a fun challenge, and the end result was definitely worth it. If you’re thinking about doing something similar, just be prepared for some hard work, and maybe invest in some good knee pads!


