
Okay, here’s my blog post about building a portable wooden dance floor, written in a casual, conversational style, focusing on the action and process:
So, I’ve always wanted a dedicated space for practicing dance at home. Renting studio time adds up, and my living room floor? Not exactly ideal. I decided to take matters into my own hands and build a portable dance floor. I’m no carpenter, but I figured, how hard could it be? (Famous last words, right?)
First, I gathered my materials. The main thing was figuring out the surface. I went with plywood because it’s relatively inexpensive and sturdy enough. I chose “batten” because the plan was to make something I could easily move around and store. I’m talkin’ full-on portable, like, stash-it-in-the-closet portable.

The Build
I started by measuring the space I wanted the floor to cover. I didn’t want anything massive, just enough room to move without feeling cramped. Once I had my dimensions, I headed to the local hardware store.
- I got some sheets of plywood – decent quality, but nothing fancy.
- I also picked up some wooden battens. These would act as the support structure underneath the plywood, giving it a bit of spring and lift off the ground.
- I buy screws, lots and lots of screws. And wood glue. Can’t forget the wood glue.
Back home, the real fun began. I laid out the plywood sheets on the floor. Then, I started attaching the battens to the underside. The idea was to create a grid pattern, so the weight would be evenly distributed. This part was… a process. Lots of measuring, cutting, and re-cutting the battens to get them to fit just right.
I used both wood glue and screws to secure the battens. Belt and suspenders, you know? I wanted this thing to be solid. I probably overdid it with the screws, but hey, better safe than sorry. I definitely recommend having a good drill for this part. My arm was feeling it by the end!
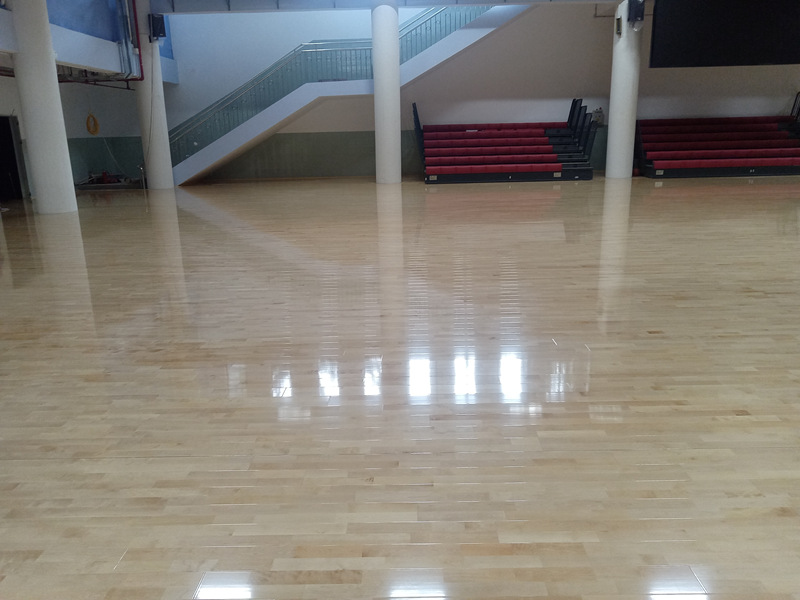
Once the battens were all attached, I flipped the whole thing over. And there it was! A (slightly wobbly) dance floor. It wasn’t perfectly level, but it was good enough for my purposes. The plywood had a bit of give, thanks to the battens, which was exactly what I wanted.
I tested it with basic dancing steps, the floor holding up pretty well. It felt way better than dancing directly on my hard floor. Success!
The best part? I could break it down into manageable sections. The plywood sheets weren’t too heavy, and the batten frames, while a bit bulky, could be stacked. I could easily tuck the whole thing away in the closet when I wasn’t using it.
It’s not the prettiest thing in the world, and a professional dancer might scoff, but for my home practice, it’s perfect. Plus, I built it myself, which is always a satisfying feeling. If I ever need a bigger or better floor, I know I can always expand on this design. For now, though, I’m happy to have my own little portable dance haven!


