
Okay, so I’ve been wanting to put down some proper flooring in my workshop for ages. I finally decided to bite the bullet and go for it. The project? “Keel dancing beech portable wooden flooring.” Sounds fancy, right? It’s basically a nice, springy wooden floor I can move around if I need to.
Getting Started
First, I spent a good chunk of time just researching. Lots of staring at screens, reading forums, and trying to figure out what the heck “keel” even meant in this context. Turns out, it’s about the support structure underneath the floorboards. Who knew?
Then came the fun part – buying the stuff! I found some beech flooring that looked pretty good and wasn’t too ridiculously priced. The “portable” part meant it came in sections, which was a relief. I’m no bodybuilder.
The Build
I have to learn and built it!
- Unpacking: Cardboard boxes everywhere! It was like Christmas, but with more splinters. I made sure to check for any damaged pieces before I got too excited.
- Laying the Keel: This was the tricky bit. I followed the instructions (mostly) and laid out the support structure. It’s basically a grid that gives the floor its spring. Lots of measuring and making sure things were level. My back definitely felt it after this part.
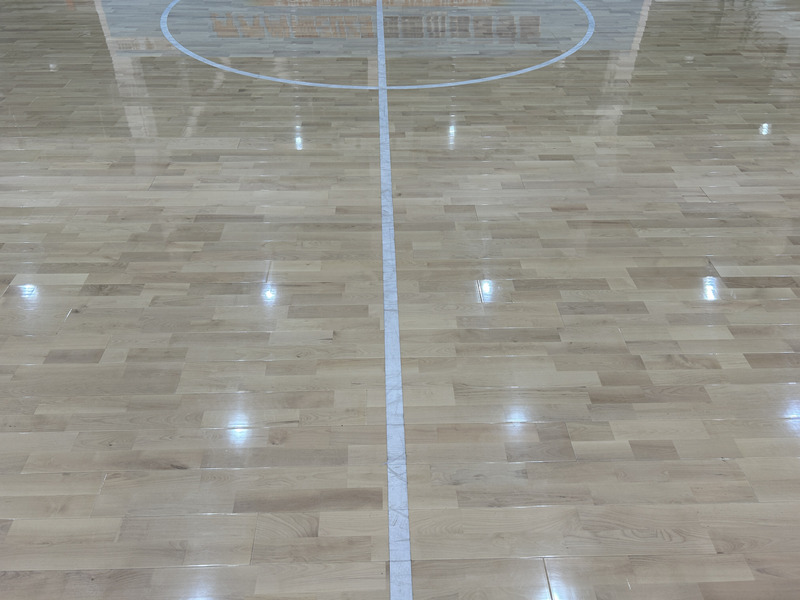
- Fitting the Floorboards: Once the keel was down, putting the actual floorboards on was pretty satisfying. They clicked together, which was kinda neat. Like giant, wooden puzzle pieces.
- Admiring My Handiwork: Okay, this is an important step. I stood back and looked at the finished floor. Not bad, not bad at all.
The Result
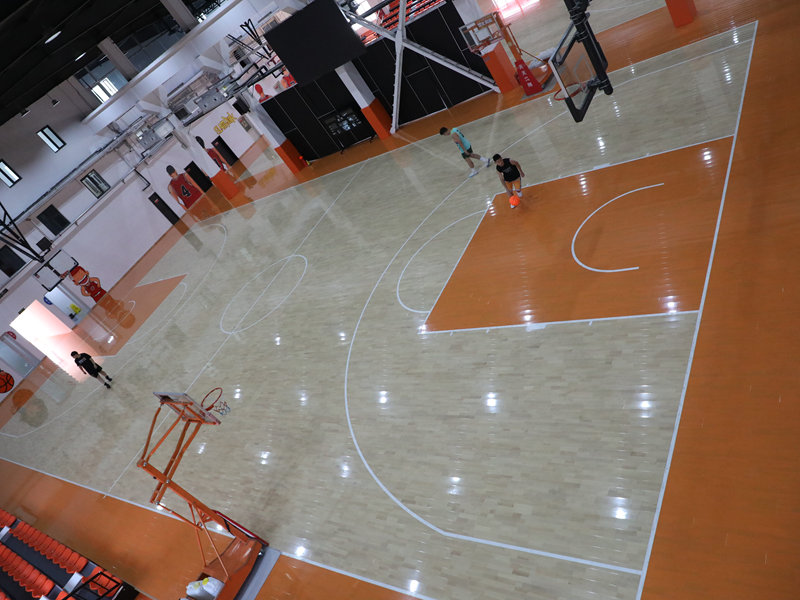
It’s done! My “keel dancing beech portable wooden flooring” is in place. It feels great underfoot, way better than the cold concrete I had before. And the best part? If I ever need to move my workshop, I can take the floor with me. Pretty sweet, huh? I am going to dance on my new floor!


