
Okay, so I’ve been wanting to redo the flooring in my basement for, like, forever. It’s this big open space, and I’ve always dreamed of turning it into a multi-purpose area – you know, workout space, maybe a little home theater area, and, I kid you not, a mini volleyball court! Yeah, I’m a bit obsessed with volleyball.
So, the flooring was the big question. I needed something tough, but also with a bit of give for, well, diving for volleyballs. After a bunch of research (and asking some friends who are way more into DIY than I am), I landed on the idea of a keel system with pine wooden flooring. Sounded fancy, but it’s actually pretty straightforward.
Getting Started
First things first, I cleared out the entire basement. This was a workout in itself! Boxes, old furniture, you name it – it all had to go. Then came the fun part (not really): leveling the concrete subfloor. My basement floor was surprisingly uneven. I used a self-leveling compound – basically, you mix this stuff up, pour it on, and it magically finds its own level. It’s like watching paint dry, but at least you know it’s doing something important.
Building the Keel System
Next up, the keel system. This is basically a framework that sits on top of the concrete and supports the wooden flooring. I used pressure-treated lumber for this, because, you know, basement = potential moisture. I laid out the lumber in a grid pattern, making sure everything was spaced evenly. This took some time and a LOT of measuring. My advice? Measure twice (or three times!), cut once.
I secured the keel system to the concrete using concrete screws. These things are beasts! Make sure you have a good drill for this part, because it’s tough going. Once the keel system was in place, it looked like a giant wooden waffle – pretty cool, actually.
Laying the Pine Flooring
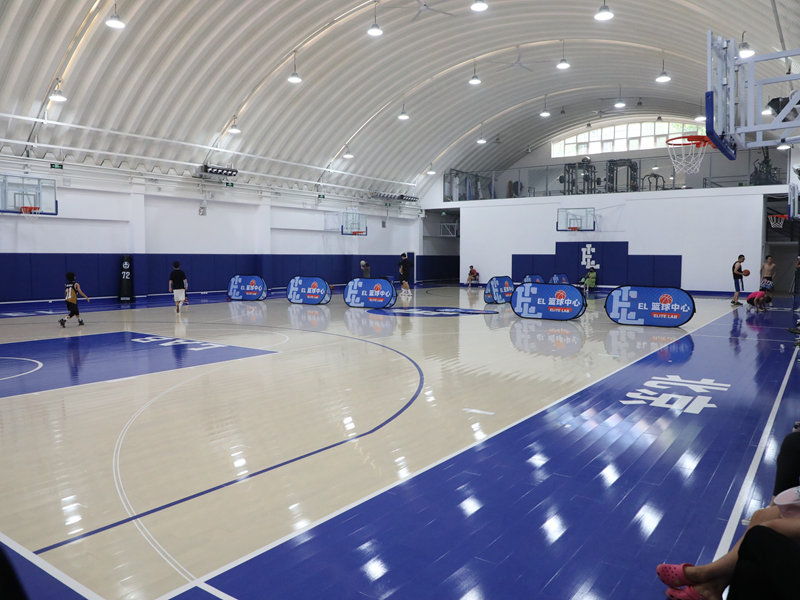
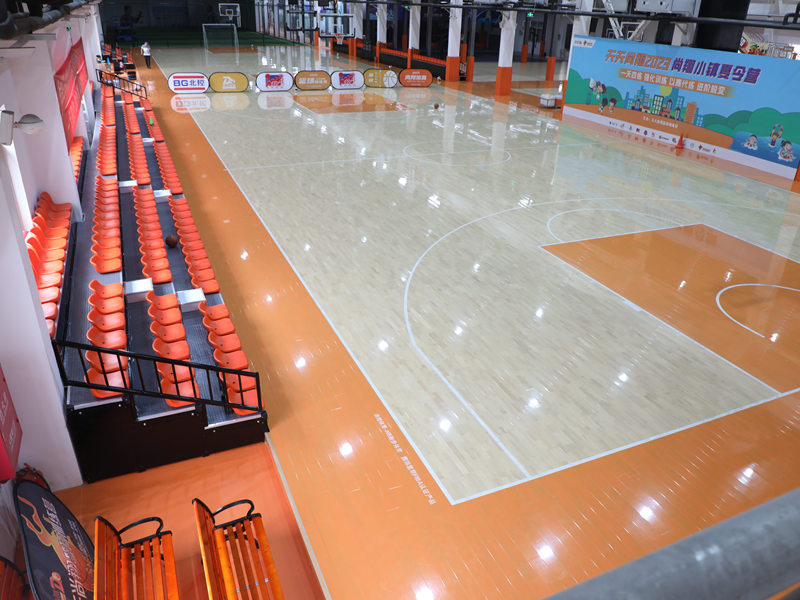
Now for the pretty part – the pine flooring! I chose pine because it’s relatively inexpensive, looks good, and has a decent amount of give. I started laying the planks along one wall, making sure to leave a small expansion gap between the flooring and the wall (wood expands and contracts with temperature changes, so this is important!).
I used a flooring nailer to secure the planks to the keel system. This was surprisingly satisfying – the thunk of the nailer as it drove the nails in was music to my ears. I worked my way across the room, row by row, making sure the planks were tightly fitted together.
The Finishing Touches
Once all the flooring was down, I filled any nail holes with wood filler and sanded the entire floor smooth. This was dusty work, so I definitely recommend wearing a mask. Then came the final step: applying a few coats of polyurethane sealant. This protects the wood and gives it a nice, finished look.
- Clear out the space.
- Level the subfloor.
- Build the keel system.
- Lay the pine flooring.
- Fill, sand, and seal.
And that’s it! My multi-purpose basement, complete with a mini volleyball court, is finally done! It was a lot of work, but totally worth it. Now, if you’ll excuse me, I’m going to go practice my serve.


