
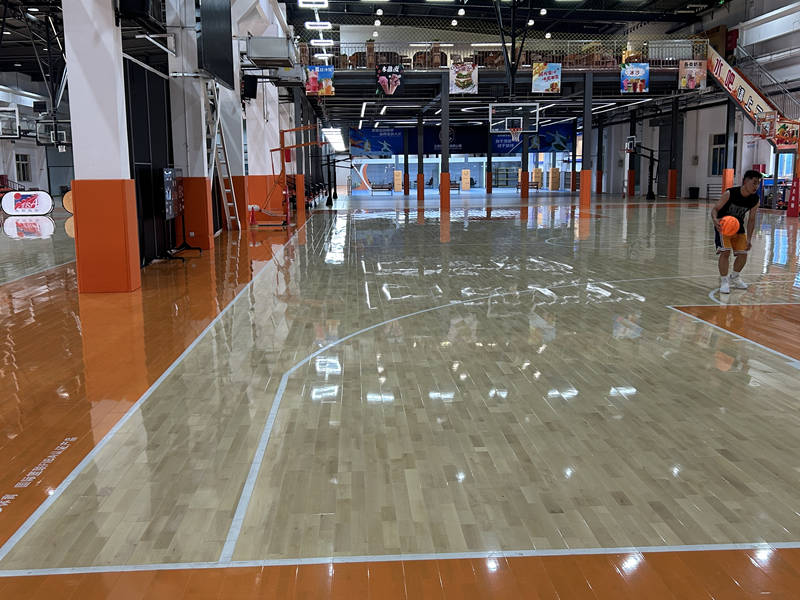
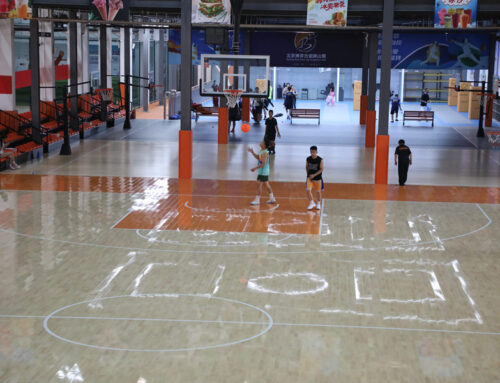
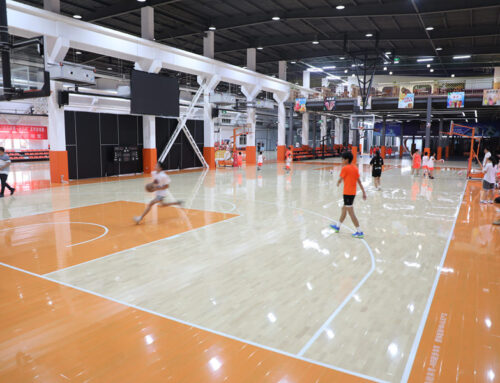
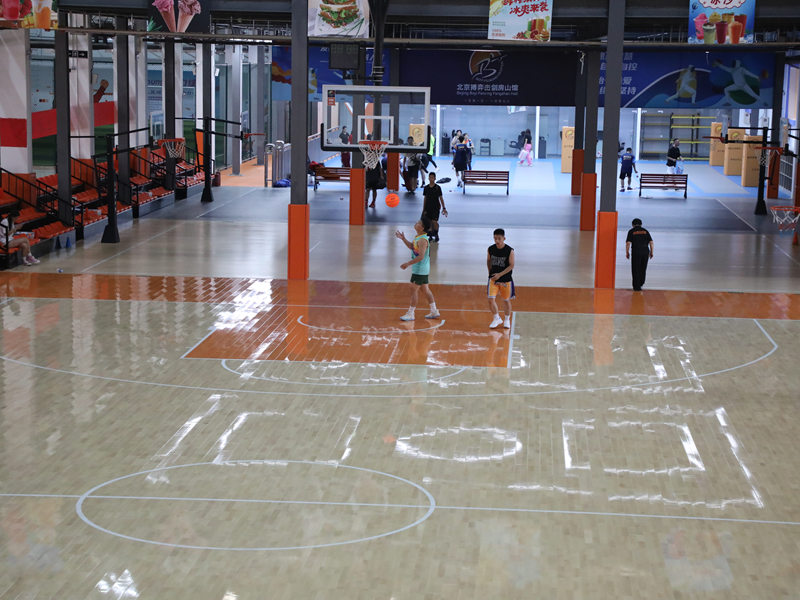
Alright, guys, let’s talk about this flooring project I tackled. The name’s a mouthful: “keel Volleyball lvl larch assembled wooden flooring.” Basically, it’s fancy wood flooring meant for a sports area, like a volleyball court. I was putting it in my basement rec room, though, not a professional gym.
Getting Started
First things first, I had to get the materials. I ordered the flooring, which came in these big, pre-assembled panels. Seemed easy enough, right? Wrong. These things were HEAVY. I definitely recommend having a friend help you unload, or at least a good hand truck.
The Keel System
This flooring uses something called a “keel” system. Think of it like the skeleton underneath the floor. It’s these wooden strips that create a framework for the panels to sit on. So, my next step was laying out the keel. I measured the room (twice, because measure twice, cut once, right?), and marked where the keel strips needed to go. I followed a grid pattern that was mentioned in the brochure.
It needs some screwing. I used a power drill to screwed them into place. This part took a while, and my back was definitely feeling it by the end.
Laying the Floor Panels
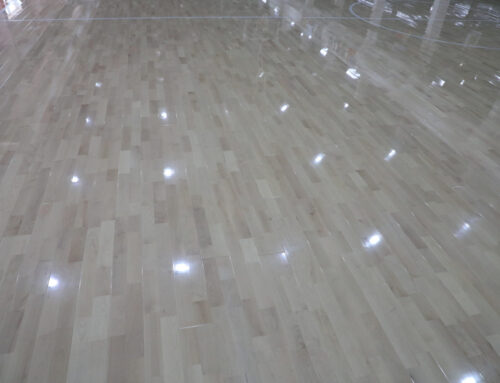
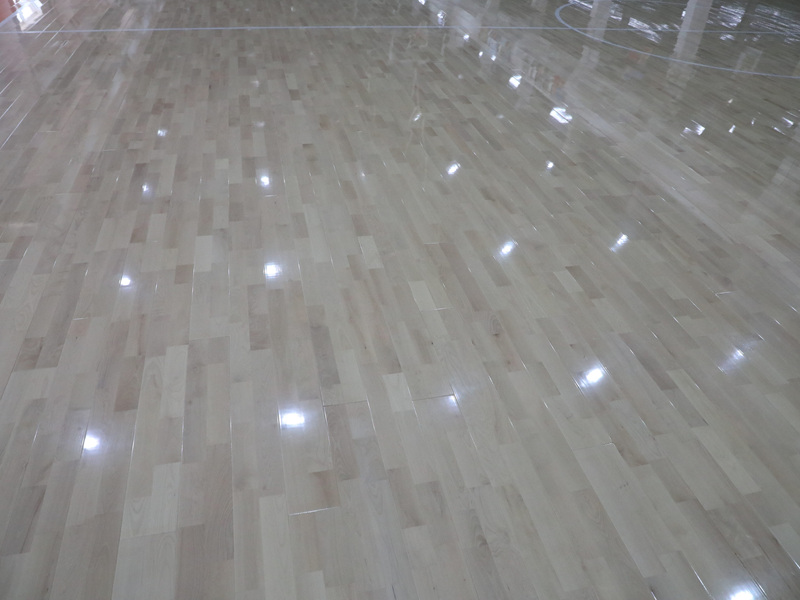
With the keel down, it was time for the main event: the flooring panels. These panels were tongue-and-groove, meaning they had these little interlocking edges. The idea is that they fit together snugly, like puzzle pieces.
I started in one corner and began laying the panels down, making sure the tongue and groove edges clicked together. I used a rubber mallet to gently tap them into place – didn’t want to damage the wood. As I went, I made sure everything was staying level. A long level is your best friend here.
The Tricky Parts
- Cutting around edges: Of course, the room wasn’t a perfect rectangle. I had to cut some panels to fit around doorways and corners. This is where a good jigsaw came in handy. I marked the cuts carefully and took my time. Measure ten times.
- Keeping it straight: It’s easy for things to get a little wonky as you go. I constantly checked that my rows were straight and that the panels were flush against each other.
Finishing Up
Once all the panels were down, I installed some trim around the edges of the room to cover the gaps and give it a clean look. And that was pretty much it!
Honestly, it was a bigger project than I initially thought. It took a couple of weekends, some sore muscles, and a few choice words, but the end result was totally worth it. The floor looks fantastic, and it’s super solid. Now I just need to get that volleyball net set up…

