
Alright, let’s talk about my little adventure with “keel dancing pine wooden flooring”. Sounds fancy, huh? It kinda is, but it was also a bit of a pain, to be honest. But hey, that’s DIY for ya!
The Prep Work (Ugh)
First things first, I had to get the room ready. This meant clearing everything out. Furniture, rugs, the cat’s favorite scratching post – everything. Then came the cleaning. I swept, vacuumed, and even mopped the old subfloor. I wanted a nice, clean surface to work with, you know?
Dealing with the Keel
Now, the “keel” part. This is basically the support structure for the floor. Mine was… well, it was there. It wasn’t perfectly level, which is a big no-no for wooden flooring. So, I spent a good chunk of time shimming. That’s basically sticking little pieces of wood under the low spots to even things out. Tedious? Yes. Necessary? Absolutely.
- Used a long level to find the high and low spots.
- Cut small pieces of wood shims.
- Tapped them in place with a hammer until everything was level.
Laying Down the Pine
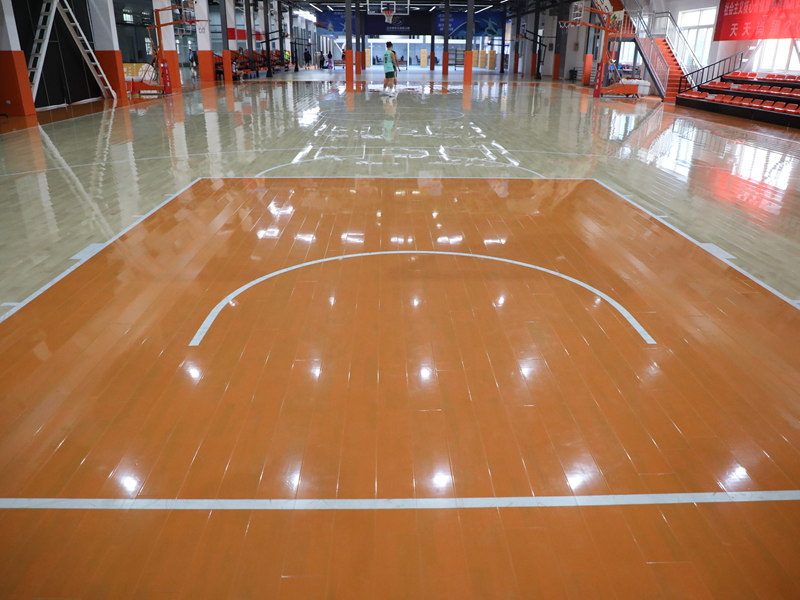
Once the keel was sorted, it was time for the actual flooring. I chose pine because it’s relatively inexpensive and I like the look. The “dancing” part just refers to the pattern I was going for – a bit of a staggered, random look, rather than perfectly straight rows.
I started by laying down the first row along the longest wall. I made sure to leave a small gap between the flooring and the wall – this is for expansion and contraction, because wood moves with temperature and humidity. Then, I just kept going, row by row.
The boards had this tongue-and-groove thing going on, so they kinda clicked together. I used a rubber mallet to tap them into place, making sure everything was nice and snug. For the ends of the rows, I had to cut the boards to size with a saw. Measure twice, cut once, that’s what they say!
The Finishing Touches
After all the boards were down, I filled in any nail holes with wood filler. Then came the sanding. Oh, the sanding! It created so much dust, even with a dust mask. But it made the floor super smooth. Finally, I applied a few coats of polyurethane to protect the wood and give it a nice sheen.
It took a few days, a lot of sweat, and maybe a few curse words, but I got it done. My “keel dancing pine wooden flooring” is now a reality. Is it perfect? Nope. But it’s mine, and I’m pretty darn proud of it.


