
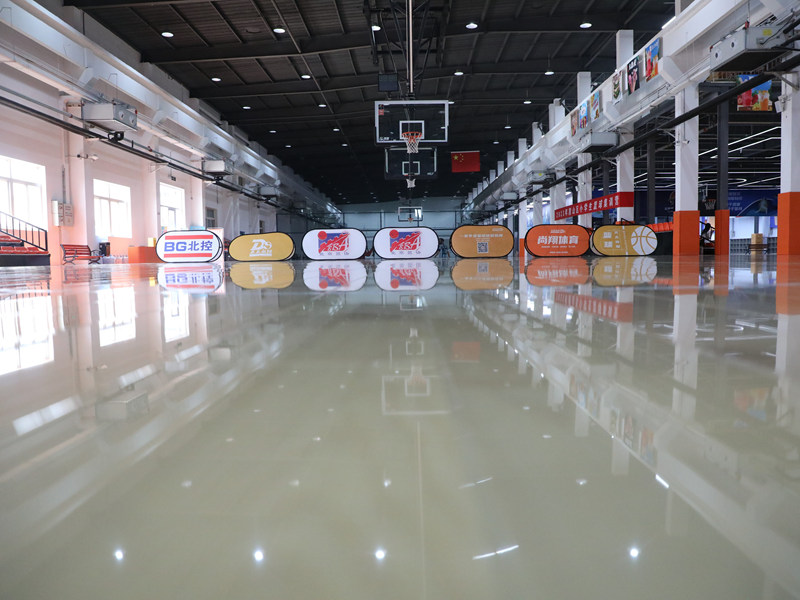
Okay, so I’ve been wanting to redo the floors in my living room for, like, forever. The old carpet was just…ugh. Stained, worn, and so last decade. I finally decided to go for it and picked out this gorgeous engineered wood – “Keel Dancing Oak Assembly” – it had this warm, inviting vibe, and I was sold!
First things first, I ripped out that nasty old carpet. Let me tell you, that was a workout! And dusty? You wouldn’t believe. I wore a mask and goggles, and I still felt like I was inhaling carpet fibers from 1985.
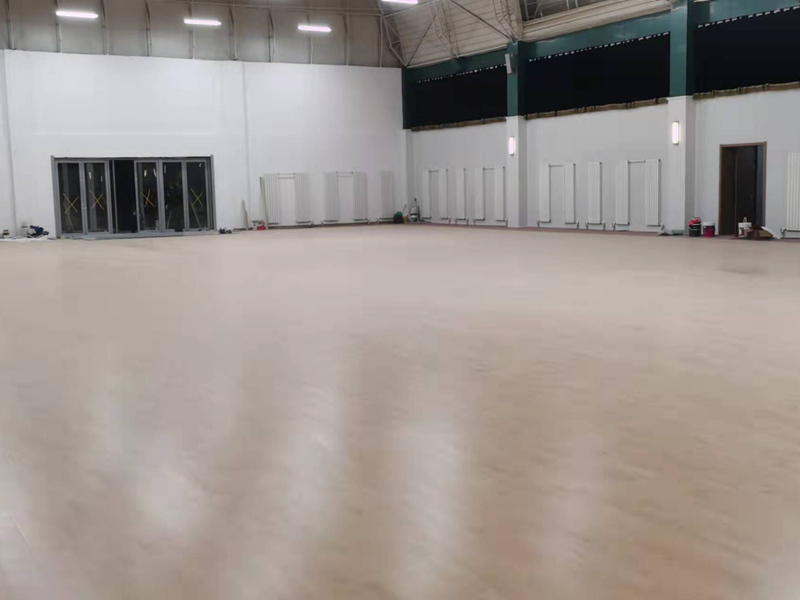
Then came the prep work. The subfloor was pretty uneven in spots, so I used some self-leveling compound. Basically, you mix this stuff up like pancake batter (a little thicker, actually), pour it on the low spots, and it magically finds its own level. It took a couple of days to fully dry, but it was worth it to get a nice, flat surface.

The Laying Begins!
Next, I rolled out the underlayment. This is like a thin, foam padding that goes between the subfloor and the wood flooring. It helps with sound dampening and a little bit of cushioning. Seemed pretty simple, I just taped the seams together.
Now for the fun part – actually laying the wood! The “Keel Dancing Oak” has this click-lock system, so the planks are supposed to just snap together. Sounds easy, right? Well, it was…mostly. The first few rows were a bit tricky, making sure everything was perfectly straight and aligned. I used a rubber mallet and a tapping block (basically a small piece of scrap wood) to gently tap the planks together. My knees were definitely feeling it after a while!
- Ripped out old carpet (major workout!)
- Prepped subfloor with self-leveling compound.
- Rolled out underlayment and taped seams.
- Started laying the planks – click-lock system!
- Used rubber mallet and tapping block (knee-saver!).
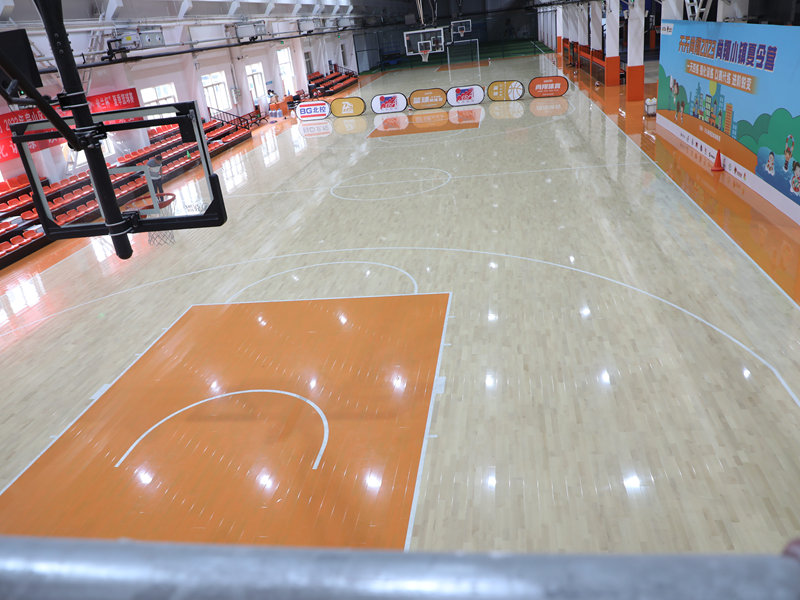
I worked my way across the room, row by row. It was actually pretty satisfying to see the floor taking shape. There were a few tricky cuts around doorways and corners, but I managed with a jigsaw. (Note to self: invest in a better jigsaw next time!). I used some spacers along the wall to maintain the expansion gap between the wood and the wall. Because of the seasonal humidity change, It is very important.
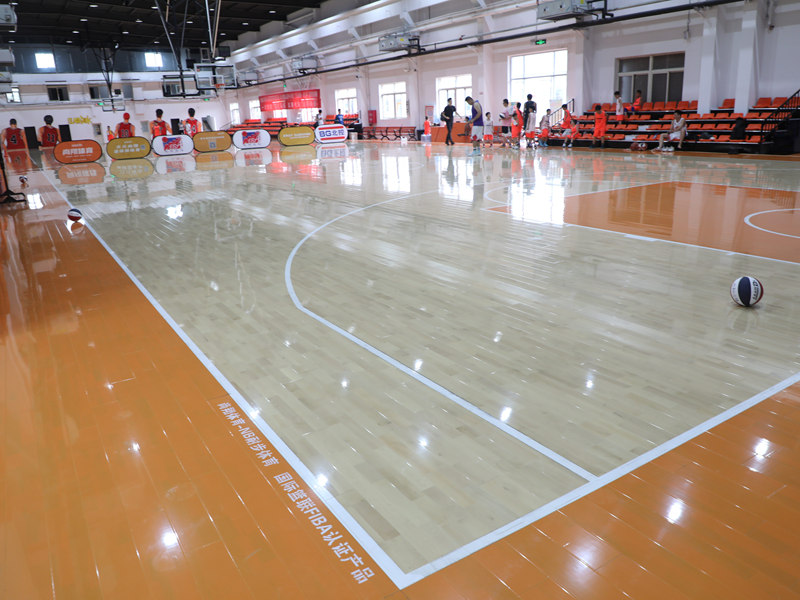
Finally, after a couple of long days, I finished! I installed the baseboards, and…wow. It looked amazing! The “Keel Dancing Oak” was even more beautiful than I imagined. The room felt so much brighter and more modern. It was a lot of work, but totally worth it. My back might be killing me, but my living room looks fantastic!
So, that’s my flooring adventure! It was a learning experience, for sure, but I’m pretty proud of myself for tackling it. And now I have a gorgeous new floor to show for it!


