
Alright, so I’ve been wanting to upgrade my home gym for a while, and the biggest thing was the floor. I had some old, like, really beat-up concrete, and it was just killing my knees when I was shooting hoops. So, I finally decided to go for it and install some proper basketball flooring. After looking at a bunch of stuff, I went with keel basketball soft maple wooden flooring. Let me tell you about the whole messy, but ultimately awesome, process.
Choosing the Right Stuff
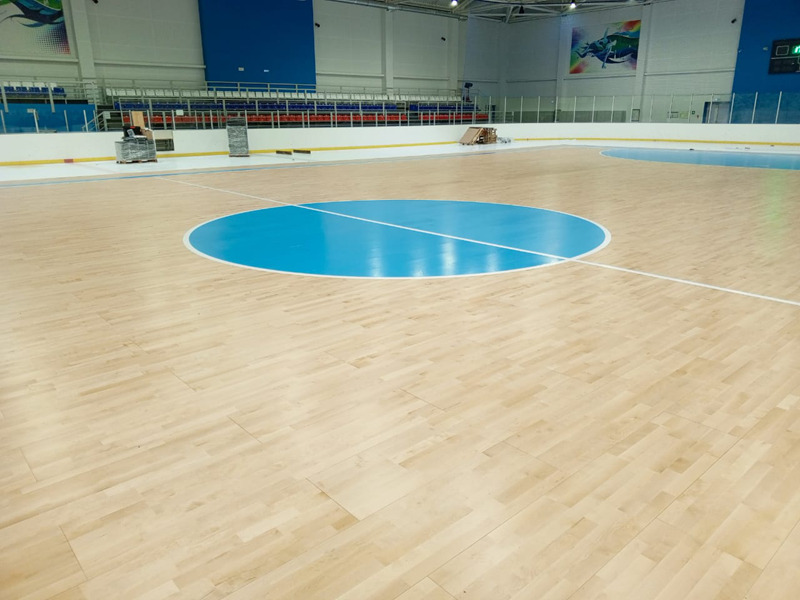
First, I had to figure out what kind of floor I even wanted. There’s, like, a million options. I knew I wanted wood – that classic basketball feel, you know? I did a lot of thinking whether to go with solid hardwood, then I stumbled upon this “keel” system. It’s basically a subfloor structure that gives the floor some bounce and helps with shock absorption. And the “soft maple”? That’s just the type of wood, and it’s supposed to be good for this kind of thing.
Prepping the Space (The Dirty Work)
This was the worst part. My old concrete floor was a disaster. I had to:
- Clear everything out. Seriously, EVERYTHING. My gym equipment, old boxes, random junk…it all had to go.
- Clean, clean, clean. I swept, vacuumed, and even scrubbed the concrete to get rid of any dust, dirt, or loose bits.
- Level it out. This was a pain. My floor had some serious dips and bumps. I used a self-leveling compound – basically, you mix this stuff up, pour it on, and it magically finds the low spots and makes everything flat. Took a few tries, but it worked!
Installing the Keel System
This is where things got a little tricky. The keel system is like a grid of wooden supports. It came in pieces, and I had to assemble it according to the instructions (which, honestly, could have been clearer).:
- Laid down a moisture barrier. Just a big sheet of plastic to protect the wood from any moisture coming up from the concrete.
- Started assembling the keel. It was like a giant puzzle. Lots of interlocking pieces and screws. My back definitely hurt after this part.
- Checked for level (again!). Made sure the whole keel structure was nice and even. Used some shims (little wedges of wood) to adjust things here and there.
Laying the Maple Flooring
Finally, the fun part – putting down the actual wood! This part was surprisingly satisfying:
- Started in one corner. Laid down the first row of maple planks, making sure it was straight and lined up with the keel.
- Used a nail gun. This was my favorite tool. So much faster than hammering! I nailed the planks to the keel structure.
- Continued row by row. It was like building a giant wooden jigsaw puzzle. The planks had these grooves that fit together, so it was pretty easy to keep everything aligned.
- Cut pieces to fit. Around the edges and doorways, I had to use a saw to cut the planks to the right size. Measure twice, cut once, as they say!
Finishing Touches
Almost there! Just a few more things to do:
- Sanding. I rented a big floor sander to smooth out the entire surface. This created a LOT of dust, so I wore a mask and kept the area ventilated.
- Staining (optional). I decided to keep the natural color of the maple, but you could definitely stain it if you wanted.
- Applying sealant. This protects the wood and gives it a nice, finished look. I did a couple of coats, letting it dry in between.
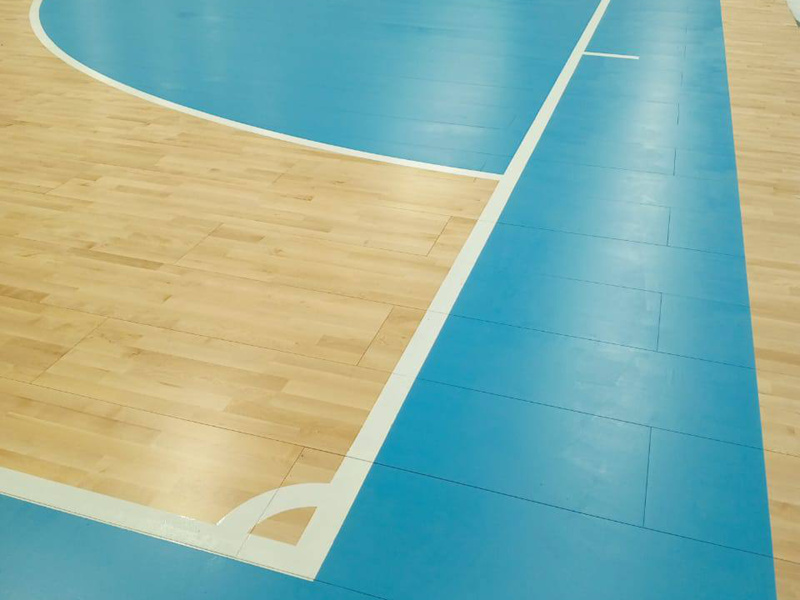
- Painting the lines. This was the most exciting part! I carefully measured and taped off the lines for a basketball court, then used special floor paint to fill them in.
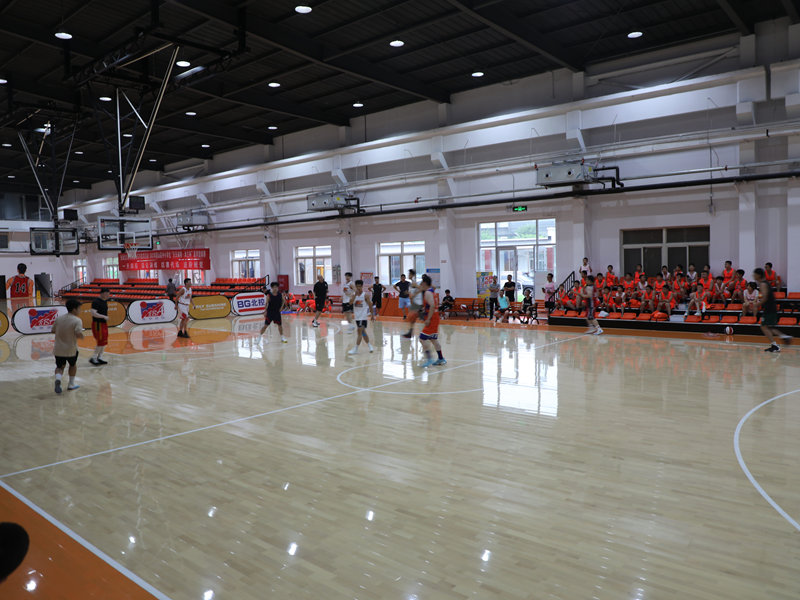
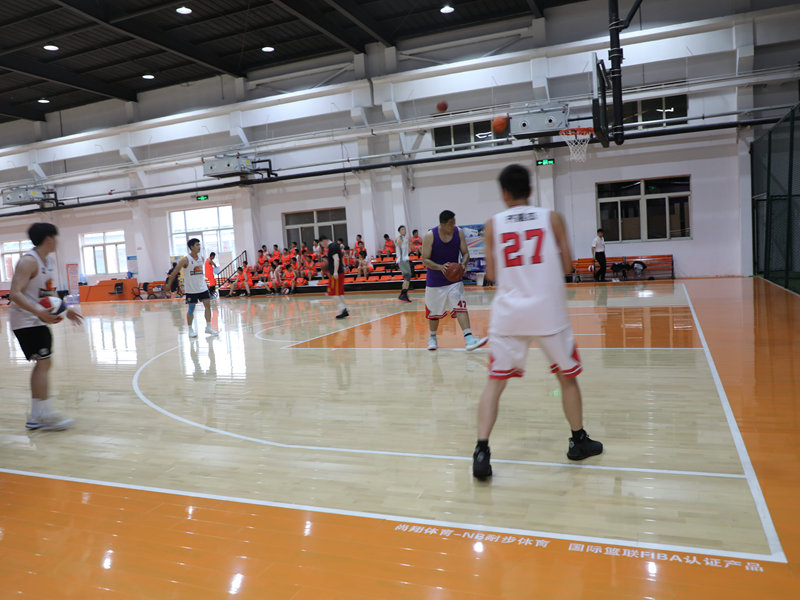
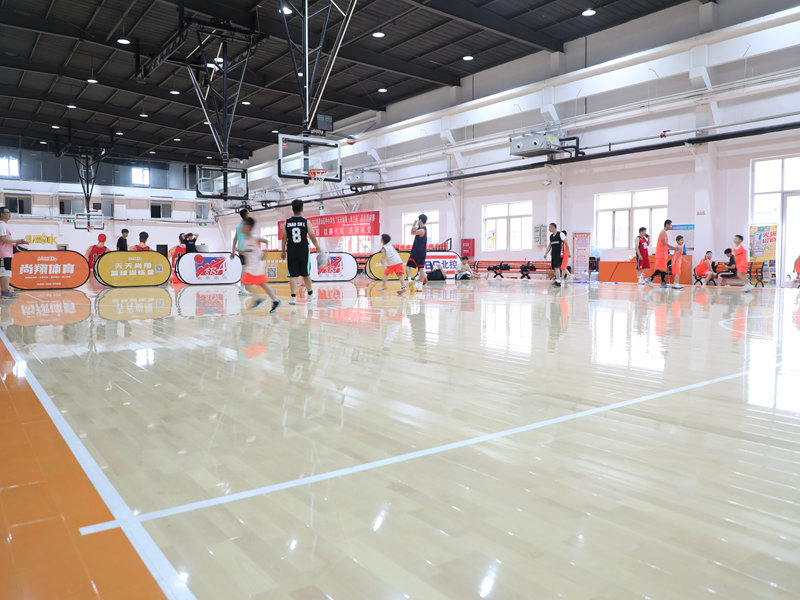
And that’s it! It was a ton of work, and my body definitely felt it, but seeing my finished basketball court was totally worth it. Now I can shoot hoops without wrecking my knees, and it looks amazing. Definitely a project I’m proud of!


