
Okay, here’s my blog post about putting together that basketball court floor:
Alright, so I finally got around to tackling that project I’ve been putting off – assembling the keel, basketball level, larch, assembly wooden flooring. It sounded way more intimidating than it actually was, to be honest. I mean, “keel basketball lvl larch assembly”? Sounds like some kinda fancy boat-building thing, right?
First things first, I cleared out the entire space. This was probably the most annoying part, moving all the furniture and junk. I even took down the curtains. Gotta have room to work, you know?
Getting Started
Then, I laid out all the pieces. It looked like a giant jigsaw puzzle at first, but thankfully, the instructions (which were surprisingly clear, for once) had a decent diagram. I started with the keel pieces – those are the long support beams that run underneath. They clicked together pretty easily, just a bit of lining up and pushing until I heard that satisfying snap.
- Sorted the wood pieces by size and type. Made it way easier to find what I needed.
- Checked for any damaged pieces. Found a couple with minor dings, but nothing major. I set those aside to use in less visible spots.
- Double checked.
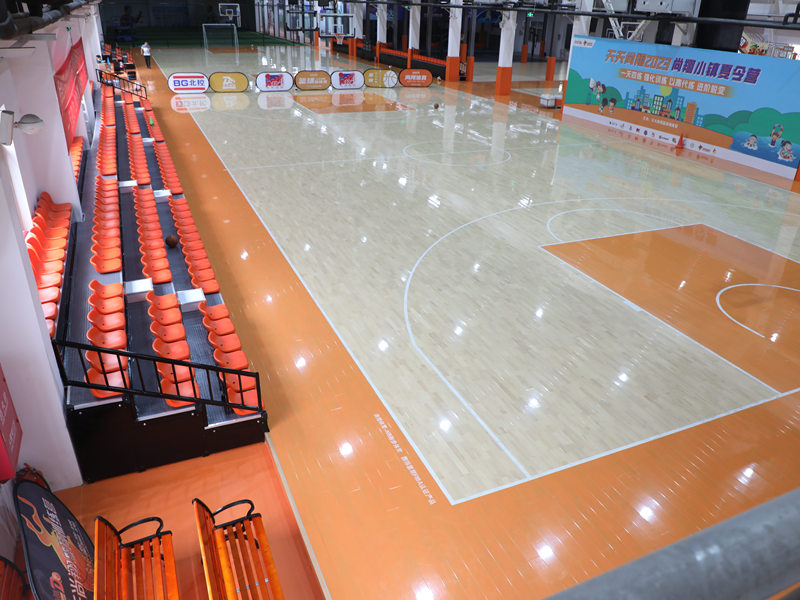
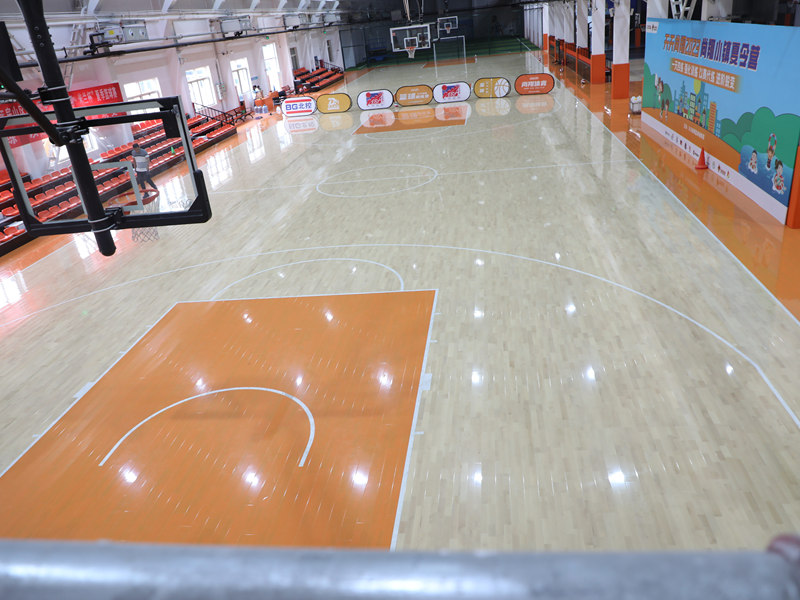
After the keel was down, I started on the actual flooring panels. These were larch, which I chose because it’s supposed to be pretty durable and looks nice. Each panel had these little grooves on the sides, and they slotted into the keel and each other. Again, a lot of lining up and pushing, and occasionally a gentle tap with a rubber mallet (didn’t want to dent the wood!).
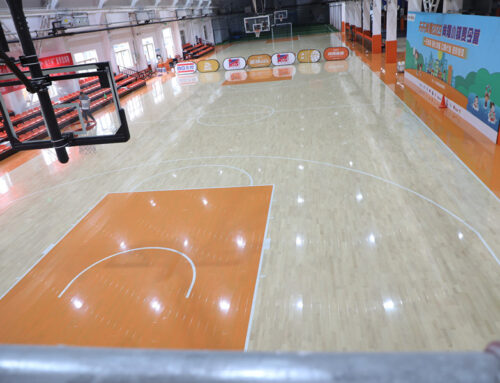
It was slow going at first. I kept second-guessing myself, making sure everything was level. I used a big level – like, the kind a construction worker would use – and checked every few rows. There were a few spots where I had to shim things up a bit with some thin pieces of wood to get it perfectly even. No one wants a bouncy basketball court, right?
The Home Stretch
As I got closer to the end, it actually started to go faster. I got into a rhythm, and I could see the whole thing taking shape. That was a pretty good feeling. The last few pieces were a bit tricky, because I had to trim them to fit against the wall. I used a circular saw for that – carefully, very carefully. Measure twice, cut once, as they say.
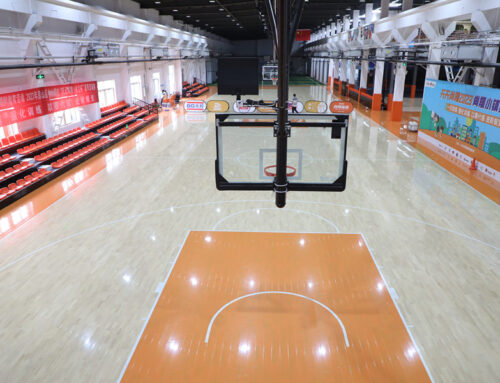
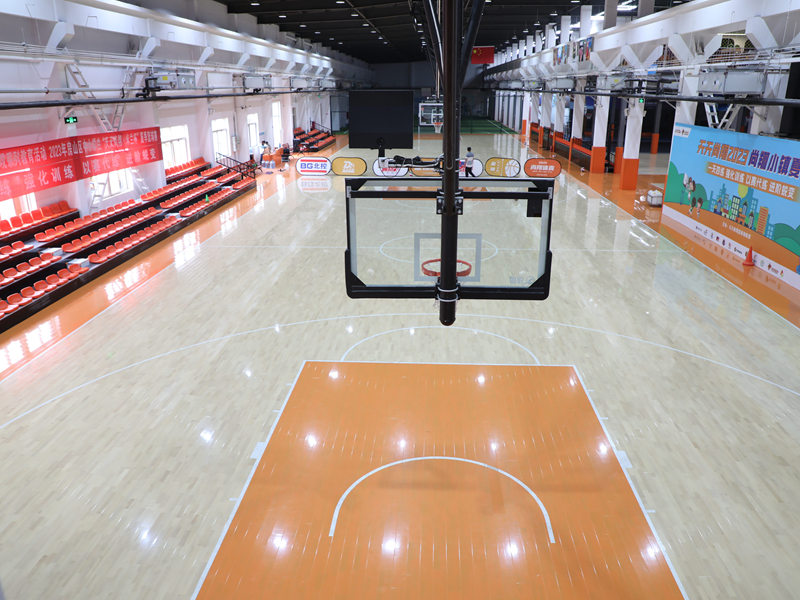
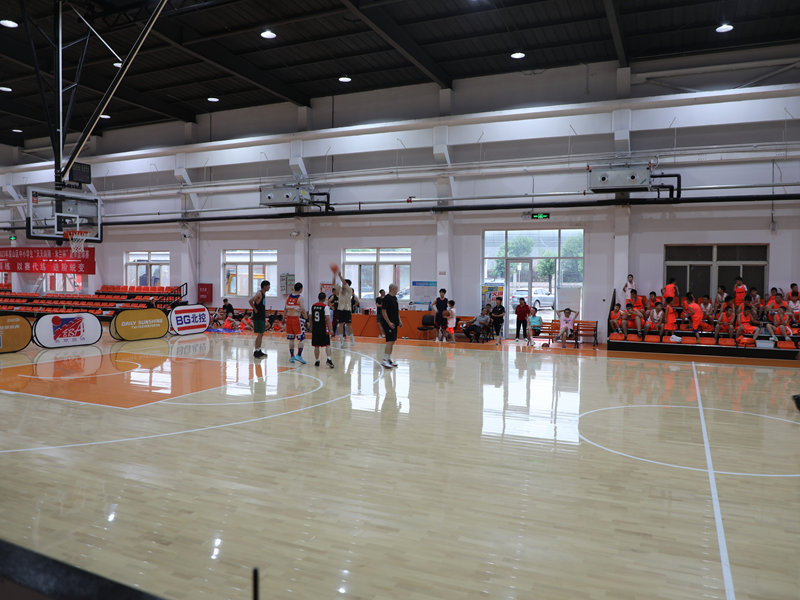
Finally, I stood back and admired my handiwork. It looked… pretty darn good, if I do say so myself. A brand new, shiny, level basketball court floor. Now, all I need is a hoop and some players!
All the sweat is worth it. And My back really hurt that night.


