
Okay, here’s my blog post about installing laminate basketball parquet timber flooring, written in a casual, personal style, and using basic HTML tags for formatting:
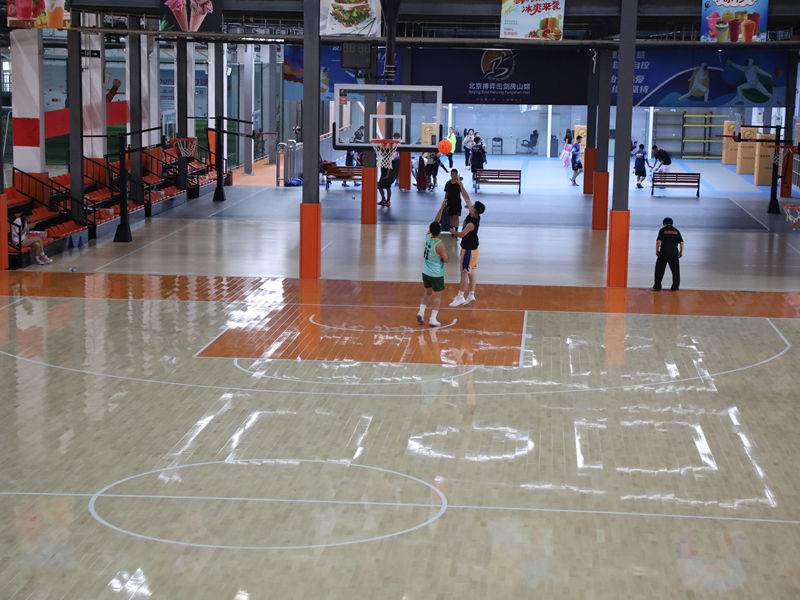
So, I decided to give my home gym a serious upgrade. I’ve always loved the look of those classic basketball courts, you know, the parquet style? But real hardwood is crazy expensive and a pain to maintain. That’s when I stumbled upon laminate that looks like parquet timber. Game changer!
First, I cleared out the entire room. Everything. Weights, mats, that weird exercise bike I never use… all of it had to go. This gave me a completely blank canvas to work with.
Next up was prepping the subfloor. Mine’s concrete, and thankfully, it was already pretty level. I just gave it a good sweep and vacuum to get rid of any dust or debris. If you have any major cracks or unevenness, you’d need to address that first with some leveling compound.
Then came the underlayment. I rolled out this foam stuff – it’s supposed to help with sound dampening and provide a little extra cushion. I taped the seams together with some heavy-duty packing tape to keep it all in place.
Laying the Laminate
Now for the fun part! I started in one corner, laying down the first row of planks. The laminate I got had this click-lock system, so it was pretty straightforward. You just angle one plank into the other and snap it down. It’s kind of satisfying, actually.
- Tip 1: Use spacers! I wedged these little plastic things between the planks and the wall to leave an expansion gap. Laminate expands and contracts with temperature changes, so you need to give it some room to breathe.
- Tip 2: Stagger the seams. Don’t line up the ends of the planks in each row. It looks way better and is structurally stronger if you offset them. Think brickwork.
I kept going, row by row, clicking and snapping the planks together. It took a while, and my knees definitely felt it, but seeing the floor come together was super rewarding.
For the edges, I had to cut some planks to fit. I used a jigsaw, but a circular saw would work too. Just measure carefully, and remember the old saying: “measure twice, cut once.”
Finally, I installed some quarter-round molding around the perimeter to cover up the expansion gap and give it a nice, finished look. I used a nail gun for this, which was way easier than hammering in tiny nails by hand.
And that’s it! My home gym now has that awesome basketball court vibe. It’s way easier to clean than carpet, and it looks a million times better. If you’re thinking about doing something similar, I say go for it! It’s a totally doable DIY project, even if you’re not a super-handy person. Just take your time, and don’t be afraid to make mistakes. You can always fix them!


