
Okay, so I’ve been wanting to try this “rubber dancing plywood” thing for my workshop floor for ages. I finally took the plunge, and here’s how it went down.

Getting Started
First, I cleared out the entire workshop. This was a pain, moving all my tools and benches, but totally necessary. You need a completely empty space to work with.
Next, I cleaned the concrete subfloor like crazy. I swept it multiple times, then vacuumed, and finally mopped it with some basic cleaner. I wanted to make absolutely sure there was no dust or debris that could mess things up later.
Laying Down the Rubber
I bought these rolls of recycled rubber underlayment. It’s pretty thin, maybe 1/4 inch, and comes in big rolls. I unrolled the rubber across the floor, cutting it to fit with a utility knife. It was surprisingly easy to cut, just make sure you have a sharp blade!
I overlapped the edges of the rubber by a couple of inches, just to be safe. Then I used this special rubber flooring tape to tape the seams down. I made sure to press down really hard on the tape to get a good seal.
Plywood Time!
Now for the plywood. I chose 3/4 inch plywood because I wanted something sturdy. I laid the plywood sheets down on top of the rubber, staggering the joints like you would with bricks. This is important for stability.
I left a small gap, maybe 1/4 inch, around the edges of the room for expansion. Wood moves with temperature and humidity, so you need to give it some room to breathe.
I used a nail gun to attach all plywood together. It’s very important to secure the sheets together.
The “Dancing” Part
Here’s the key: I didn’t glue or screw the plywood to the rubber or the subfloor. The weight of the plywood is enough to hold everything in place. This is what gives it that “dancing” feel – it’s got a little bit of give when you walk on it.
Finishing Up
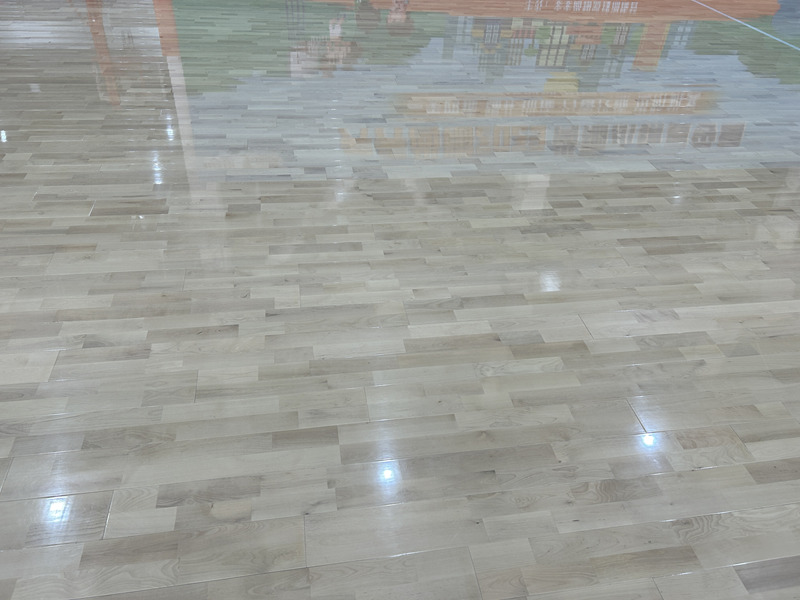
Once all the plywood was down, I filled any gaps or nail holes with wood filler. Then I sanded the whole floor smooth with my orbital sander. Took a while, but it’s worth it for a nice, even surface.
Finally, I applied a couple of coats of polyurethane sealer. This protects the wood and makes it easier to clean up spills. I let it dry completely between coats, following the instructions on the can.
The Result
Honestly, I’m super happy with how it turned out! The floor feels great underfoot – it’s much more comfortable than the bare concrete. It’s also surprisingly quiet, which is a nice bonus. It does have that slight “give” when you walk on it, which is kind of cool. I moved all my tools back in, and it’s been a game-changer for my workshop. It’s like standing on a cloud, even with heavy boots on. I can now work longer and feel more comfortable.


