
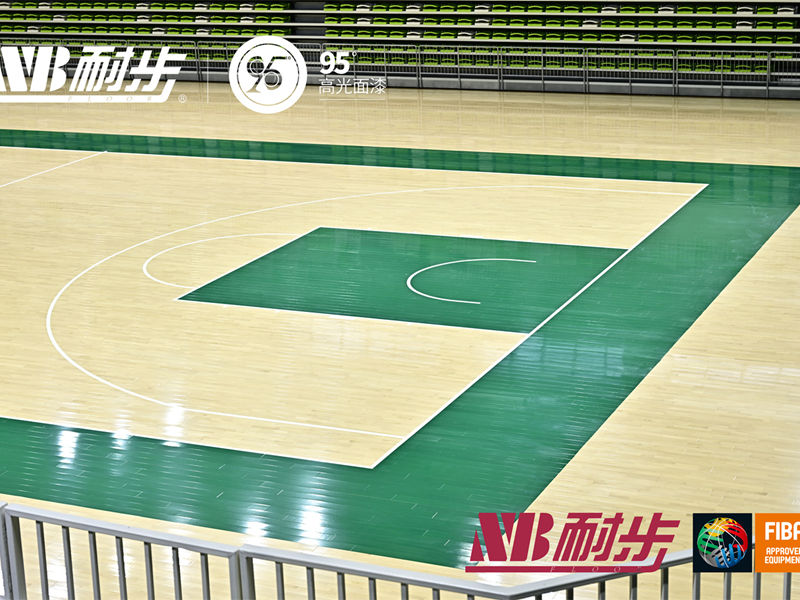
Okay, folks, let’s dive into this little project I tackled – putting in some LVL basketball court flooring. It’s the maple assembly kind, and let me tell you, it was a bit of a learning curve, but we got there!
First things first, I cleared out the space. This was probably the most boring part, just moving furniture, sweeping up dust bunnies, and making sure I had a completely blank canvas to work with. Think of it like prepping a wall for painting, only on a much bigger scale.
Next up, I laid down a moisture barrier. I used Plastic sheeting . This is super important, especially if you’re putting the floor over concrete, like I was. You don’t want moisture creeping up and messing with your beautiful wood.
Then came the underlayment. I went with a foam underlayment. It’s simple provide some cushion and help with sound dampening. Think of those squeaky sneakers on the court – the underlayment helps minimize that a bit.
The Real Fun Begins: Laying the LVL
Now for the main event – the LVL planks! These things are long, so I made sure I had a buddy to help me wrangle them. We started along the longest wall, leaving a little expansion gap (about 1/2 inch) between the wood and the wall. This is crucial because wood expands and contracts with temperature changes. If you don’t leave that gap, you’re gonna end up with a buckled floor.
- Snap a chalk line: We used a chalk line to make sure our first row was perfectly straight. If your first row is crooked, the whole floor will be off.
- Interlocking system: The LVL planks had a tongue-and-groove system, so they basically clicked * use a rubber mallet to tap them into place.
- Stagger the seams: Just like with any flooring, you want to stagger the seams of the planks. It looks better and it makes the floor stronger.
We worked our way across the room, row by row. It was kind of like putting together a giant puzzle. Some pieces needed a little extra persuasion with the mallet. Cutting the planks to fit at the ends of the rows was, Admittedly, some of the planks were a little tricky, but patience is key.
Finishing Touches
After all the LVL was down, I installed some trim around the edges to cover up that expansion gap and give it a nice, finished look. Then I cleaned, I swept and mopped the floor to get rid of any dust or debris.
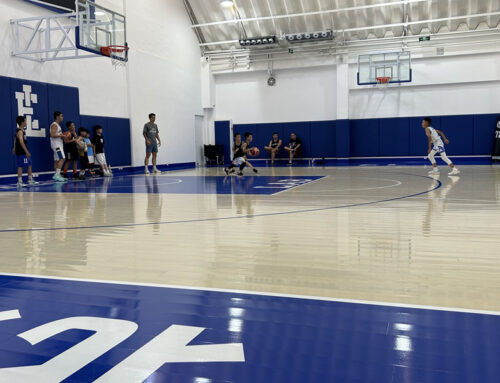
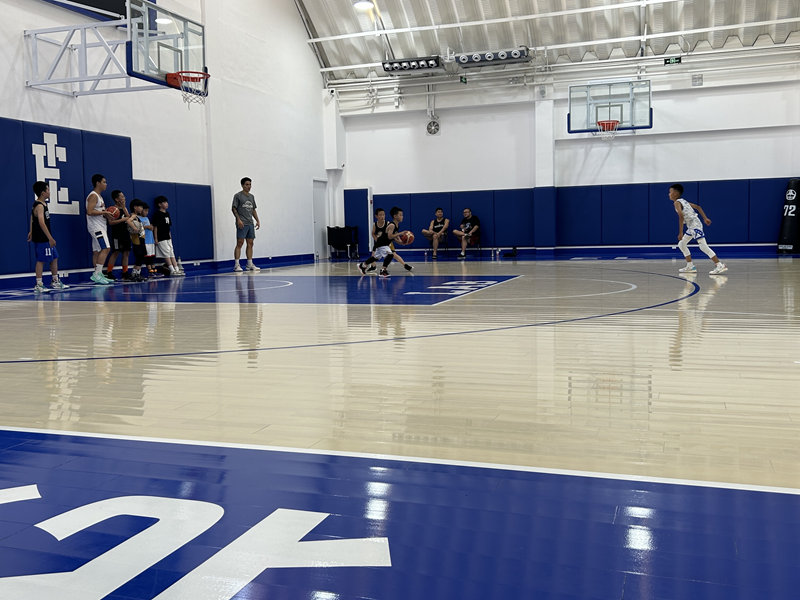
And that’s it! It was a decent amount of work, and my back definitely felt it the next day, but seeing that finished maple floor was totally worth it. It looks awesome, and I’m pretty proud of how it turned out. I am not professional and It’s not perfect, but it’s solid, and it’s ready for some serious basketball action!


