
Okay, so yesterday I decided to get my hands dirty and do something I’ve been putting off for ages – installing that wooden flooring in the spare room. I’ve watched a few videos, so figured, “how hard can it be, right?” Famous last words, maybe…
Prepping the Space
First things first, I cleared out the room. That meant moving all the furniture, taking down the curtains, and basically getting it down to bare bones. Then came the not-so-fun part: I had to remove the old, nasty carpet. Let me tell you, pulling up carpet is a workout! Underneath, I found some pretty uneven subfloor, so I spent a good chunk of time leveling things out with some self-leveling compound. Had to wait for that to dry, which was a good excuse to take a break.
The Keel Conundrum
Next up was dealing with the keel. Now, the instructions said to use a “dancing” keel, which I guess means it’s flexible? It’s supposed to help with uneven floors. I laid down the moisture barrier first, then started positioning the keel. This was trickier than I thought. I had to make sure they were evenly spaced and running perpendicular to the direction I wanted the floorboards to go. I must have measured and re-measured about a dozen times. It was like a puzzle, I can do this puzzle,I thought.
Rubber Tree Shenanigans
Then came the rubber tree part, though there is no rubber tree in the material,I still wanna call it “rubber tree”. It’s the underlayment,I think. It’s this rubbery stuff that’s supposed to provide cushioning and sound insulation. I rolled it out, and the stuff kept curling back up on me! I ended up using some heavy books to weigh down the edges while I worked. Getting it to lie flat and butt up against the keel was a bit of a wrestling match, to be honest.
Assembling the Floor
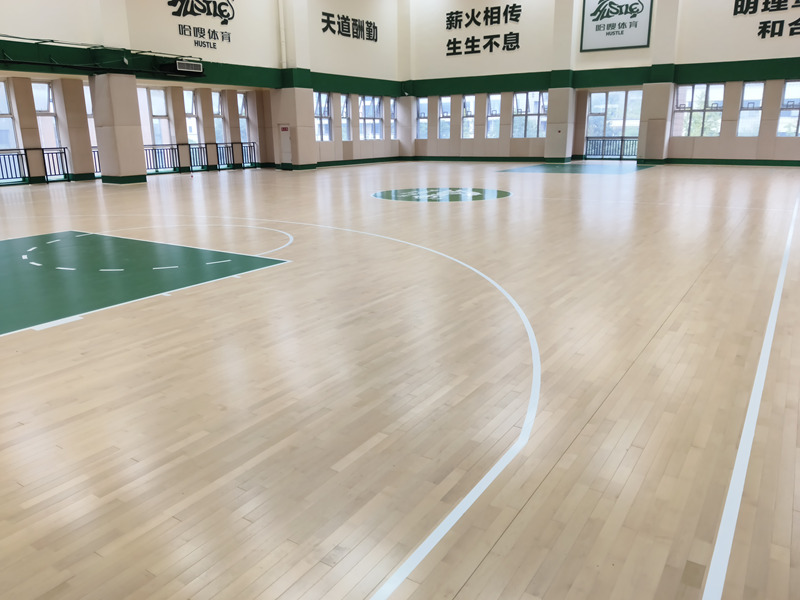
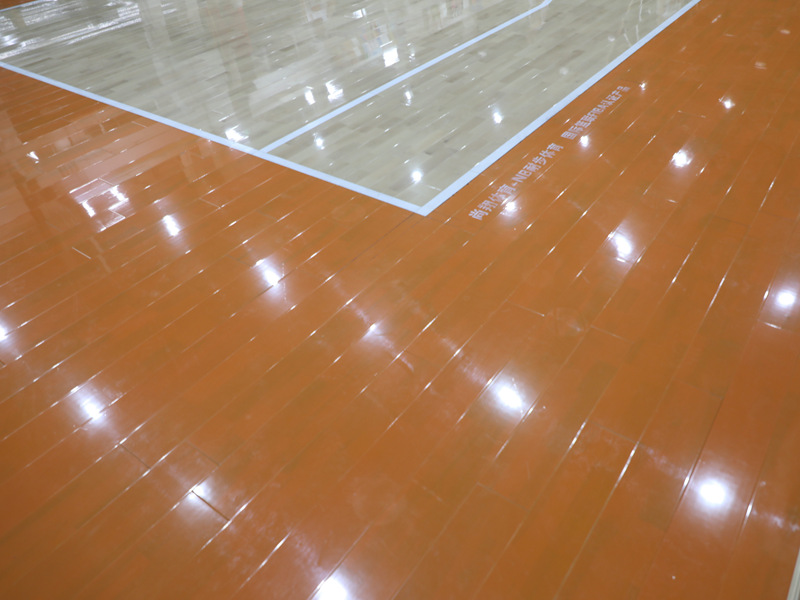
Finally, the main event: assembling the wooden flooring. I’d chosen this nice, light oak-colored laminate. The first few rows were the hardest. Getting that first board perfectly aligned and clicked into place sets the stage for everything else.I have to use the hammer to knock the floor,and I found it’s really a job needing patience. I messed up a couple of times and had to pry boards apart, which was a pain. But, slowly but surely, it started to come together. It’s so exciting to see the floor that I assembled. I’m almost there!
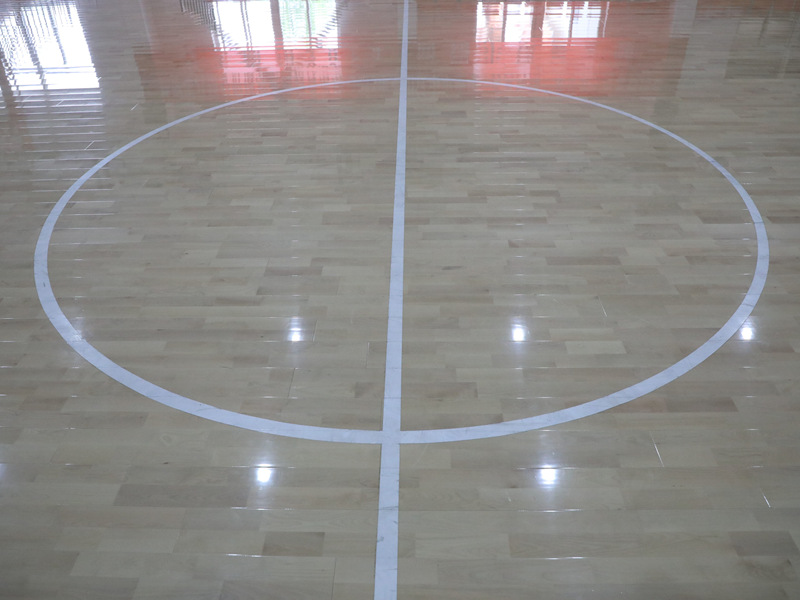
Once I got the hang of it, it went a bit faster. Click, tap, click, tap – I got into a rhythm. The room started to actually look like it had a real floor! There were a few tricky cuts around the door frame and the closet, but I managed to figure it out with my jigsaw. Don’t look at it.
The Finished (Almost) Product
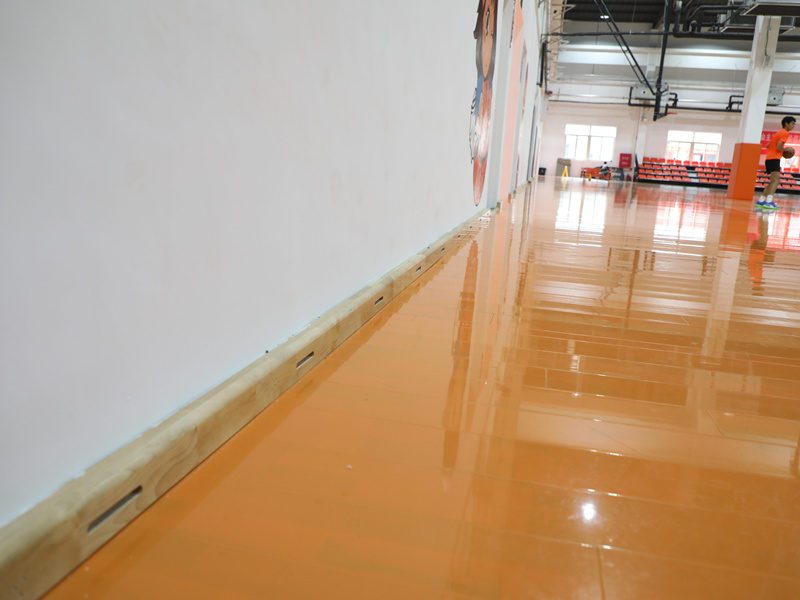
By the end of the day, I had most of the floor down. I still need to add the baseboards and the transition strip to the hallway, but I’m calling it a win for now. My back is killing me, my knees are sore, but I’ve got a brand-new floor (almost)! And you know what? I did it myself. Pretty proud of that, even if it was a bit of a “keel dancing rubber tree assembling” adventure.


