
Alright, guys, let’s talk about my little weekend project: putting together a keel basketball engineer board, and then laying down some wooden flooring on top. Sounds fancy, right? It wasn’t as bad as I thought, though.
Getting Started
First things first, I had to get all my stuff together. I cleared out the space I was working in – which, let me tell you, was a job in itself. Then, I laid out all the keel pieces. Think of these like the skeleton of the floor. They’re these long, sturdy… things… that give the floor its support and bounce.
Building the Keel
Next, I started connecting the keel pieces. This was kinda like putting together a giant puzzle, except way less colorful and with more hammering. I used these metal brackets and screws to join them together. Making sure everything was level was a pain, I used a spirit level and keep checking all over. It took a lot of adjusting and readjusting, but eventually, I got it all pretty flat.
Laying the Engineered Board
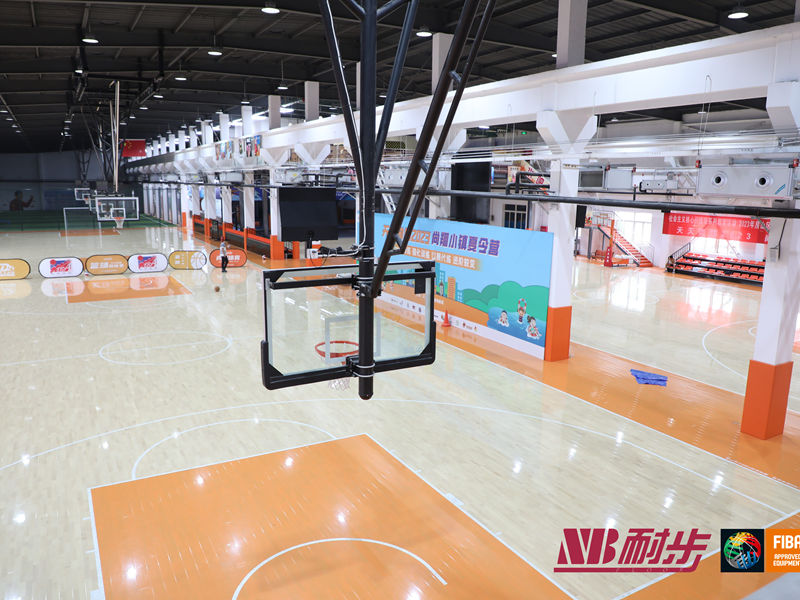
Once the keel was solid, I started laying down the engineered board. These boards are way more stable than solid wood, especially when you’re dealing with something like a basketball court where there’s gonna be a lot of impact. Each board clicked into the next one. It was surprisingly satisfying, like giant LEGOs. I made sure to stagger the joints, like they say you’re supposed to, for extra strength.
Putting Down the Wooden Flooring
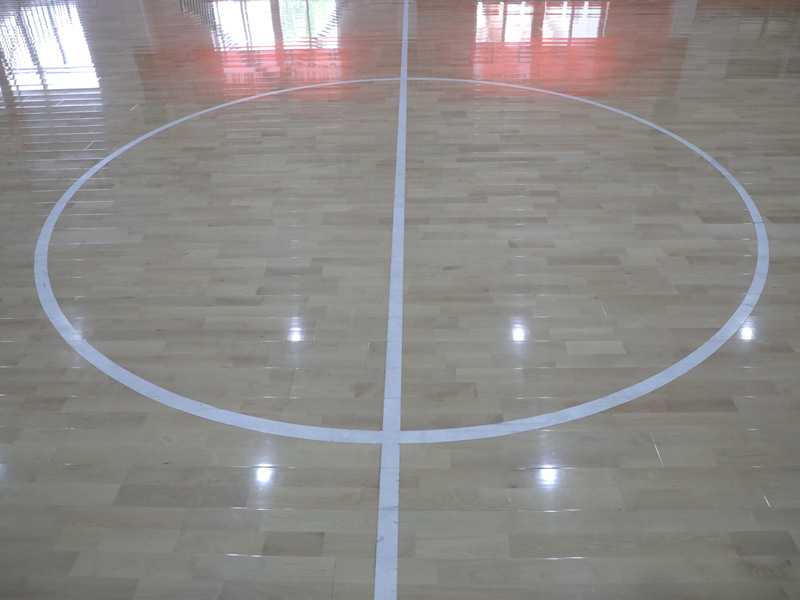
With the engineered board in place, it was finally time for the pretty part – the actual wooden flooring. I had chosen this classic, light-colored wood. I applied a layer of strong flooring adhesive to section of the engineered board. Then, I carefully placed each piece of the wooden flooring onto the adhesive, pressing down firmly. It was important to work in small sections, so the glue didn’t dry out before I could get the wood in place.
Finishing Touches
After all the flooring was down, I let it sit for a couple of days for the adhesive to fully dry. I also added some trim around the edges, just to make it look neat. I did make a few mistakes. Had a couple of boards that didn’t quite line up perfectly, but overall, it turned out pretty awesome.
The best part? When my kids and I bounced a basketball on it for the first time. It felt solid, had a good bounce, and looked, well, like a real basketball court! It was a ton of work, lots of measuring, and way more hammering than I expected, but totally worth it in the end. And I learned and practiced a lot!


