
Okay, here’s my blog post about putting in that keel dancing soft maple assembly wooden flooring, told like I’m just chatting with a buddy:
Alright, so I tackled this flooring project – keel dancing soft maple, the whole shebang. I’ve done some flooring before, but this was my first time with this “keel dancing” system. It sounded fancy, but honestly, it’s just a way to describe how the subfloor is set up.
First things first, I cleared out the room. Everything out, furniture, rugs, the whole nine yards. Gotta have a clean slate, you know?
Next up, I checked the subfloor. Made sure it was level. It made a big difference. It took using a long level and some self-leveling compound in a couple of spots, but eventually, I got it all flat and smooth.

The Keel Part
Then came the “keel” part. Basically, this is a system of wooden strips, that creates little channels for airflow. Because the room has a lot of sunshine, so I laid down these strips, spacing them out according to the instructions. It’s kind of like building little mini-joists.
- Cut the strips: I used the saw to cut the strips.
- Position and Fasten: I placed them on the floor, then I nailed them down, and used some construction adhesive too, just to be extra sure.
After that, there’s usually some kind of padding, I rolled out this foam underlayment. It’s supposed to help with sound and give the floor a little bounce and taped the seams together.
Laying the Floor
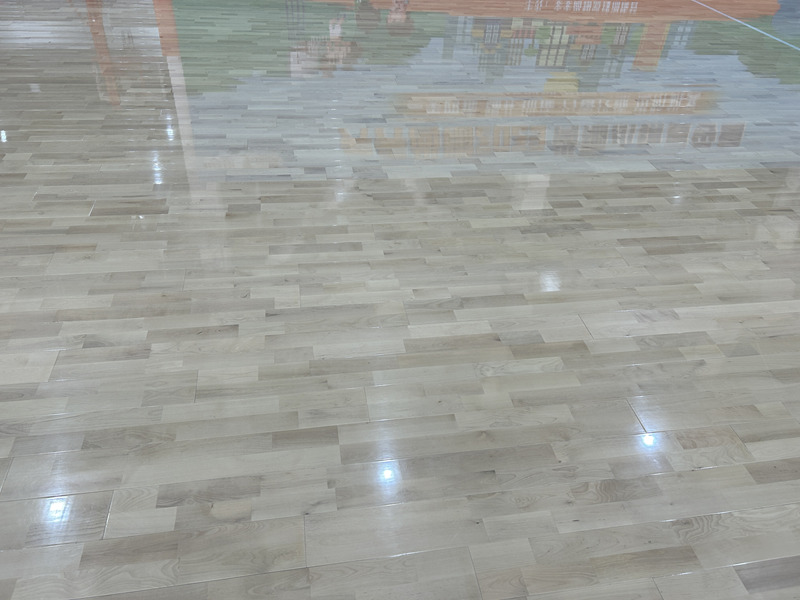
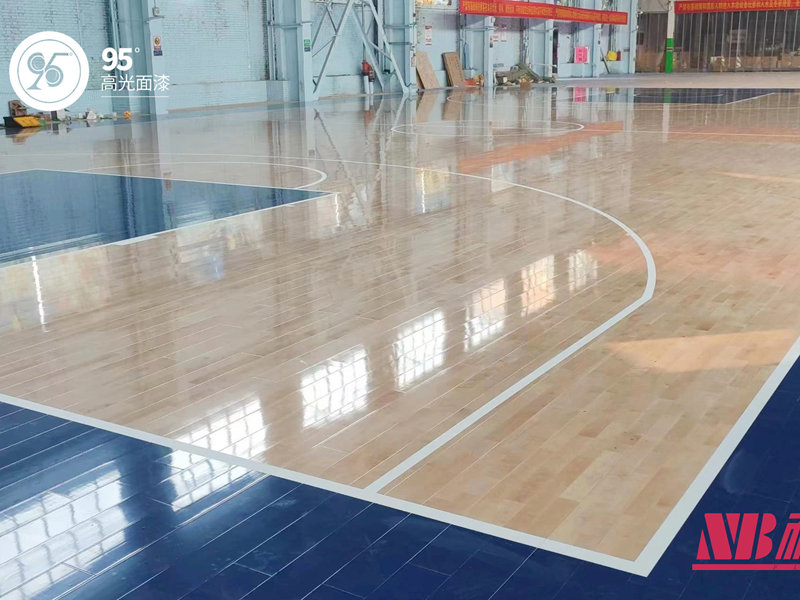
Now for the actual floorboards! This soft maple is gorgeous, with light color. I started laying the boards along the longest wall, working my way across. I used a combination of flooring adhesive, which got applied directly to the subfloor.
I made sure to stagger the joints, like you’re supposed to. It looks better and makes the floor stronger. And for the love of all that is holy, use spacers! Little plastic wedges that keep the gaps between the boards consistent. Gotta leave room for the wood to expand and contract with the weather, or you’ll end up with a buckled mess.
Cutting the boards around doorways and stuff, that was a bit tricky. I have a jigsaw. So the saw helped a lot.
- Marking: I spent a lot of time doing careful measurements and marking before I cut.
- Double check: Check, double-check, and then cut.
Once all the boards were down, I installed the baseboards. That really finishes it off, hides the edges, and makes it look pro. Caulked the top edge, filled in the nail holes, and gave them a coat of paint.
Finally, I cleaned everything up. Vacuumed, wiped down the floor, and moved all the furniture back in. It was a lot of work, but seeing that finished floor, all smooth and gleaming, that was worth it. And I saved a bunch of money doing it myself!


