
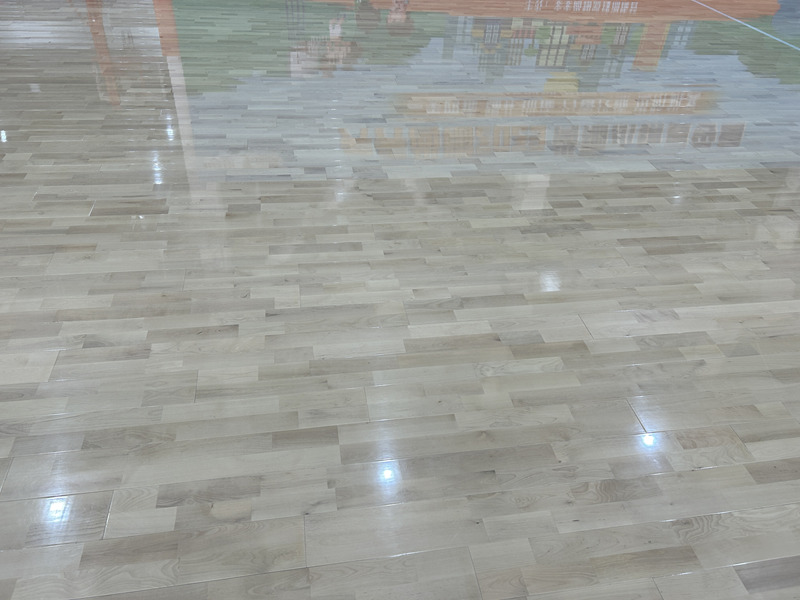
Alright, so I decided to redo my living room floor. I wanted that warm, real wood look, but I also didn’t want to break the bank. After a bit of digging around, I settled on this engineered wood flooring – looked good, seemed durable, and the price was right. Plus, it’s a floating floor, so no messy glue or nails!
First things first, I cleared out the room. Everything. Furniture, rugs, the whole nine yards. Then came the prep work. My old floor was a mix of… well, let’s just say it was a mess. So I spent a good chunk of time leveling things out. I used some self-leveling compound for the really bad spots, and a lot of sanding for the rest. That part was a real workout, let me tell you!

Next up, the underlayment. I went with these cushiony foam things. They’re supposed to help with sound dampening and also make the floor feel a bit softer underfoot. Rolling that stuff out was pretty easy, just had to tape the seams together to keep everything in place.
Now for the fun part – laying down the actual wood! The planks had this click-lock system, which sounded super simple in theory. In practice? Well, it took a little getting used to. The first few rows were definitely a struggle. I had to figure out the right angle to get the planks to snap together properly. Lots of tapping with a rubber mallet and a tapping block, let me tell you. My arms were sore!
I started in one corner and just worked my way across the room, row by row. It was like a giant jigsaw puzzle. I had to make sure I staggered the joints between rows, you know, for a more natural look. Also, I had to leave a little gap around the edges of the room, for expansion and contraction. Those little plastic spacers were lifesavers!
- Measure and cut. Measure and cut. Repeat.
- Click and lock. Getting the hang of it!
- Tap, tap, tap. My mallet was my best friend.
The trickiest parts were definitely around the door frames and the fireplace. I had to make some pretty precise cuts with a jigsaw. I messed up a couple of planks, but thankfully I had bought extra. Always buy extra!
After what felt like forever (but was actually a couple of weekends), I finally got all the planks down. The last step was installing the baseboards to cover up those expansion gaps. A little bit of nailing and caulking, and boom! Done.
Honestly, it was a lot more work than I expected, but seeing the finished product? Totally worth it. The floor looks amazing, and it feels so much better than what I had before. Plus, I saved a ton of money by doing it myself. Would I do it again? Maybe. But I’d definitely invest in some better knee pads next time!


