
Okay, so I decided to tackle this project: installing cushions volleyball soft maple assembly wooden flooring. It sounded fancy, and honestly, I wanted a nice-looking and functional space for, well, volleyball and stuff.

Prepping the Space
First things first, I cleared out the entire area. This was a workout in itself! Moved all the furniture, rolled up the old rug, and basically ended up with a big, empty canvas. I then swept the floor like a madman, making sure to get every last bit of dust and debris. I even vacuumed twice, just to be sure. You don’t want any tiny pebbles messing with your beautiful new floor.
The Underlayment Dilemma
Then came the underlayment. This is the stuff that goes underneath the wood, providing cushioning and soundproofing. I spent a good hour just staring at different rolls of the stuff, totally confused. Finally, I picked one that felt “right”—not too thick, not too thin, just kinda…Goldilocks-ish. Unrolling it was easy enough, but cutting it to fit the room’s weird angles? That was a pain. I used a utility knife and a straight edge, but my lines were definitely not perfectly straight.
Laying the Wood
- Start Slow: I reminded.
- Click and Lock:Get familar with Locking.
- Check levels: Ensure the floor have been leveled.
- Expansion Gaps:Check the gaps between floor and wall.
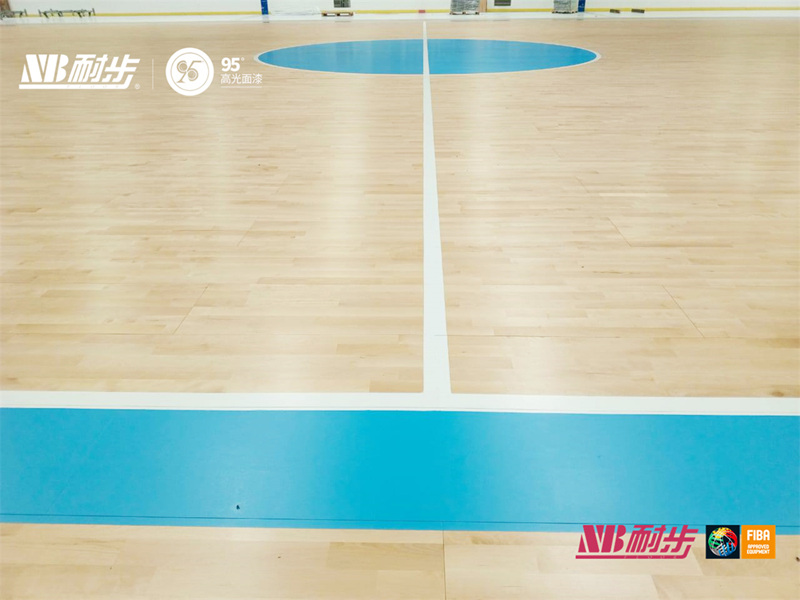
Now for the main event: the wooden flooring itself! I opened the boxes and admired the planks. They were so smooth and pretty! Following the instructions (which I actually read this time!), I started in one corner, carefully clicking the planks together. The first few rows were slow going, as I double-checked the alignment and made sure everything was snug.
The “click” system was pretty satisfying, actually. Once I got the hang of it, I started moving faster, laying down row after row. There was a bit of tapping involved with a rubber mallet to make sure the planks were really locked together. My knees definitely started to complain after a while, but I powered through. I used a jigsaw to cut the planks around doorways and those annoying corners. Again, not perfect cuts, but good enough!
The Finishing Touches
After all the planks were down, I installed the baseboards. This was mostly just measuring, cutting, and nailing them into place. It really framed the floor nicely and hid any slightly uneven edges.
The Final Result
Finally, I stood back and admired my handiwork. It wasn’t perfect, by any means. There were a few gaps here and there, and some of the cuts were a little rough. But overall, I was pretty darn proud of myself. I had a brand new, cushioned, volleyball-ready wooden floor! And I did it all myself. Now, who’s up for a game?


