
Okay, here’s my attempt at a blog post in the style you described, focusing on the title “Cushions Volleyball Maple Timber”:
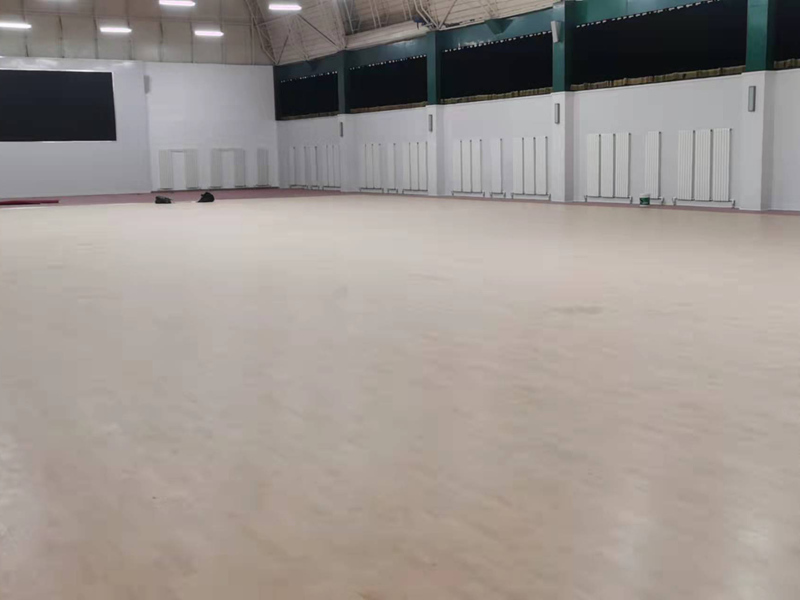
Alright, so, picture this: I’m staring at my volleyball court. It’s, you know, functional. But I’m thinking, “This needs something… more.” My knees have been killing me after long games, that concrete is unforgiving. I figured, time to get serious about some cushioning.
The Brainstorm
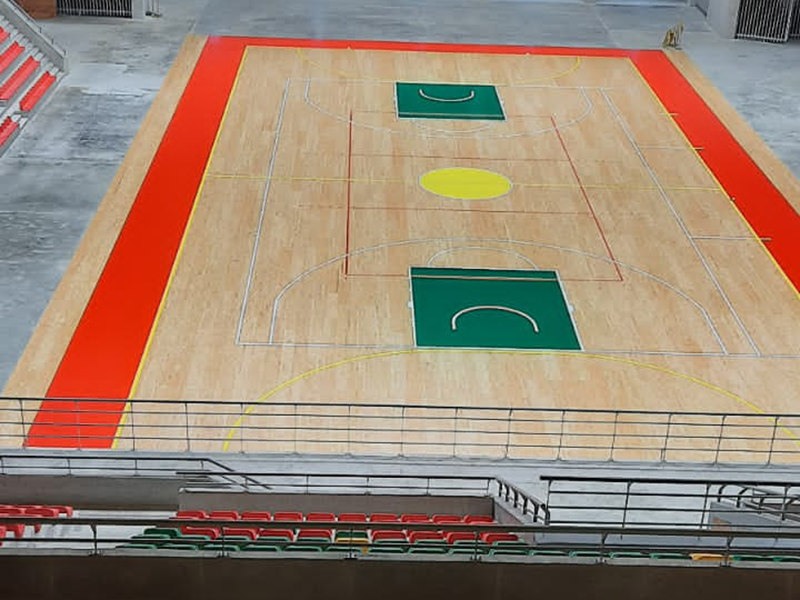
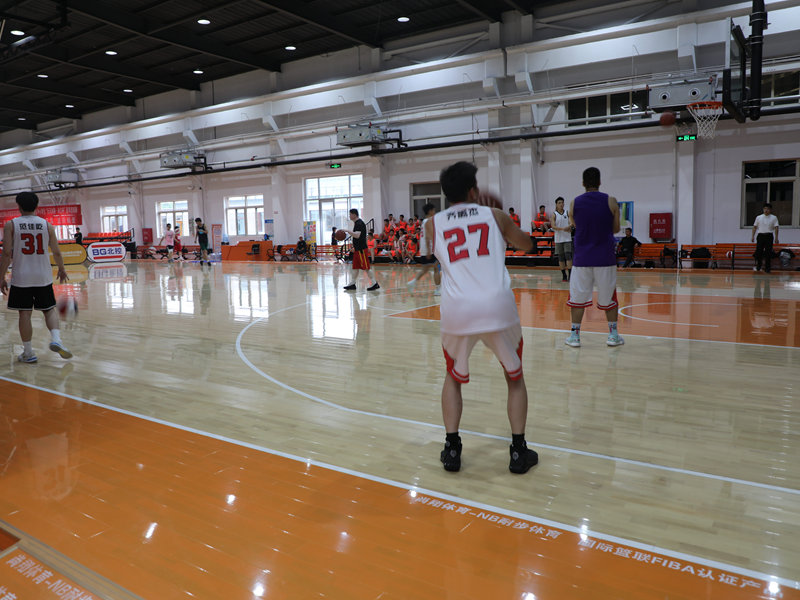
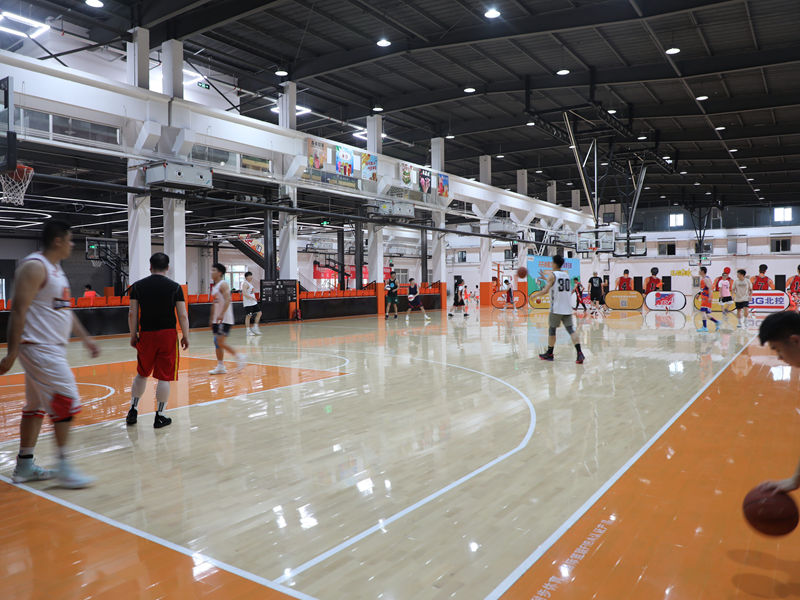
First, I was all over the place. Rubber mats? Too… bouncy? Interlocking tiles? Felt kinda cheap. I wanted something that felt, I dunno, substantial. Solid. Then it hit me: timber! But not just any timber, maple. You know, that classic, beautiful wood they use for basketball courts? Yeah, that’s the vibe I was going for.
Digging In (Literally and Figuratively)
This wasn’t a quick trip to the hardware store. I spent, like, days researching. Maple grades, subfloor options, finishes… it was a whole thing. I even called up a couple of flooring guys, pretending I was doing a huge project, just to pick their brains. Don’t judge, a guy’s gotta learn, right?
The Build (Sweat and Sawdust)
Man, this was work. First, I had to level the area. My backyard ain’t exactly a bowling green. Then came the subfloor. I went with a plywood base – seemed sturdy enough. I considered sleepers, like for a real indoor court, but I figured it would be overkill for my backyard court.
- Leveling the ground: Shovels, a level, and a whole lot of back pain.
- Plywood subfloor: Got some decent-quality plywood, cut it to size, and screwed it all together.
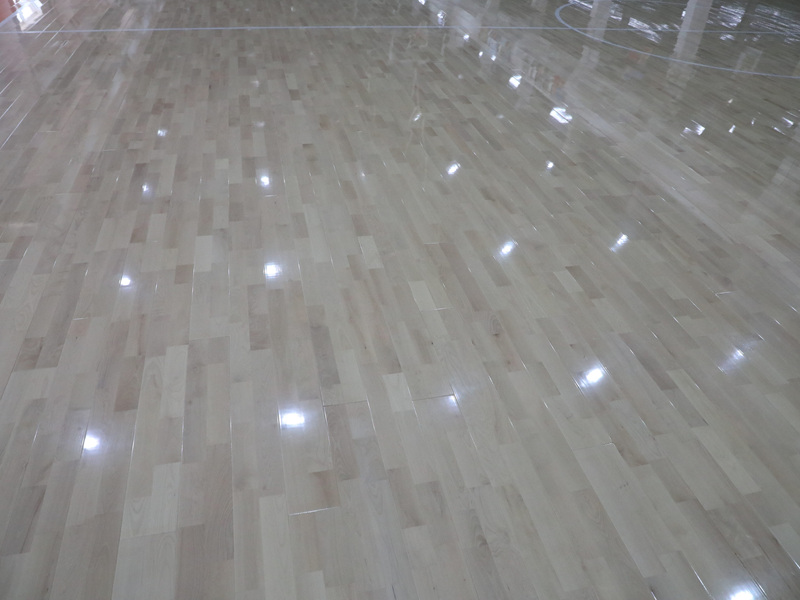
Then came the maple. I found a local lumberyard that had some beautiful, clear maple planks. I got it milled with tongue and groove. That part was crucial. That gives the interlocking thing so each planks are link together, like a puzzle.
The Interlocking Drama (and Triumph)
Getting those maple planks to fit together… let’s just say it was a learning experience. A rubber mallet became my best friend. And I definitely messed up a few cuts. But, slowly but surely, it started to look like an actual, you know, floor. A slightly uneven, slightly imperfect, but undeniably mine floor.
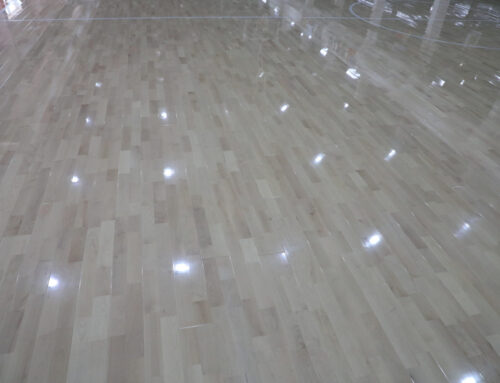
Finishing Touches (and the First Game)
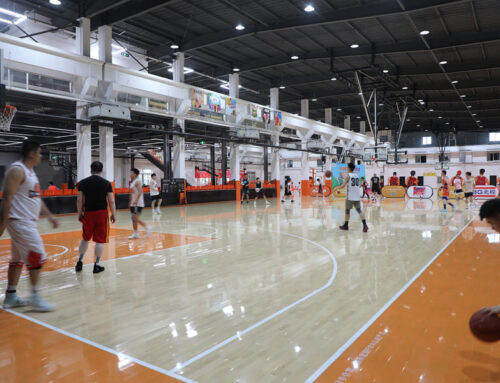
The last bit: cushions and the finishing the timber! I used waterbase coat, seems like easier to clear. after all the coats, i put some heavy duty foam padding, and use heavy nails to make the cushions fixed to the timber. That cushions thing really took me a whole afternoon! I was so tired but it worths! I called up my buddies, and we had the inaugural game. And let me tell you… totally worth the effort. My knees? Happy. The game? Elevated. My backyard? Officially awesome.
Would I recommend this project to everyone? Maybe not. It was a lot of work. But for me? Absolutely. I built something cool, I learned a ton, and I’ve got the best-looking (and most comfortable) backyard volleyball court in the neighborhood. Boom.


