
Okay, here’s my take on sharing my experience with “cushions Basketball oak assembly wooden flooring,” focusing on the practical side and keeping it real.
My DIY Basketball Oak Flooring Adventure
Alright, so I decided to tackle a project that was way outside my comfort zone: installing some basketball-themed oak assembly wooden flooring with cushioning. Why? Because my kid’s obsessed with basketball, and I thought it would be a cool surprise. Let me tell you, it was a ride.
First things first: Planning and Prep
I started by measuring the area where the flooring was going. Then I jumped online and spent ages researching different types of oak flooring and cushion options. I ended up going for a pre-finished engineered oak, because honestly, I’m not skilled enough to be sanding and staining a whole floor. For the cushioning, I went with a high-density foam underlayment – seemed like the best bet for impact absorption.
- Measured the area (twice!).
- Researched oak flooring types.
- Chose engineered pre-finished oak.
- Opted for high-density foam underlayment.
The Delivery Debacle
The flooring arrived, and it was HEAVY. Seriously, I nearly threw my back out just getting the boxes into the garage. The delivery guy just dumped it all on the driveway and took off. I had to move each box one by one. Learn from my mistake: make sure you have help lined up!
Laying the Underlayment
This part was actually pretty straightforward. I rolled out the foam underlayment, making sure to overlap the seams a bit. I used some tape to keep it all in place. Easy peasy.
The Assembly Nightmare
Here’s where things got tricky. The oak flooring was tongue-and-groove, which I thought would be simple enough. But getting those planks to click together tightly was a real pain. I started in one corner and worked my way across the room, using a rubber mallet to gently tap the planks into place. There were definitely some moments where I wanted to throw the mallet through the window.
Troubleshooting the Gaps
No matter how hard I tried, I kept ending up with tiny gaps between some of the planks. Frustrating! I watched a ton of YouTube videos and eventually figured out that I needed to use a tapping block and pull bar to really get those planks snug. That made a huge difference.
Cutting Around Obstacles
Of course, there were pipes and door frames to deal with. I bought a multi-tool with a wood-cutting blade, and it was a lifesaver. I carefully measured and marked where I needed to cut, and then slowly and steadily made the cuts. It wasn’t perfect, but it was good enough.
Adding the Finishing Touches
Once the flooring was down, I installed the baseboards and quarter-round molding. This really helped to hide any imperfections and give the floor a finished look. I used a nail gun to attach the molding – much faster than using a hammer and nails.
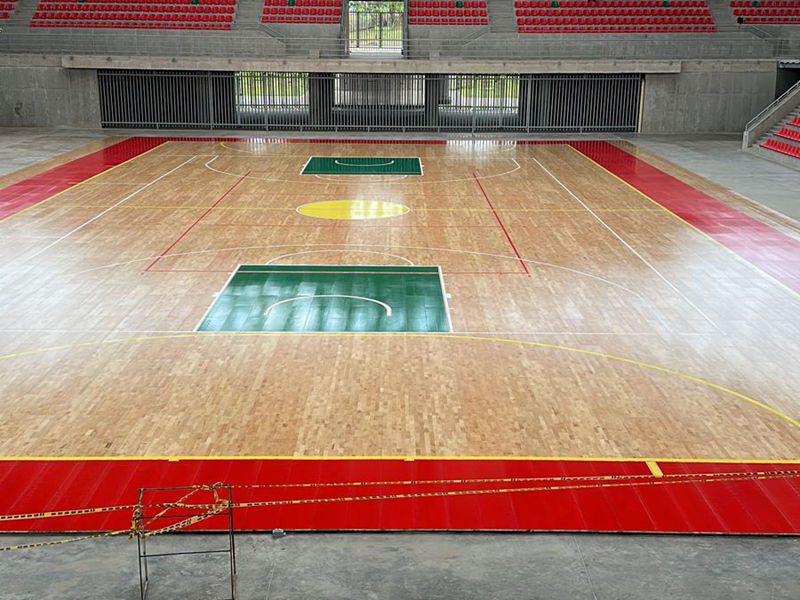
The Basketball Court Lines
Okay, so this was the fun part! I bought some white paint specifically for floors and used painter’s tape to mark out the basketball court lines. It took a couple of coats of paint to get good coverage, but it was worth it.
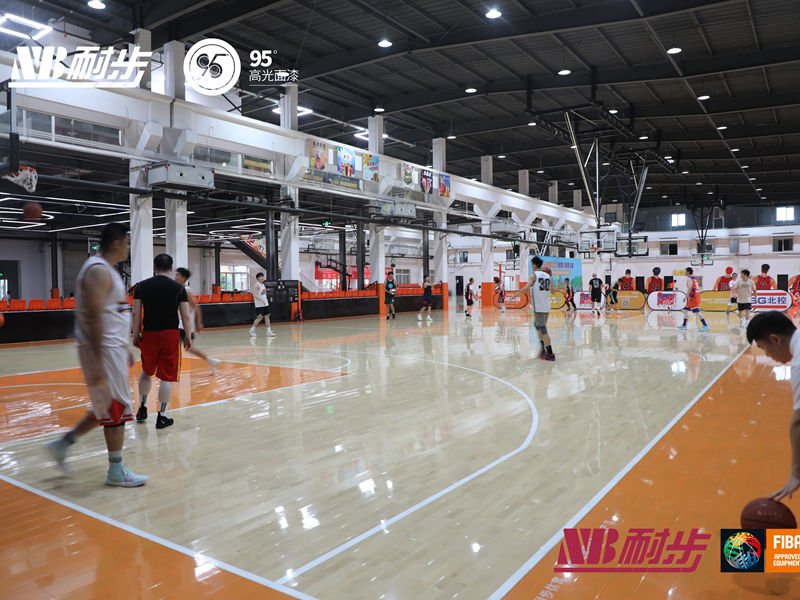
The Big Reveal
My kid absolutely loved it! Seeing his face light up made all the frustration and back pain worthwhile. The cushioning feels great underfoot, and he’s been spending hours practicing his jump shot.
Lessons Learned
- Get help with the heavy lifting.
- Invest in a good tapping block and pull bar.
- A multi-tool is your best friend.
- Patience is key!
Would I do it again? Maybe. But next time, I’m hiring someone to help! Seriously, my back is still recovering.


