
Okay, so I decided to tackle this project: laying down some new wooden flooring. The whole thing was labeled “cushions dancing lvl larch assembly,” which, honestly, sounded fancier than it felt while I was doing it.

Getting Started
>
First things first, I cleared out the room. This was probably the easiest part, just moving furniture and rolling up the old rug. I felt pretty accomplished after just this step, like, “Yeah, I’m doing something!”
Prepping the Subfloor
>
Then came the not-so-fun part: prepping the subfloor. The instructions talked about it needing to be “lvl” – level, I figured out. Mine definitely wasn’t. So, I spent a good chunk of time with a level and some shims, trying to get things as flat as possible. It felt like I put cushions * was tedious, and I definitely questioned my life choices a few times.
- Clear the room: This is easy to start.
- Check for level: My floor was way off.
- Shim and adjust: Lots and lots of shims.
Laying the Underlayment
>
Once the subfloor was (mostly) level, I rolled out the underlayment. It is called “cushions” for good reason. This stuff is supposed to provide some cushioning and soundproofing, which I’m all for. It was pretty straightforward, just unrolling it and cutting it to size. I felt like I was wrapping a giant present, except the present was my floor.
The Actual Flooring
>
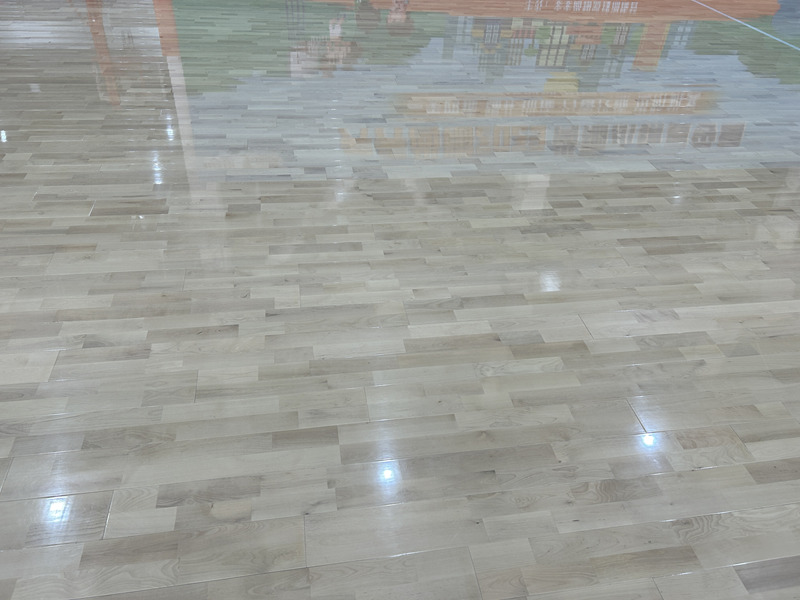
Now for the main event: the “larch assembly” part. This particular flooring was the click-together kind, which is supposed to be easier than the old glue-down stuff. I started in one corner, laying down the first few planks. It took a bit of wiggling and figuring out the “dancing” locking mechanism, but eventually, I got the hang of it.
The “click” sound when the planks connected was surprisingly satisfying. It was like, “Yes! Progress!” I kept going, row by row, making sure everything was lined up. It is called dancing for a reason,because I have to dance with each of the plank to make it fit.
There were definitely some tricky bits, especially around doorways and corners. I had to do some careful measuring and cutting, and let’s just say I made a few mistakes. Thankfully, I had bought extra planks, so it wasn’t a total disaster.
Finishing Touches
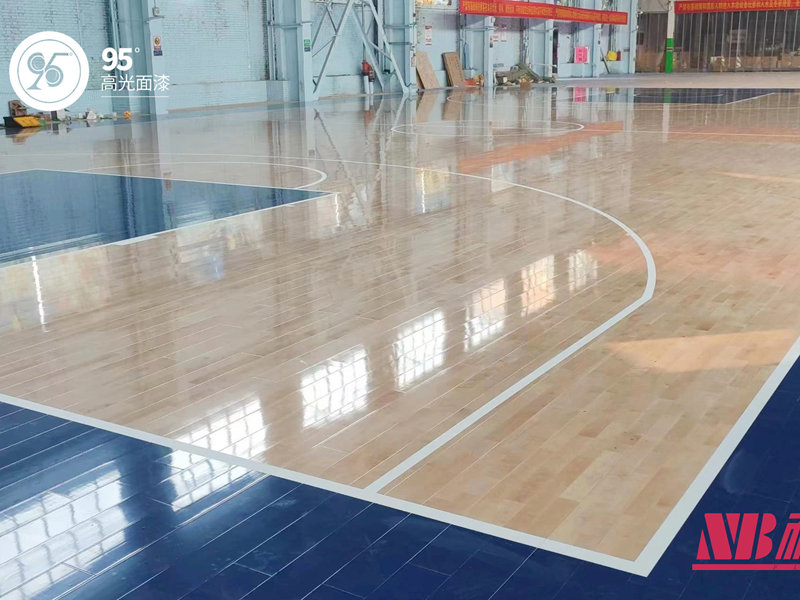
After what felt like forever, I finally got all the planks down. The last step was adding the baseboards and trim. This really made the whole thing look finished and polished. I had to borrow a miter saw for the corners, which was a bit intimidating, but I managed to figure it out.
So, there you have it. My “cushions dancing lvl larch assembly wooden flooring” adventure. It was a lot of work, but I’m pretty proud of how it turned out. And hey, now I can say I installed my own wooden floor!


