
Alright, let me tell you about this flooring project I tackled. The space I had was just begging for a proper basketball setup, but the existing floor? Terrible. Uneven, hard as rock. No good for playing, really rough on the joints. So, I decided it was time for an upgrade, specifically thinking about that nice bounce you get on a real court, which led me to look into cushioned flooring.
Getting Started – The Plan and Prep
First off, I settled on using birch wooden flooring. I liked the look of it – bright, clean, tight grain. Seemed durable enough for this kind of use. But the wood alone wasn’t the point; the key was the cushioning underneath. Found a system with these rubber pads, looked like it would give good shock absorption.
So, the plan was:
- Clean and level the subfloor (it was concrete).
- Put down some kind of moisture barrier.
- Install the cushion system.
- Lay the birch planks over that.
- Finish it off.
Prep work was mostly elbow grease. Swept the concrete floor thoroughly, scraped off some old paint splatters, and then vacuumed like crazy. Checked for levelness – had a few low spots I filled with a self-leveling compound. Let that cure properly. Then, I rolled out a thick plastic sheeting, overlapping the seams and taping them shut. Didn’t want any moisture creeping up from the concrete into my nice new wood.
Laying Down the Cushions and Wood
Next came the cushions. These were basically pre-made panels or strips with rubber pads attached. I just followed the layout guide that came with them. Spaced them out evenly across the whole floor. It felt a bit weird walking on them, kinda springy already. This part was pretty straightforward, just placing them where they needed to go.
Then, the main event: the birch wooden flooring. I got tongue-and-groove planks, pre-finished, which saved a ton of work later. Started along the longest straight wall, like you usually do. Put down the first row, making sure it was perfectly straight. Used spacers along the wall. Tapped the next planks into place, end-to-end and edge-to-edge. Used a tapping block and a mallet to get them snug without damaging the wood.
It was slow going at first. Measure, cut the end piece for the row, use the leftover bit to start the next row (if it was long enough) to stagger the joints. Lots of kneeling, lots of getting up and down. My knees definitely felt it by the end of the day, even with pads on. Making sure the joints between planks were tight over those cushions was key. You don’t want any weird gaps or movement. Cutting around corners or obstacles was a bit fiddly, took some patience.
Finishing Up and The Result
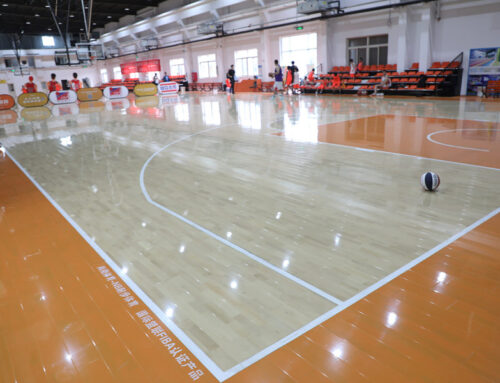
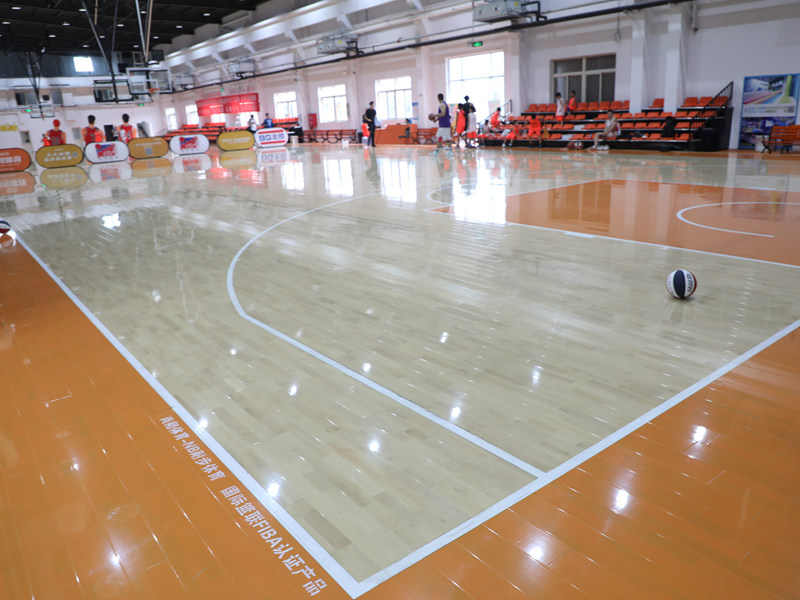
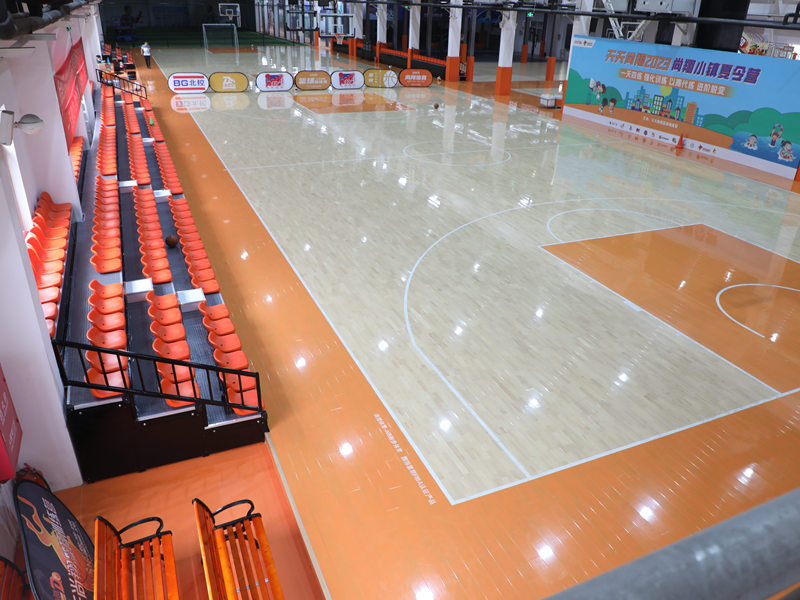
Once all the birch planks were down, it immediately looked way better. Transformed the space. Because it was pre-finished, I didn’t need to sand or apply coats of varnish, which was a relief. Just needed a good cleaning to get rid of sawdust and footprints.
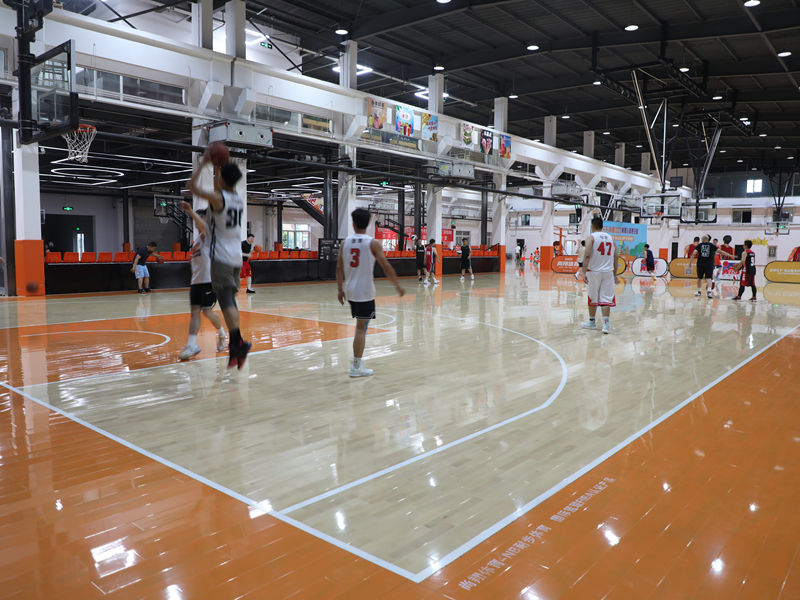
I did decide to add some basic court lines later – just a free-throw line and the key area using proper court marking tape. Didn’t go for a full three-point line, space was a bit tight for that anyway.
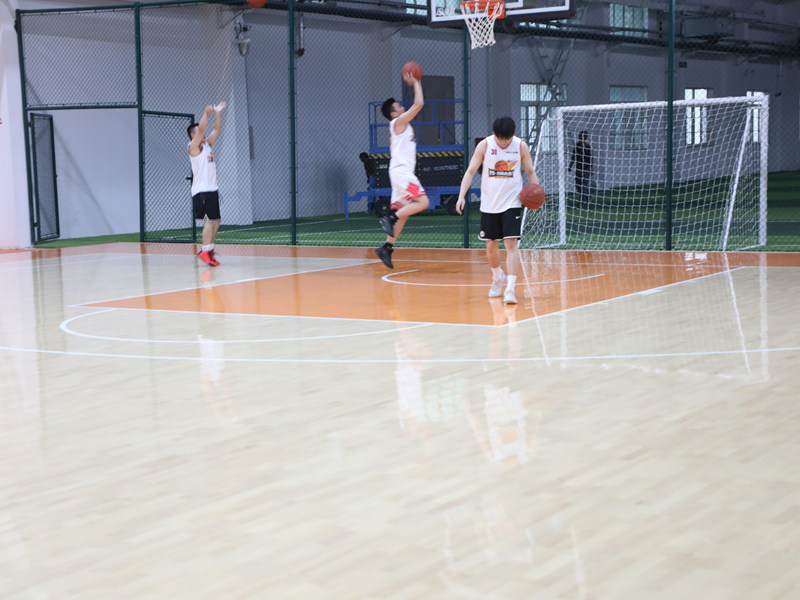
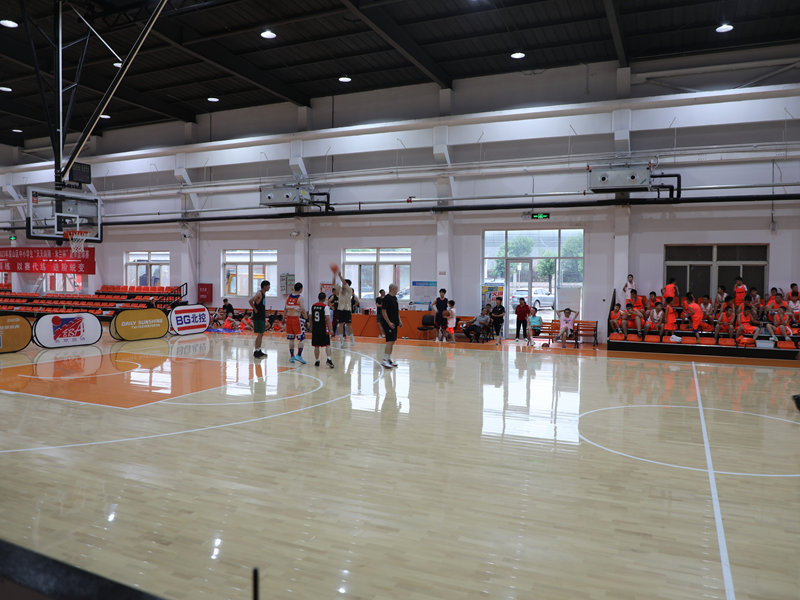
And the feel? Man, what a difference. Walking on it, you can feel that slight give from the cushions underneath. It’s not mushy, just… resilient. Bouncing a ball on it gives that solid, predictable sound and rebound you want. Way better than the dead thud on concrete. The birch wooden flooring looks fantastic too, really brightens the place up. Took a good bit of work, definitely a weekend project plus some evenings, but seeing and feeling the result? Totally worth the effort.


