
Okay, here’s my blog post about putting together a basketball court floor, going step-by-step through the whole messy process:
So, I decided to put down this “Keel Basketball rubber tree assembly wooden flooring” in my backyard. Sounds fancy, right? It wasn’t. It was a whole project, let me tell you. I figured, “How hard could it be?” Famous last words, huh?
First, I cleared out the area. This wasn’t just picking up a few sticks. I mean, I was wrestling with weeds, rocks, and some weird stuff I don’t even want to think about. I get sweaty just bring this up.
Then came the leveling. Oh, the leveling! I thought I could just eyeball it. Nope. Got myself a level (after a trip back to the store, of course) and spent, like, a whole day messing with dirt. Pushing it here, moving it there. My back was not happy.

The Rubber Tree Underlayment
- Unrolling the Rubber:This stuff was heavy! It came in these giant rolls, and I had to wrangle them into place. I felt like I was fighting a giant rubber snake.
- Cutting It to Size:Okay, so, regular scissors? Not a chance. I ended up using a utility knife, and let’s just say my lines weren’t exactly…straight. But hey, it’s under the wood, right?
- Securing the Rubber:I used some heavy-duty adhesive tape designed to hold the rubber layer to make sure it wouldn’t move.
The Keel System
I think these “keels” are basically just long strips of wood that act like a frame, so next I put the keel together. I thought it will be easy. Nope, the intruction is so hard, it took me another half-day just to figure out what they were talking about!
- Laying Out the Keels:
I laid those keels down, trying to follow the instructions. The gaps is important ,make sure they were spaced right.
- Screwing Them Together:
This is where a good drill is your best friend. Mine’s kinda old, so it kept dying on me. I spend half my time just charging the darn thing. Finally,I borrowed my neighbor’s drill.
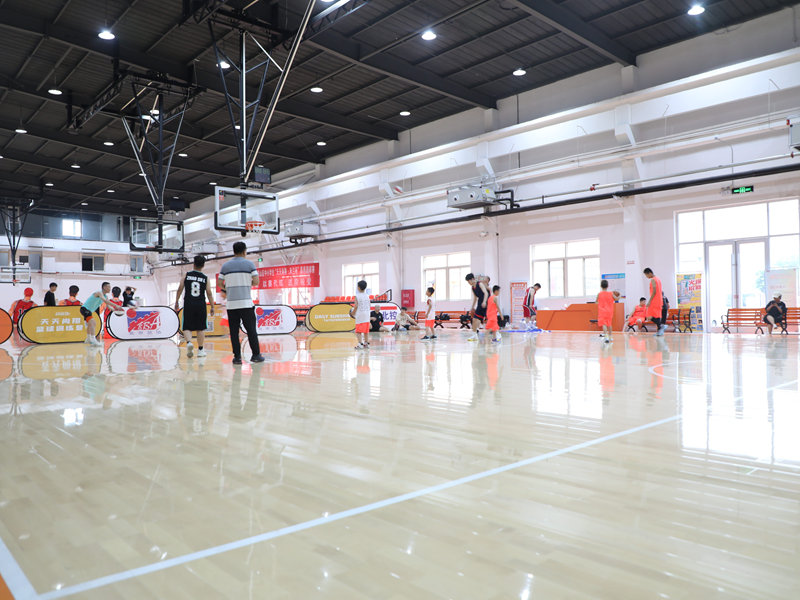
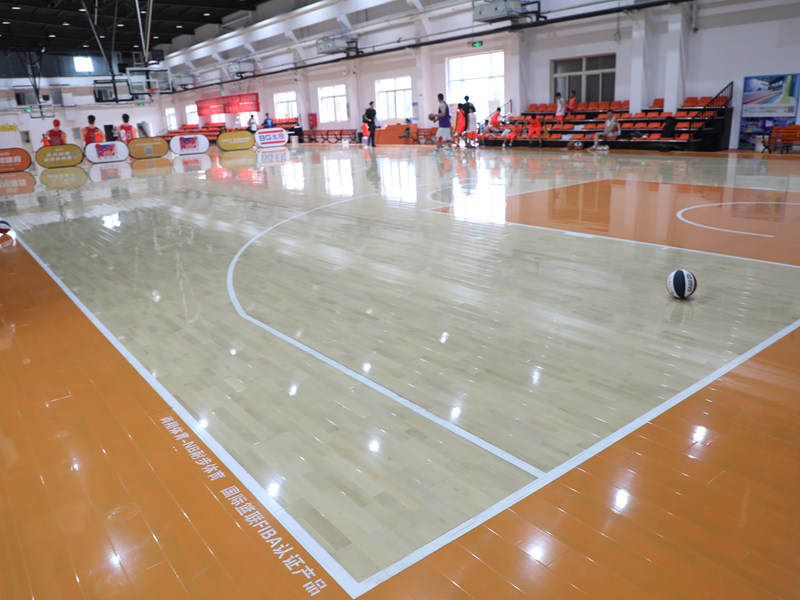
The Wooden Flooring
Now for the actual “floor” part. The wooden part looked nice, all stacked up and shiny.
- Snapping the Pieces Together:These planks were supposed to just “click” together. Some did. Some…I had to persuade with a rubber mallet. (And maybe a few choice words.)
- Cutting the Edge Pieces:Of course, the edges weren’t going to fit perfectly. So, out came the saw. Again, not my straightest work, but I managed. I am proud of my patience.
The Finish Line
I finally got all the pieces down. Stood back. Looked at it. It wasn’t perfect, not by a long shot. There were some gaps, some uneven spots. But, you know what? I did it. I built a basketball court floor(kinda)! And I learned that I do not want to do it again anytime *, I can play!


