
Okay, so I’ve been wanting to redo the flooring in my workout room for, like, ever. It was just some old carpet before, and I wanted something that could really handle some action. I’m super into volleyball, and I figured, why not make it legit? So I started looking into what the pros use.
That’s when I stumbled upon this “keel” thing. Apparently, it’s some kind of support system under the wood. Makes sense, right? You need something strong to keep the floor from, you know, collapsing when you’re jumping around. So I decided to go for it – keel, volleyball court, the whole shebang.
Finding the Right Stuff
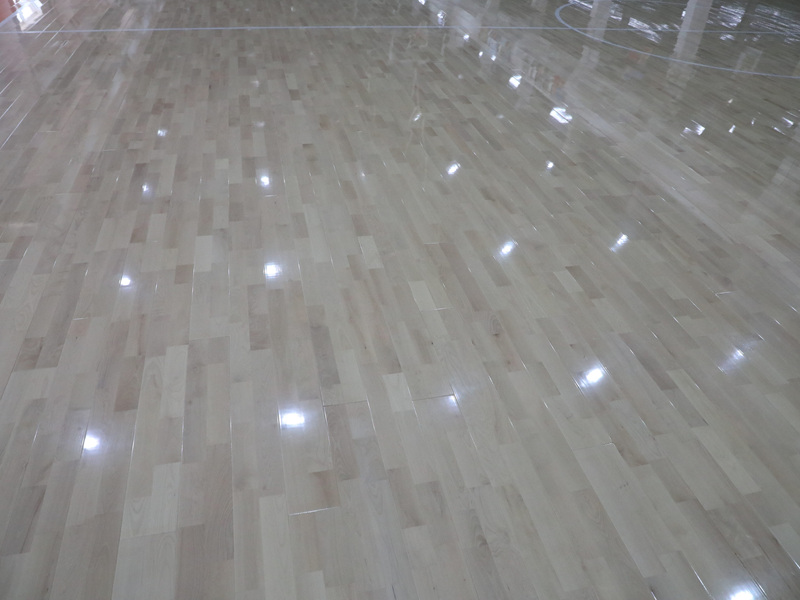
First, I had to figure out what kind of wood to use. Turns out, hard maple is the go-to for serious volleyball courts. It’s tough, looks good, and has just the right amount of “give,” or whatever. Finding it was a bit of a pain, though. I ended up calling around to a bunch of lumber places before I found one that had what I needed.
Then came the keel. I’m not gonna lie, I had no idea what I was doing at this point. I watched a couple of videos online, which made it look kinda easy, but still… I ended up getting these pre-made keel pieces. They’re basically just wooden frames that you put together.
Putting It All Together
So, first things first, I ripped out that nasty old carpet. Good riddance! Then, I had to make sure the subfloor (the concrete underneath) was level. It wasn’t, of course. So I spent a good chunk of time messing with shims and leveling compound – basically, like, patching up the low spots.
Next up, the keel. I laid out the pieces according to the instructions, which were surprisingly clear, thank goodness. I used a ton of screws and some construction adhesive to hold everything together. It actually started to look like something!
- Step 1: Clear out the old stuff.
- Step 2: Level the subfloor. Ugh, that took forever.
- Step 3: Assemble the keel. Felt like building a giant puzzle.
After the keel was down, it was time for the maple. This was the scary part. I rented a nail gun, which was terrifying but also kind of awesome. I started in the middle of the room and worked my way out, making sure to leave a little gap around the edges for expansion (apparently, wood moves around with the temperature). I screwed the tongue and groove of each maple timber.
The Finishing Touches
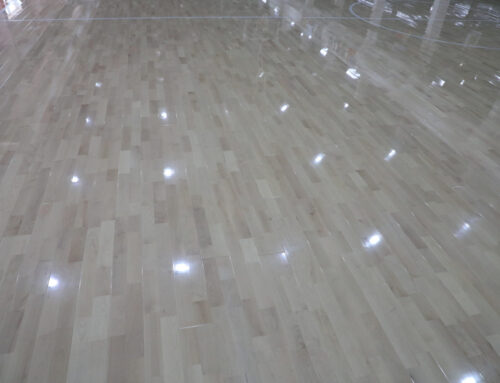
Once all the wood was down, I sanded the whole thing down to make it super smooth. Then I applied a few coats of polyurethane, which is some kind of sealant that protects the wood and makes it shiny. And that took many hours, so tedious.
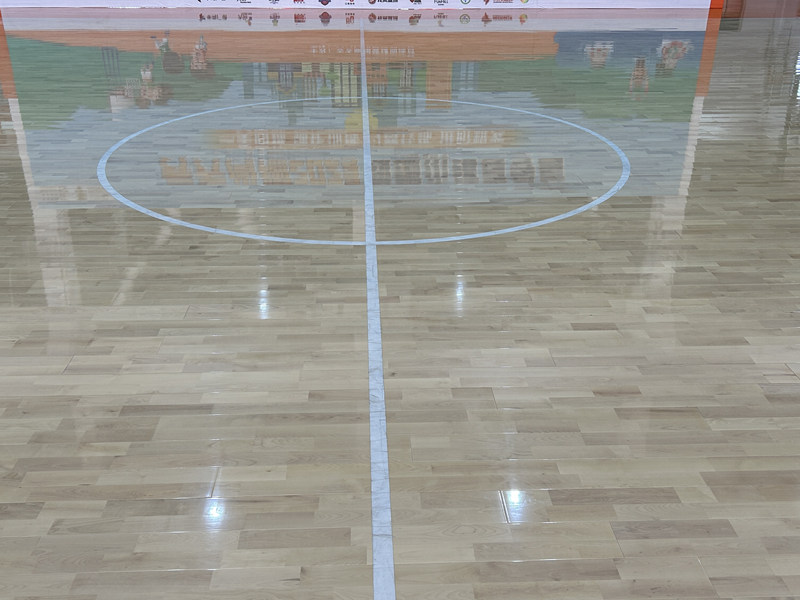
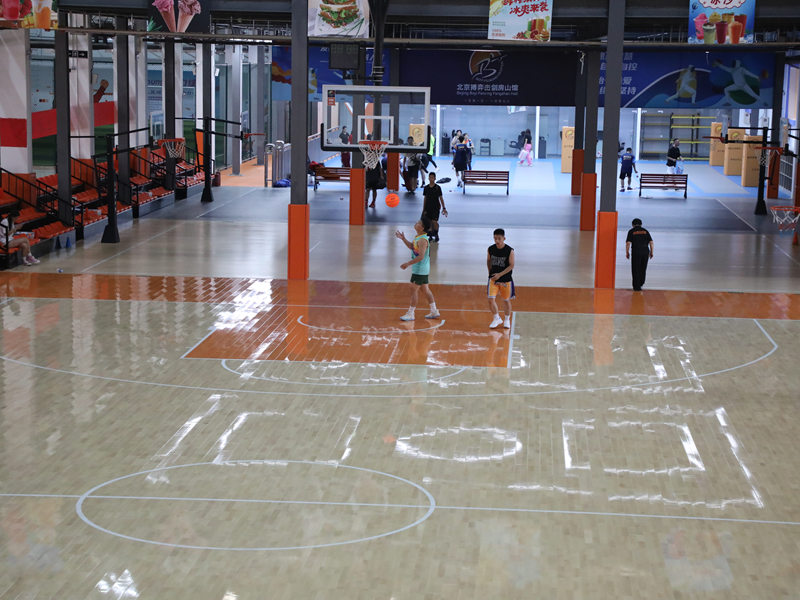
Finally, I painted the volleyball court lines. I used some special tape to get the lines straight, and it turned out pretty good, if I do say so myself! After apply another layer of polyurethane.
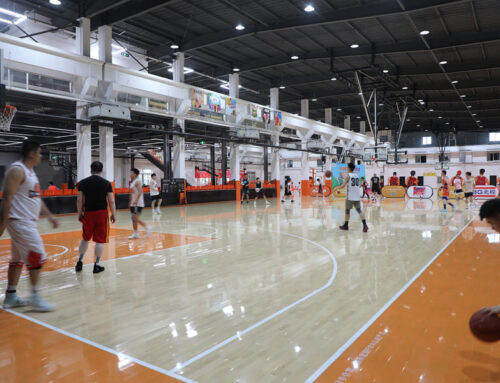
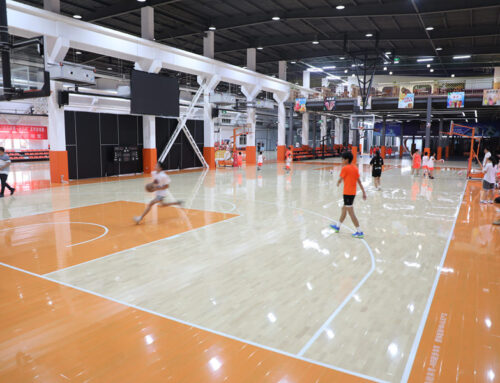
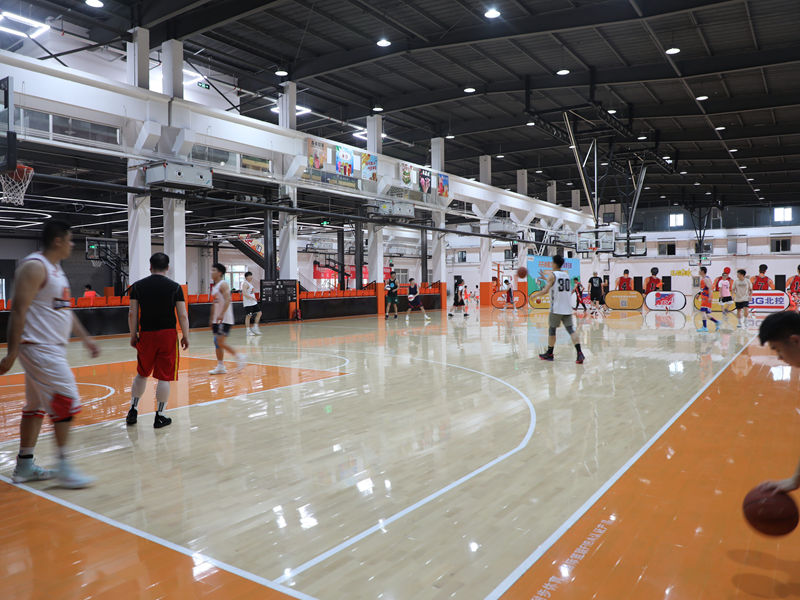
It was a lot of work, but honestly, it was worth it. My workout room is now a legit volleyball court! It’s so much better than that old carpet. Now I can practice my spikes without worrying about messing up the floor.
