
Okay, folks, let’s dive into this project I tackled: setting up a portable wooden basketball court floor, the kind made with LVL – that’s Laminated Veneer Lumber.

Getting Started
First things first, I needed a plan. I’m not a pro, just a guy who likes to DIY, so I spent some time figuring out the space I had and how big I wanted the court to be. I’m talking sketching it out on paper, measuring, and double-checking everything. My garage was the victim here. Cleared it all out.
Gathering the Goods
Next up, the materials. I went with LVL because I heard it’s pretty strong and stable. I ordered the panels, making sure to get a few extra, just in case I messed up (spoiler: I did). I also needed a good subfloor, some cushioning material, and, of course, screws. Lots and lots of screws.
The Subfloor Hustle
This part was a bit of a pain. My garage floor wasn’t perfectly level, so I had to build a simple subfloor frame. I used some 2x4s and made a grid. It wasn’t pretty, but it was level. Level is KEY, I found that out the hard way. I used a level tool, checking from many differnt directions on the subfloor.
Laying Down the LVL
Now for the fun part! Laying down the actual court panels. I started in one corner and worked my way across, making sure each panel was snug against the next. This is where those extra panels came in handy. I definitely miscalculated a cut or two. I used a hammer to tap any non-aligned pieces into place, and then used screws to install them.
Cushioning and Finishing
Underneath the LVL, I put down this rubbery cushioning material. It’s supposed to help with shock absorption. I just rolled it out and cut it to size. Pretty straightforward. Then, I installed the panels in numbered order according to the instructions.
Putting it all Together
- I screwed the panels into the subfloor, making sure to countersink the screws so they wouldn’t be sticking out.
- I used a power drill, it made quick work of the project.
- After that it was just a matter of repeating the process until the whole area was covered.
The Final Touches
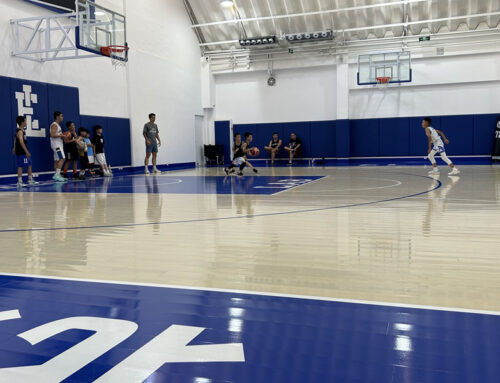
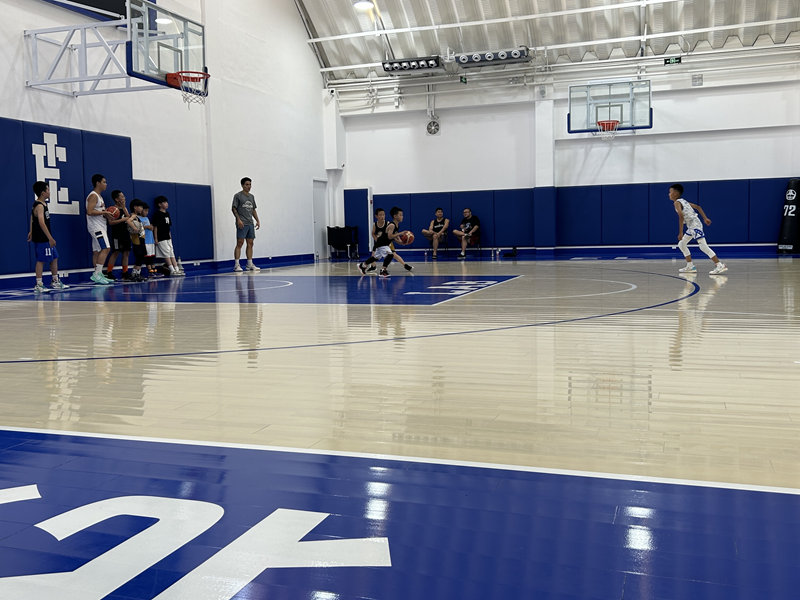
Once all the panels were down, I gave the whole thing a good sweep and vacuum. Then, I added some finishing touches, like painting the lines for the court. I even added a little logo in the center, just for fun. It’s not NBA regulation, but it’s perfect for my needs.
It wasn’t a quick project, took me a couple of weekends, but seeing the finished court was super satisfying. Now I can shoot some hoops whenever I want, rain or shine. And hey, if I ever need to move it, it’s portable! I can unscrew everything and move it somewhere else.


