
Okay, here’s my blog post about installing batten volleyball engineer board wooden flooring:
So, I decided to put down some new flooring in my home gym – specifically, I wanted that springy, shock-absorbing feel you get in a proper volleyball court. I went with an engineered wood floor over battens, and let me tell you, it was a project! But a fun one, I get a real kick out of this kind of thing.

Getting Started
First things first, I cleared out the room completely. This was a good excuse to declutter, really think about what I wanted in this new setup. I also gave old floor underneath a good clean, remove old nails, and check.
Next, I needed to make sure my subfloor,concrete floor, was level. Now I have a leval,but I also just used a long, straight piece of wood and a spirit level. A few spots needed some attention, so I used a self-leveling compound to sort that out. I poured it on, spread it around, and let it dry for a full day. Patience is key, you know?
The Battens
Now for the * are the wooden strips that the floorboards will sit on, and they’re what give the floor its bounce. I picked up some treated lumber from the hardware store.I make sure every pieces are good.
I laid the battens out perpendicular to the direction I wanted the floorboards to run. Spacing is crucial here – I went with around 400mm (about 16 inches) between the centers of each batten. Also make sure leave at least 10mm gap between the battens and wall, for expend and shrink.
Then, it was time to fix the battens to the subfloor. I used construction adhesive and concrete screws. It’s a bit of a workout, drilling all those holes, but you want these things secure!
Laying the Floorboards
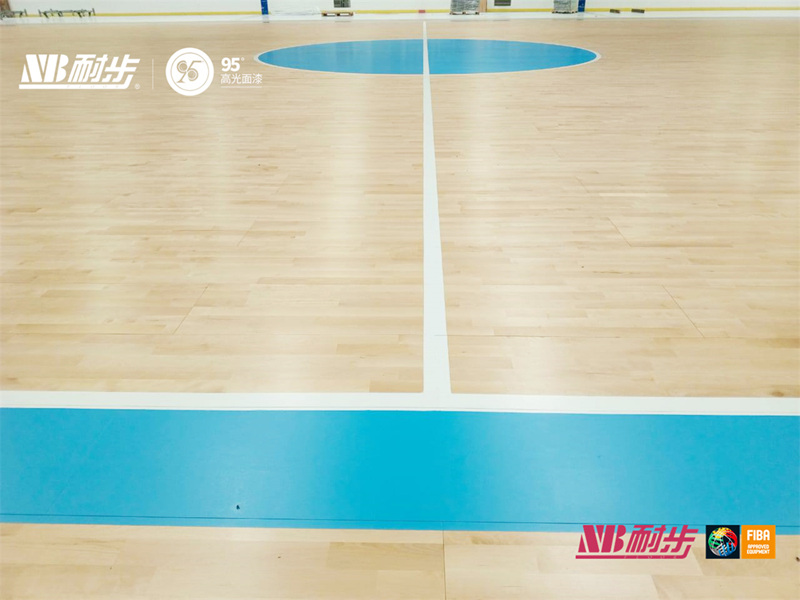
With the battens down, it was finally time for the pretty part – the engineered wood floorboards. I chose a nice, light-colored oak, because volleyball, you know? Classic.
- I started along the longest wall, leaving a small expansion gap (about 10mm, again) between the boards and the wall.
- The first row, I face-nailed the boards down, because those nails would be hidden by the skirting boards later.
- After that, it was all about secret nailing. That means you drive the nails in at an angle through the tongue of each board, so the next board covers them up. Sneaky!
- I used a tapping block and a mallet to gently nudge each board into place, making sure the joints were nice and tight.
The Finishing Touches
Once all the boards were down, I installed skirting boards around the edges of the room to cover up those expansion gaps. A bit of sanding, a couple of coats of varnish, and… boom! Done.
Honestly, it was a bigger job than I initially thought, but so worth it. The floor feels amazing underfoot – that slight give when you jump is just perfect. Now I can practice my serves without annoying the downstairs neighbors (too much, anyway!). And it is my new home gym.


