
Okay, here’s my blog post about installing that basketball court flooring:
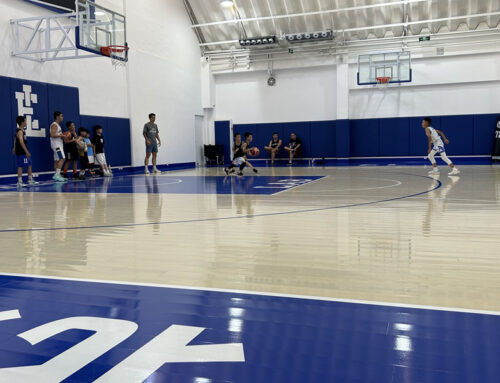
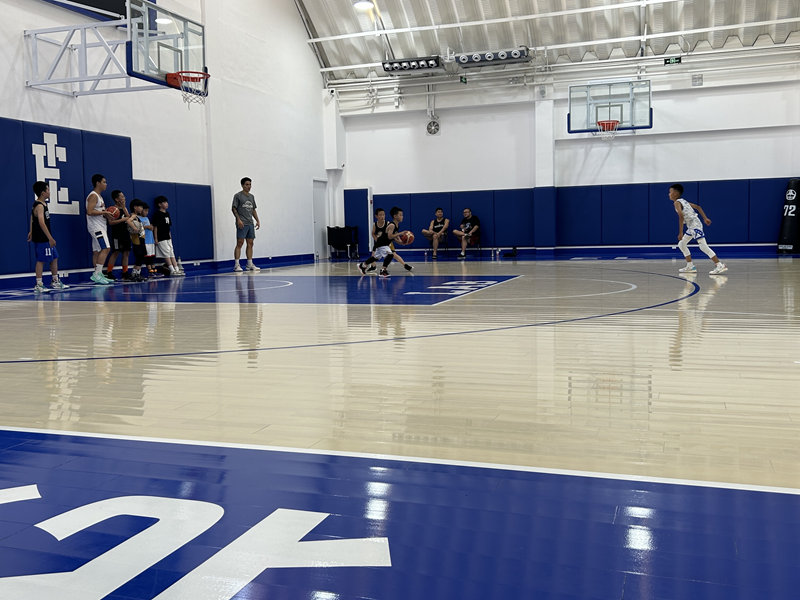
Alright, so I finally got around to tackling that big project – putting in the new soft maple flooring for the basketball court. It’s been on the to-do list for ages, and honestly, I was a bit intimidated to start.

Getting Started
First things first, I cleared out the entire space. This was probably the most annoying part, just moving all the old junk and making sure I had a completely empty area to work with. Then, I thoroughly cleaned the subfloor. It had to be spotless – no dust, no debris, nothing. A clean subfloor is super important for a good, level install.
Laying Down the Battens
Next up were the battens. These are basically the wooden strips that the flooring attaches to. I carefully measured and marked where each batten needed to go, making sure they were evenly spaced. This part took some patience, getting the spacing just right is key for a stable, even court.
I used a pretty heavy-duty construction adhesive to glue the battens down to the subfloor. Then, I went back and secured them with screws, just to be extra sure they wouldn’t budge. I didn’t want any movement or shifting later on.
Installing the Flooring
Now for the main event – the soft maple flooring itself! I started at one wall and worked my way across the room, laying down each piece of flooring and locking it into place with the tongue-and-groove system. It’s kind of like a giant puzzle, making sure everything fits snugly.
- Used a rubber mallet to gently tap the pieces together, making sure there were no gaps.
- Made sure to stagger the seams, you know, so it looks like a proper floor and not just a bunch of straight lines.
- Checked for levelness constantly. I used a long level and made small adjustments as I went.
The edges were a bit tricky. I had to cut some of the flooring pieces to fit around the perimeter of the room. I used a circular saw for the straight cuts and a jigsaw for any weird angles.
Finishing Touches
Once all the flooring was down, I gave it a good sanding. Started with a coarser grit and then moved to a finer grit to get it super smooth. After sanding, I vacuumed up all the dust and then applied a couple of coats of sealant. This is important to protect the wood and give it that nice, finished look.
And that’s it! It was a lot of work, but seeing the finished court makes it all worthwhile. I’m pretty proud for make it!


