
Okay, here’s my blog post about installing that batten basketball hard maple assembled wooden flooring:
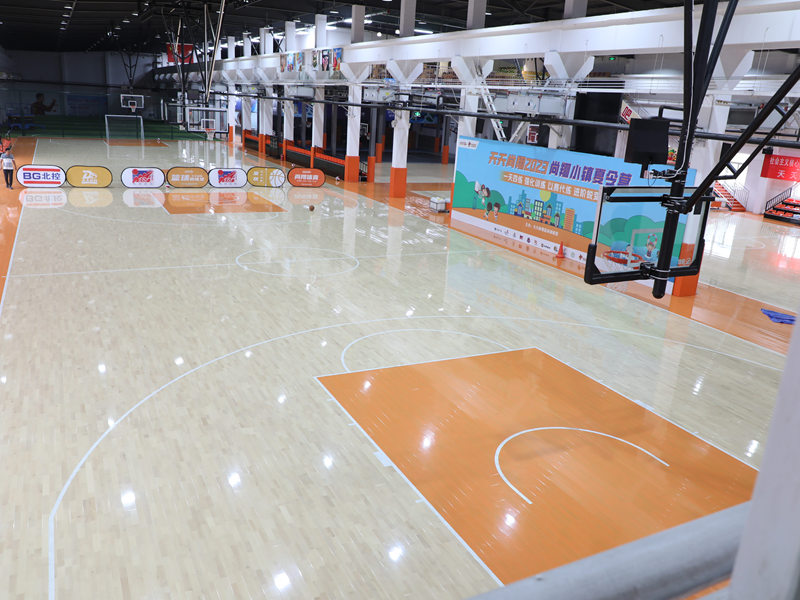
Alright, folks, gather ’round! Today, I’m gonna tell you about my little adventure with this hard maple flooring I put in. It’s the “batten basketball” kind, which basically means it’s got these strips underneath to give it some bounce. Sounds fancy, right? Well, let me tell you, it was a bit of a project.
Getting Started
>
First things first, I had to get the old flooring outta there. This was a pain, I pulled up the old stuff. Took me a good while, and my back was NOT happy about it, I can promise you that.
Next, I had the subfloor. It needed to be pretty much perfect – level, clean, the whole nine yards. So, I grabbed my level, and went to town. Found a few dips and bumps, so I used some of that self-leveling stuff to smooth things out. Messy, but it did the trick.
Laying Down the Battens
>
Then came the battens. These are those wooden strips that go underneath the main floor, I mentioned. They’re supposed to give the floor that “springy” feel. Laying these out was like a giant puzzle. I had to make sure they were spaced just right, and all going in the same direction.
- Checked spacing using ruler.
- Made sure all facing in the same direction.
Putting the Floor Together
>
Now for the fun part – the actual floorboards! These were hard maple, pre-assembled into panels, which made things a little easier. Still, it was a bit of a workout. I started along one wall, clicking the panels together. “Clicking” is the nice way to put it. Sometimes it was more like “hammering and praying they don’t break.”
I used a rubber mallet, a tapping block, and a whole lot of patience. Gotta make sure those seams are tight, or you’ll end up with gaps. And nobody wants a gappy floor, especially not on a basketball court!
Finishing Touches
>
Once all the panels were down, I had to put in the trim around the edges. This covered up the expansion gap (you gotta leave a little space for the wood to move with the weather). I used a miter saw to cut the trim at the right angles, which was kinda tricky, but I got it done.
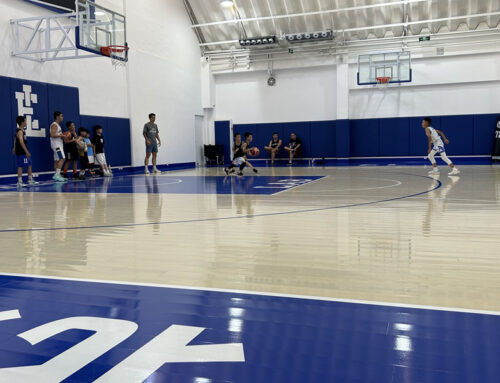
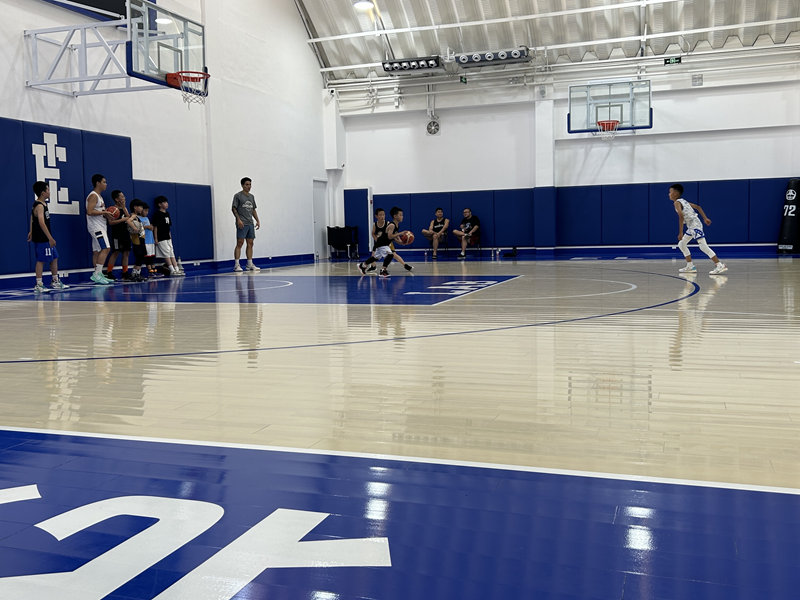
Finally, I gave the whole floor a good cleaning. Got rid of all the sawdust and footprints. And there it was, my brand-new, shiny, bouncy hard maple floor!
It was a heck of a job, I’m not gonna lie. My knees were screaming, my back was aching, and I went through a whole box of bandages. But seeing the finished product? Totally worth it. Now I can shoot some hoops in style, or, you know, just admire my handiwork. Either way, I’m pretty proud of myself. And hey, if I can do it, you probably can too! Just be prepared for some serious sweat equity.


