
So, I’ve been wanting to upgrade my home basketball court for a while. The old concrete slab was cracked and uneven, not exactly ideal for a decent game. I did some digging around and stumbled upon LVL (Laminated Veneer Lumber) basketball sleeper systems. Sounded promising, and more importantly, something I could potentially DIY.
Getting Started
First things first, I measured the area I wanted to cover. Gotta know how much material to order, right? Then came the slightly intimidating part – ordering the LVL beams and the plywood. Thankfully, the supplier I found was super helpful. We chatted about the project, and they even helped me calculate the right amount of everything, including the sleepers and cushioning pads.
The Build
Once the materials arrived, it was go-time! I started by clearing the old concrete area. This was probably the most physically demanding part. Took a whole weekend of sweating and hauling debris. Then I leveled the area with some crushed stone and compacted it down. A nice, even base is key, I learned.
Next up, I laid out the LVL sleepers according to the plan I’d sketched out. These things are heavy! I definitely recommend having a friend or two help with this stage. We spaced them out evenly, making sure everything was level and square. Took some time and patience, lots of checking and double-checking with a spirit level.
Then came the cushioning pads. These went between the sleepers and the concrete, to help absorb shock and give the floor some bounce. I just stuck them down with some construction adhesive. Pretty straightforward.
Finally, it was time for the plywood. We laid the sheets down over the sleepers, staggering the joints for extra strength. This part was actually pretty satisfying. You could really start to see the court taking shape. We screwed the plywood down to the sleepers, making sure everything was nice and secure.
Finishing Up
After the plywood was down, I filled in any gaps and screw holes with wood filler. Once that dried, I sanded the whole surface smooth. You don’t want any splinters ruining your game!
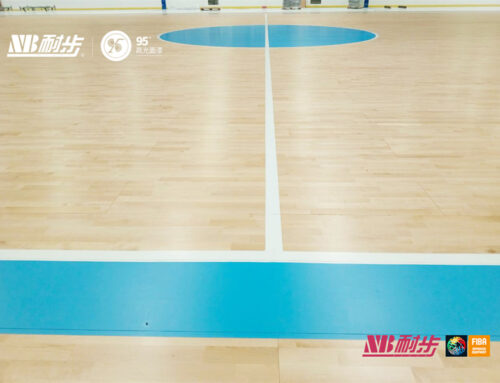
The very last thing to be done was adding multiple layers of finish.
The Result
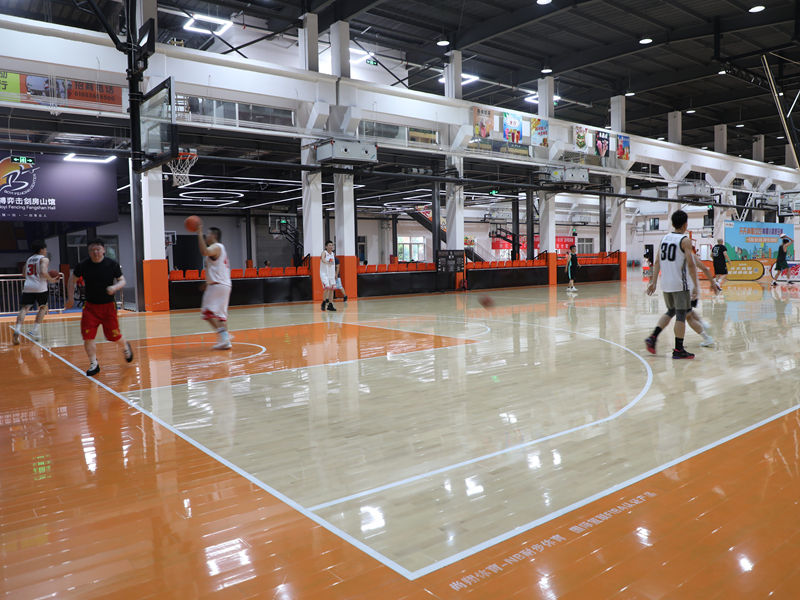
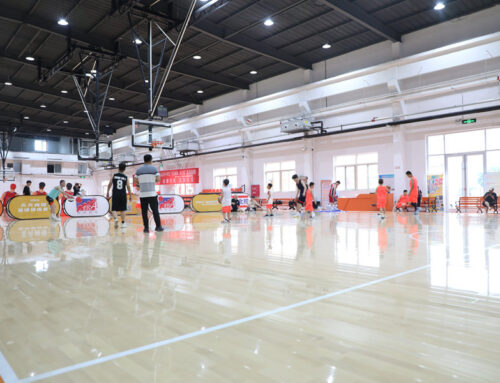
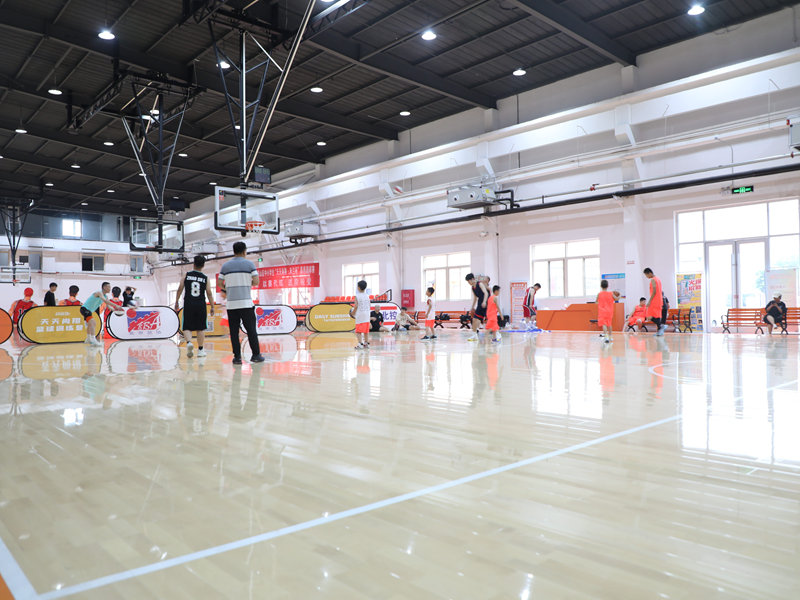
Honestly, it turned out way better than I expected! The floor feels solid and responsive. It’s got a good bounce, and it’s way easier on the joints than the old concrete. It was a lot of work, no doubt, but totally worth it. Now I’ve got a proper court to shoot some hoops on, right in my backyard. Pretty sweet!
And If I can pull this off, anyone can do it too!


