
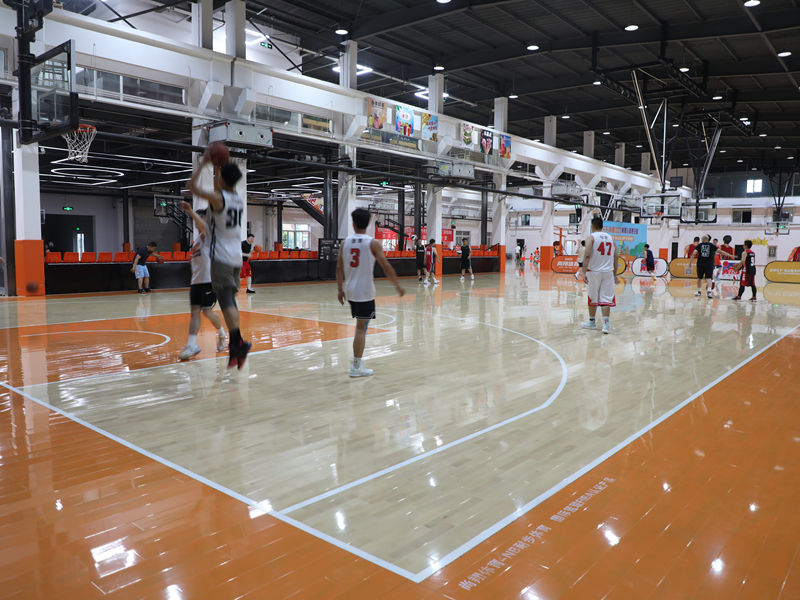
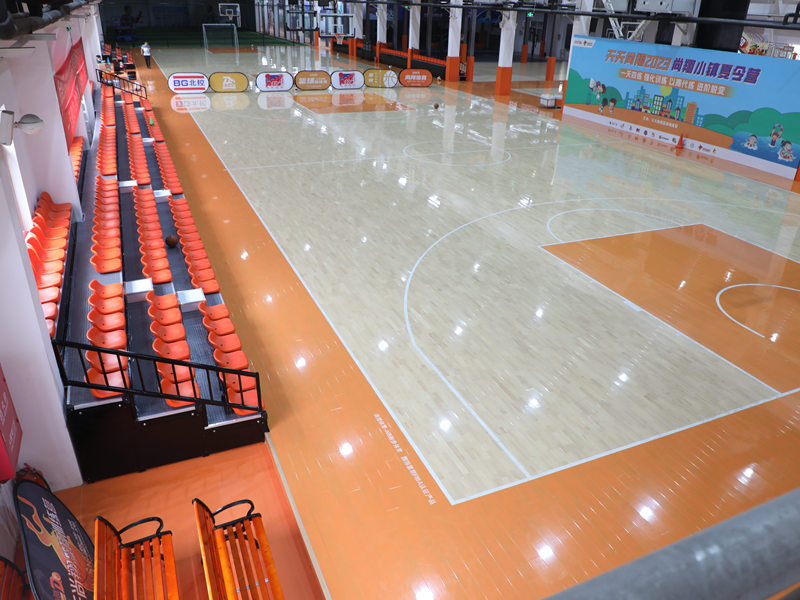
Okay, so I’ve been wanting to mess around with keel basketball court flooring for a while, specifically the soft maple kind. It just looks so classic, you know? So, I finally decided to take the plunge.
Getting Started
First thing I did was clear out the space. It was a total mess before, just junk piled everywhere. I had to move a bunch of old boxes, some broken furniture, and a whole lot of dust bunnies. Let me tell you, that was a workout in itself!
Prepping the Subfloor
Next up was the subfloor. This is, like, super important, because if it’s not level, the whole floor is gonna be wonky. I spent a good amount of time checking for any dips or bumps. Used a long level for this, back and forth, back and forth, until i made sure the floor is totally flat.
- Found a few low spots, so I had to grab some self-leveling compound to fill those in.
- Waited for that to dry completely which is boring, very boring.
- Then gave it a good sanding to make sure everything was smooth.
Laying Down the Keel
Now for the actual keel! This part was kind of tricky. I had these long pieces of metal, and I had to make sure they were spaced out perfectly. I followed the instructions that came with the flooring, but man, it took some patience. I used a measuring tape, a pencil, and a whole lot of double-checking.
- Screwed the keel down to the subfloor, making sure everything was secure. That was actually kinda fun, using the power drill. Felt like a real construction worker.
Installing the Maple
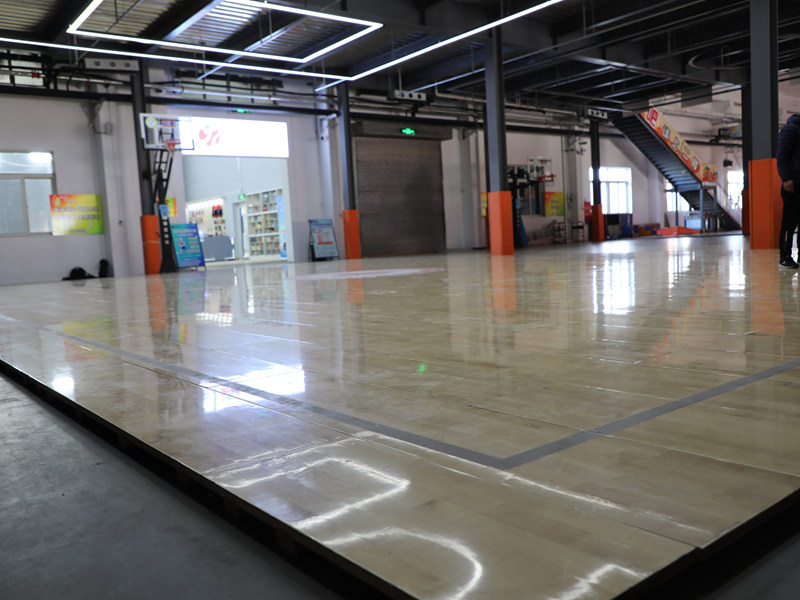
Finally, time for the pretty part – the soft maple! This was satisfying. Each piece had this tongue and groove thing, so they just clicked together. It was like a giant puzzle.
- I started in one corner and just worked my way across the room.
- Used a rubber mallet to tap the pieces together nice and tight.
- Had to cut a few pieces at the end to fit against the walls. Used a circular saw for that, which was a little nerve-wracking, but I managed.
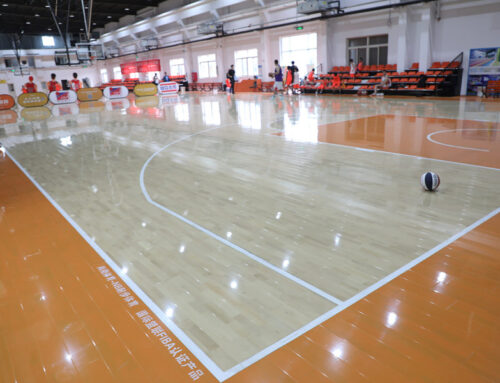
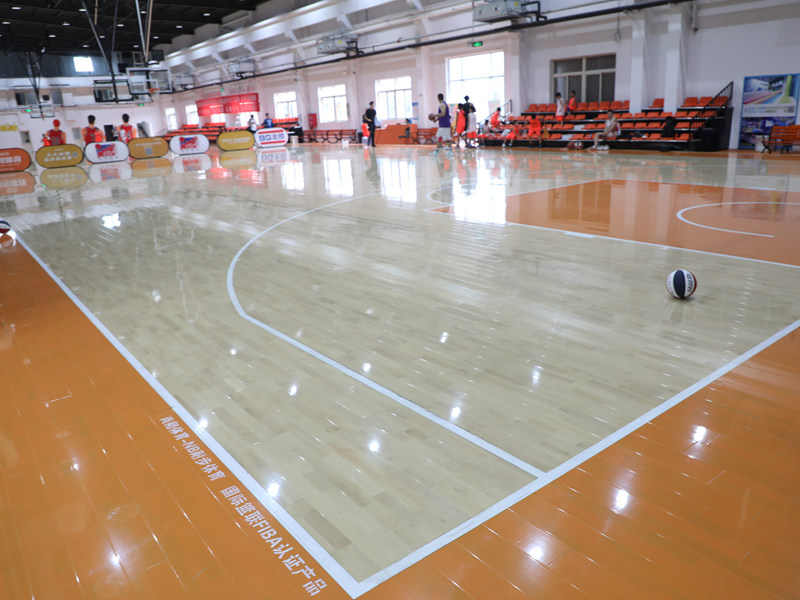
The Finish Line
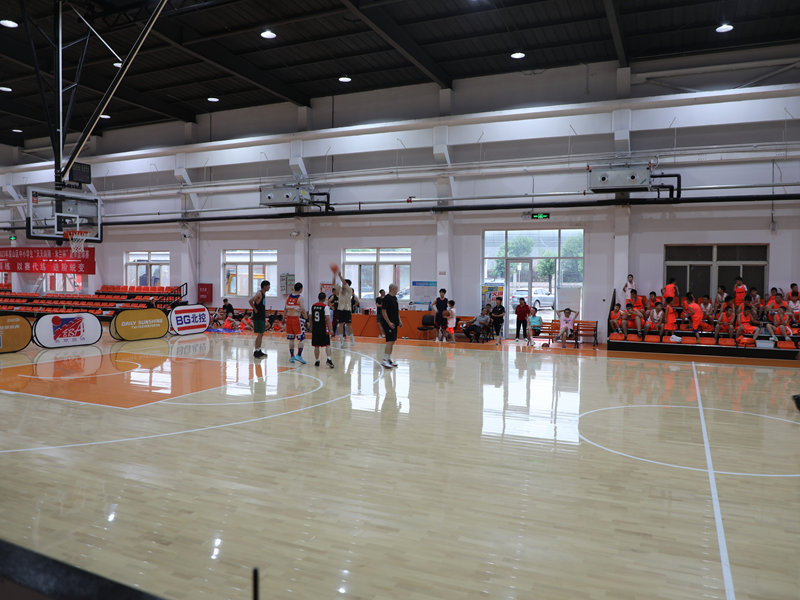
After all the maple was down, I gave it a good sweeping and cleaning. It looked amazing! All that hard work, and it finally paid off. I’m thinking about adding a finish to protect it, but for now, I’m just admiring my handiwork. Maybe I’ll even shoot some hoops on it later!


