
Okay, guys, let’s dive into this project I tackled: putting together a rubber volleyball oak assembled wooden floor. Sounds fancy, right? It kinda was, but mostly it was just a lot of work.
First things first, I cleared out the room. Everything had to go. Furniture, rugs, that weird collection of bottle caps my kid keeps… all of it. This gave me a blank canvas to work with, and let me tell you, seeing that empty space was both exciting and terrifying.

Next up, I had to prep the subfloor. This was a concrete slab, and thankfully, it was already pretty level. I just gave it a good sweep and made sure there weren’t any major cracks or bumps. If there had been, I would’ve had to use some self-leveling compound, but I dodged that bullet!
The Materials
- Rubber Volleyballs: Yep, actual volleyballs. I sliced them in half – that was a workout in itself!
- Oak Flooring Planks: These were pre-assembled, tongue-and-groove style, which made things a lot easier.
- Construction Adhesive: This stuff is seriously sticky. I went through a ton of it.
- Wood Filler: For filling in any gaps and making things look smooth.
- Polyurethane Sealant:To protect all of it.
So, the idea was to use the halved volleyballs as a kind of cushioning layer under the wood. I started by gluing down the volleyball halves, rubber side down, onto the concrete. I arranged them in a staggered pattern, making sure they were packed pretty tightly together. This part was messy, and I definitely got adhesive all over my hands (and maybe a little on my shirt… oops).
Once the volleyball layer was down and the adhesive had dried (I gave it a full 24 hours, just to be safe), I started laying the oak planks. The tongue-and-groove system was pretty straightforward. You just fit the pieces together, making sure the edges were snug. I used a rubber mallet to tap them into place gently. I started at one wall and worked my way across the room, row by row.
It is a importment part!Cutting the planks to fit around the edges of the room and doorways was a bit tricky. I used a jigsaw for this, and let’s just say I made a few… ahem… “creative” cuts. Luckily, wood filler is a lifesaver!
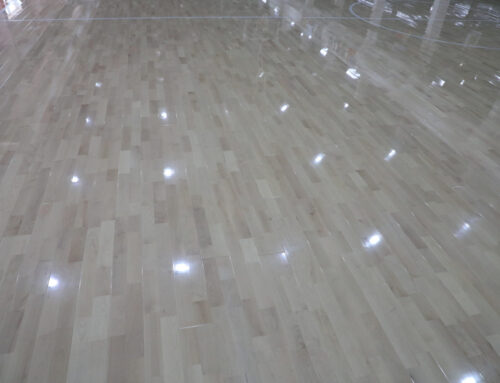
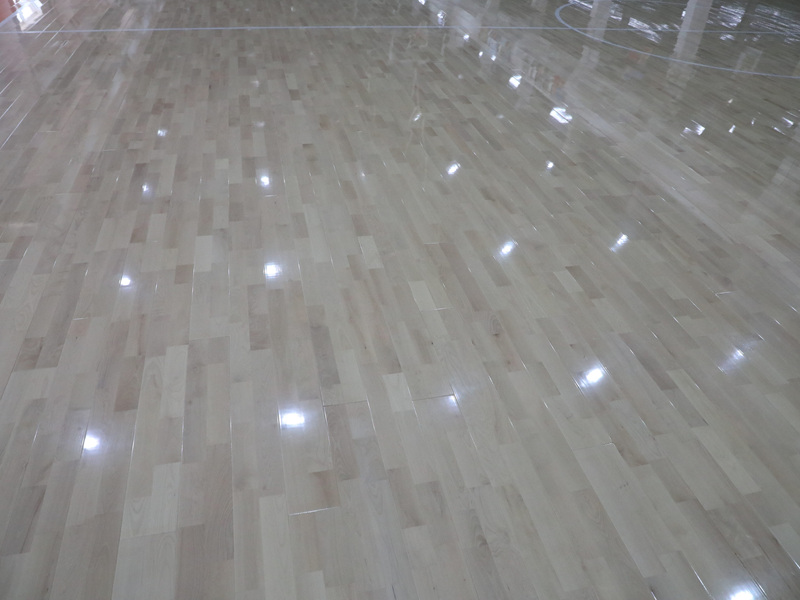
After all the planks were down, I filled in any gaps with wood filler and let that dry. Then came the sanding. I rented a big floor sander for this – it was loud and dusty, but it got the job done. I sanded the whole floor until it was smooth and even.
Finally, I applied several coats of polyurethane sealant. This was to protect the wood and give it a nice, finished look. I waited for each coat to dry completely before applying the next one. This part took a while, but it was worth it.
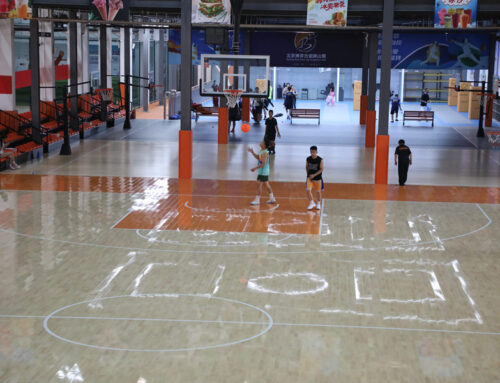
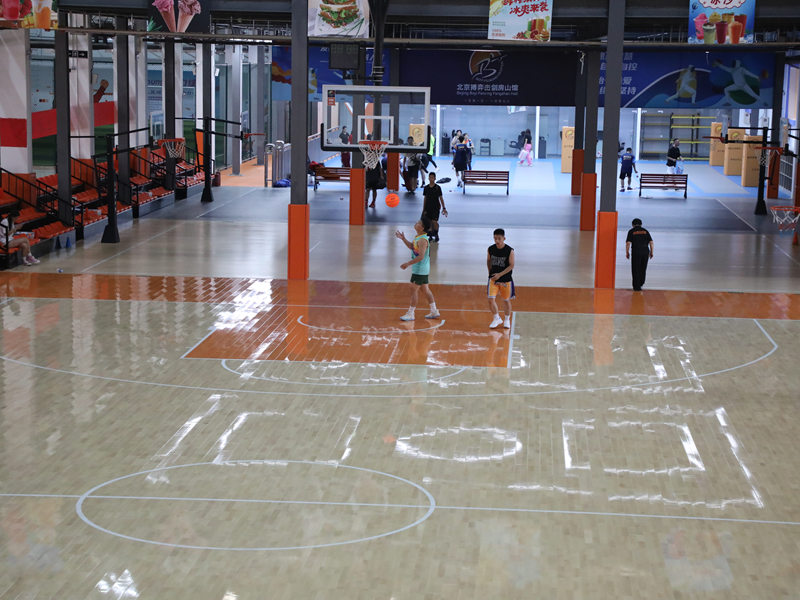
The finished product? A surprisingly bouncy, pretty unique-looking wooden floor! It’s definitely a conversation starter, and it’s actually really comfortable to walk on. Would I do it again? Maybe… but I’d probably recruit some help next time! It was a fun project, but man, was it a lot of work.


