
Okay, so I’ve been wanting to redo my floors for, like, forever. And I finally decided to go for it! I saw this “rubber dancing birch assembled wooden flooring” and thought, “That’s the one!” It just looked so cool and unique.
Getting Started
First things first, I had to rip out my old, gross carpet. That was a workout! Seriously, pulling up all that old padding and tack strips… ugh. But, it had to be done.
Prepping the Subfloor
After the carpet was gone, I had to make sure the subfloor was super clean and level. I swept, vacuumed, the whole deal. Any little bumps or dips can mess up the new floor, so I spent a good chunk of time making sure it was perfect.I even used a leveler in some spots that were a bit uneven.
Laying the Floor
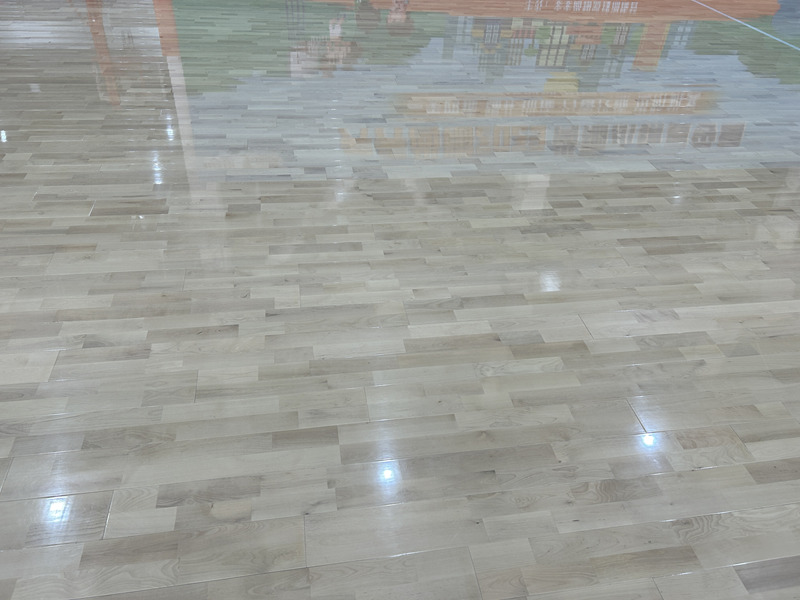
Now for the fun part! I started laying out the flooring planks. This “assembled” part was key – it meant the pieces already had that cool, like, interwoven look. It wasn’t just straight planks.
- Row 1: This was the trickiest. I made sure to leave a little gap along the wall for expansion. (I learned that the hard way once… don’t skip that step!)
- Clicking it Together:The planks had this click-lock system, which was pretty satisfying. You just line them up and click, they’re connected.
- Cutting Pieces:I borrowed my neighbor’s saw to cut the planks to fit at the ends of the rows. Measure twice, cut once, right?
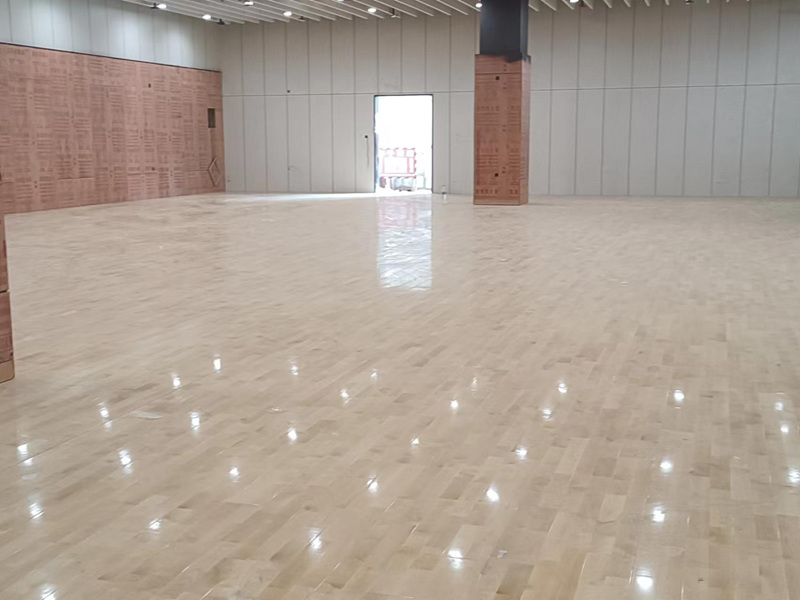
I kept going, row by row, making sure everything was nice and tight. The “rubber dancing birch” pattern started to emerge, and it looked awesome!It had this kinda wavy, natural look to it.
Finishing Touches
Once all the flooring was down, I installed some baseboards to cover up those expansion gaps and give it a finished * a good sweep and mop, stand back, and take photos, which is pretty cool.
Honestly, it was a lot of work, but so worth it. My new floor looks amazing, and I did it all myself! Feeling pretty proud, not gonna *,most importantly, I am very happy to share my pratical experience, even if it’s tough, and I’m willing to try.


