
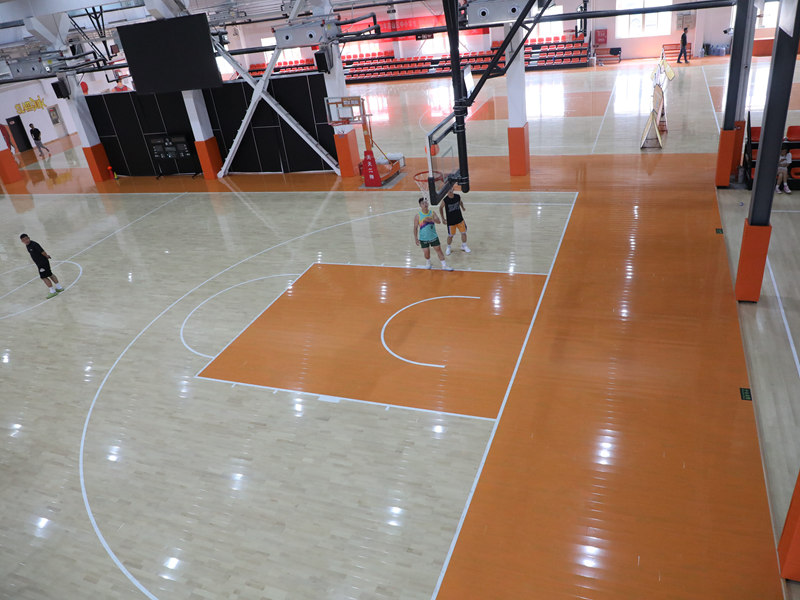
Alright, guys, let’s talk about my little project today – putting in a keel basketball court with some Larch portable wooden flooring. Sounds fancy, right? It wasn’t as bad as I thought, though definitely a bit of a workout!
Getting Started
First things first, I had to figure out the space. I measured the area about five times, ’cause, you know, measure twice, cut once…or in this case, order once and hope you don’t screw it up. I wanted to make sure I got the layout right, I drew a diagram, but it was more like a few scribbles.
The Keel System
The whole “keel” thing is basically the under-structure of the floor. Think of it like the skeleton. I chose a floating keel system because I like to try something new. Laying it out was like a giant puzzle. I started by placing the perimeter pieces, and then the main support beams. This part was a bit time-consuming, ensuring everything was level and spaced correctly. I Used a good old-fashioned level – no fancy laser stuff for me, just eyeballing it and hoping for the best.
- Placed Perimeter pieces
- Positioned main support beams
- Checked level.
Larch Flooring
Now for the actual flooring. I went with Larch because it’s supposed to be pretty tough and looks kinda nice, that’s what my friend told me. These portable panels came in, and they interlock, I spent several hours on this, working my way across the space. The main thing was to make sure each panel was snug against the next.
My back started to ache. I think I’m not getting any younger.
- Laying out the Larch panels.
- Interlocking them.
- Checking for snug fits.
Finishing Up
Once all the panels were down, It’s already looked so nice. I did a final walk-around, checking for any loose spots or unevenness. There were a couple of places where I needed to tap things in a bit more firmly, but overall, it went pretty smoothly.
In the end, I am satisfied. It’s not perfect, but for a DIY job, I reckon it’s not too bad. My kids already tried playing basketball on it and that’s great.
