
Okay, so I’ve been wanting to upgrade my backyard basketball setup for a while. I had this old, cracked concrete slab that was just… depressing. I saw some cool stuff online about portable wooden flooring, specifically this “LVL Basketball sleeper” thing, and figured, why not give it a shot? Let me tell you, it was a process!
Getting Started
First, I measured the area where I wanted the court. I wanted something big enough for some decent 3-on-3 action, but not so huge it would take over the entire yard. I jotted down the dimensions and then started researching where to even buy this LVL stuff.
It took some digging, but I finally found a local supplier that carried LVL (Laminated Veneer Lumber). I am not an expert, I will try to explain it simple, It’s basically like super-strong plywood. I explained what I was doing, and the guy there helped me figure out how much I needed, plus the sleepers (those are the support beams underneath). I loaded up my truck – it was heavier than I expected!
Building the Base
Back home, the real work began. I cleared the area, leveled the ground as best as I could (which, honestly, wasn’t perfect, but hey, it’s a backyard court!). Then, I laid down a layer of landscape fabric to keep weeds from growing through. This may be not essential.
Next, I positioned the sleepers. This was crucial – they needed to be spaced correctly to support the LVL panels. I used a measuring tape and a level constantly, making sure everything was (relatively) even. I screwed some of the sleepers together to create a solid perimeter frame.
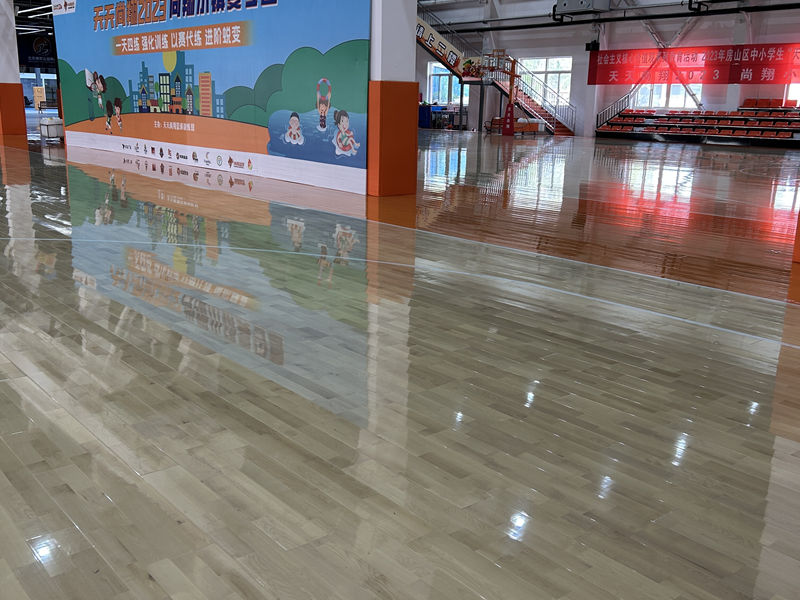
Laying the LVL
This was the satisfying part! I started laying the LVL panels on top of the sleepers. They fit together pretty well, but I did have to do some trimming with a circular saw to get them to fit perfectly around the edges. I’d recommend having a friend help with this – those panels are heavy!
Once all the panels were down, I secured them to the sleepers with screws. I used a ton of screws, probably overkill, but I wanted this thing to be solid. I didn’t want any panels popping up mid-game.
Finishing Touches
Almost there! I filled any gaps between the panels with wood filler and sanded it down smooth. Then, I applied a couple of coats of outdoor sealant to protect the wood from the elements. I even painted some lines for a free-throw line and a three-point arc – gotta have those!
The Result!
Man, it was a lot of work, but totally worth it. The court looks awesome! It’s so much better than that old concrete slab. The ball bounces nicely, and it’s just a way more inviting space to play. My kids love it, and I’ve had some epic games with my buddies.
If you’re thinking about doing something similar, I’d say go for it! Just be prepared for some hard work, and don’t be afraid to ask for help. It is very funny to do it yourself.


