
Okay, here’s my blog post about setting up that LVL Basketball portable wooden floor:
So, I finally got my hands on that LVL Basketball rubber tree portable wooden flooring. You know, the one I’ve been eyeing for ages? Yeah, that one! I was so pumped to get it installed and start hooping. Here’s how the whole thing went down.
Unboxing and First Impressions
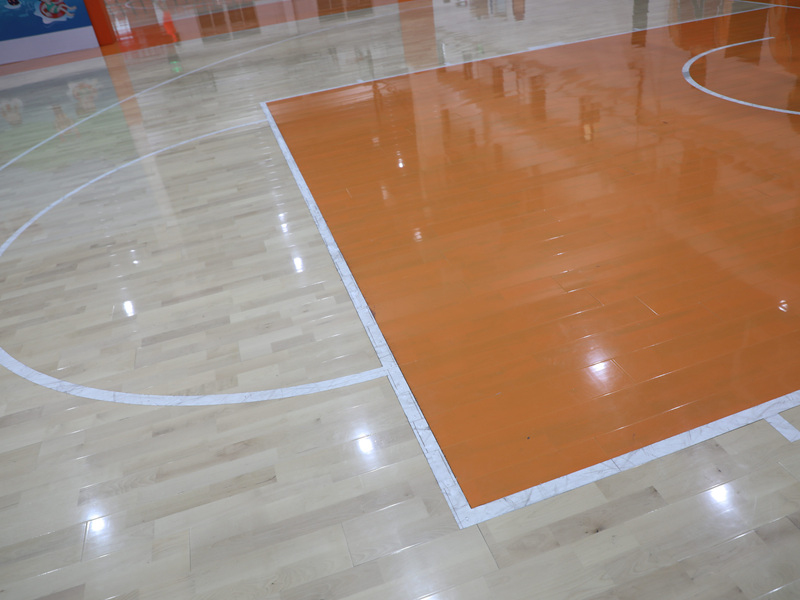
First things first, I unboxed everything. The floor came in these manageable sections, which was a relief. I was worried it would be a giant, single piece that I’d have to wrestle with. The wood itself, it looked pretty solid, a nice, light color. Smelled like fresh wood, which is always a good sign!
Laying Down the Base
Before I could get to the fun part, I had to prepare the area. My plan was to set this up in my garage, which had a regular concrete floor. I checked the instructions and started to create the base area.
Assembling the Floor
This is where it got interesting. The floor sections use this interlocking system, and let me tell you. It was a simple layout! I started in one corner and just worked my way across, snapping the pieces together. It took a little bit of effort, but it was pretty intuitive.
The Finished Product!
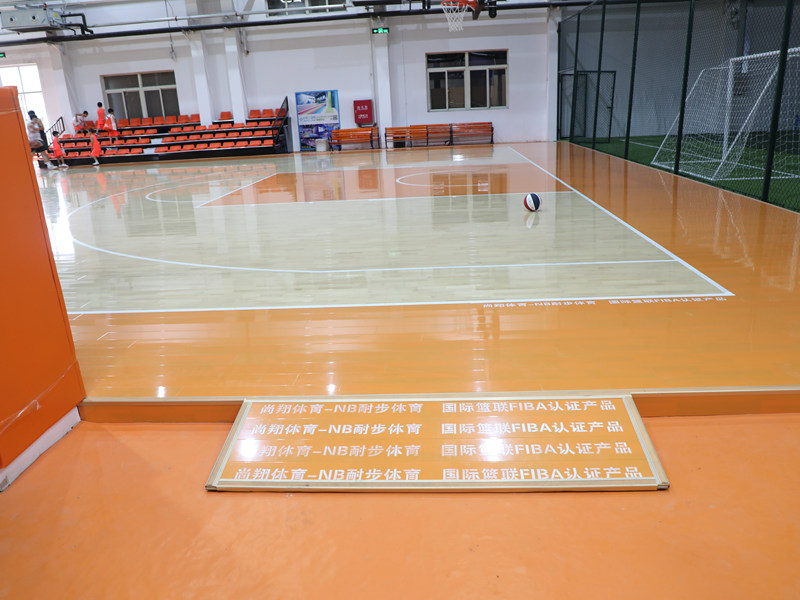
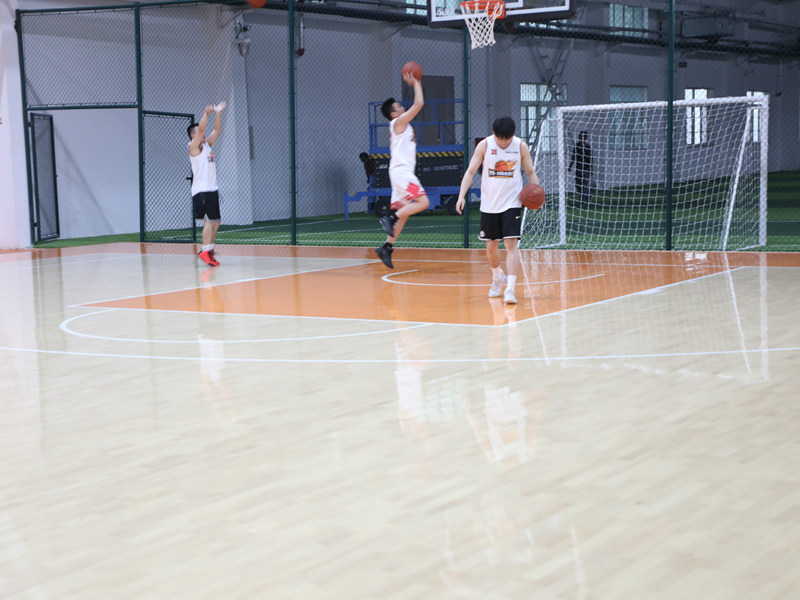
After a couple of hours of work, there it was! My very own basketball court, right there in my garage. The floor felt sturdy and looked great. I grabbed my basketball and started dribbling.
- The Bounce: The ball bounced nicely, not too high, not too low. Just right.
- The Feel: The floor felt smooth under my feet, and it had a good amount of grip.
- Overall: I’m super happy with how this turned out. It was totally worth the effort.
Now, all that’s left to do is invite some friends over for a game! I’m already picturing all the epic matches we’re going to have. This portable floor is a game-changer, literally!


