
Okay, here’s my blog post about installing that LVL dancing soft maple assembled wooden flooring:
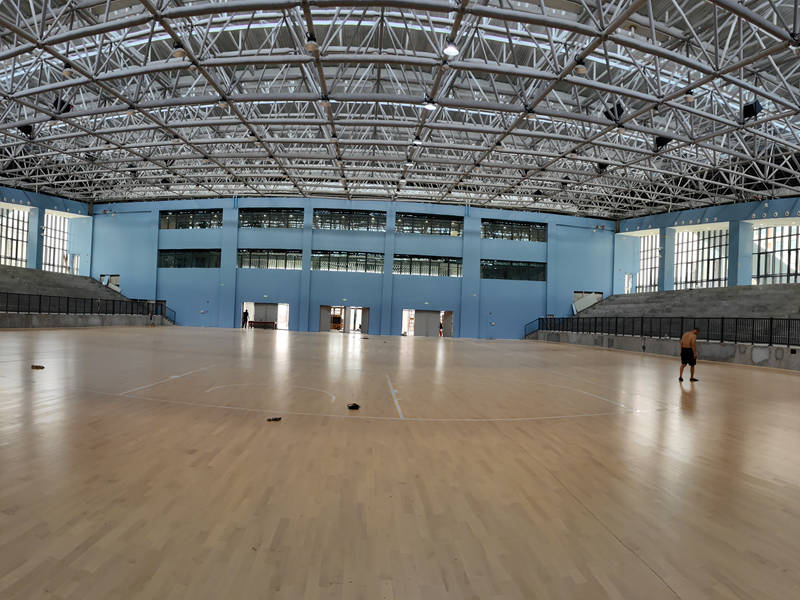
Alright, so I decided to tackle a new project – putting in some new flooring in my little studio space. I wanted something that looked good, felt good underfoot (especially since I do some dancing in there), and wouldn’t completely break the bank. After looking around, I landed on this LVL dancing soft maple assembled wooden flooring. Sounded fancy, but it was actually pretty straightforward.
Getting Started
First things first, I cleared out the entire room. Furniture, rugs, everything. Gotta have a blank canvas, you know? Then I gave the old floor a good sweeping and vacuuming. I even mopped it, just to make sure I was starting with a super clean surface. Any little bumps or debris can mess with the final result, and nobody wants a wonky floor.
Prepping the Subfloor
My subfloor is concrete, so I needed to make sure it was level. I used a long level and, sure enough, found a few dips and bumps. Nothing major, but enough to be annoying. I grabbed some self-leveling compound and followed the instructions on the bag. Basically, you mix it up, pour it on the low spots, and it magically finds its own level. Science, I guess! I let that dry completely – took about a day – before moving on.
Laying Down the Underlayment
Next up was the underlayment. This stuff is like a thin, spongy layer that goes between the concrete and the flooring. It helps with sound dampening (important for dancing!) and provides a little extra cushion. I rolled it out across the floor, making sure the edges butted up against each other. I used some tape to keep it all in place. It’s cut with a utility knife very easily.
Installing the Flooring
Now for the main event! The flooring itself came in these pre-assembled planks. They have this click-lock system, which is supposed to make installation easier. I started in one corner of the room, laying down the first plank. Then, I took the next plank, angled it slightly, and clicked it into place. It took a little bit of wiggling and jiggling, but I got the hang of it pretty quickly. It easy to lay down like puzzles.
I continued this process, row by row, across the entire room. The key is to make sure each plank is securely locked into the one next to it. I used a tapping block and a rubber mallet to gently tap the planks together, ensuring a tight fit. No gaps allowed!
- Tip: Stagger the seams! Don’t have all the ends of the planks line up in a straight line. It looks better and makes the floor stronger.
Finishing Touches
Once the main flooring was down, I installed some quarter-round molding around the edges of the room to cover the expansion gap (you need to leave a little space for the floor to expand and contract with temperature changes). I used a miter saw to cut the molding at 45-degree angles for the corners. A little bit of wood glue and some finishing nails, and it was done!
Finally, I gave the whole floor a good cleaning, and that was it! My new LVL dancing soft maple floor was ready to go. It looks fantastic, and it feels amazing to dance on. Totally worth the effort!


