
Alright, guys, so I’ve been wanting to upgrade my home basketball court for a while now. I did some digging, and it looked like LVL (Laminated Veneer Lumber) was a decent option for a sleeper system. Let me tell you, it was a bit of a project, but totally worth it.

Prepping the Space
First things first, I cleared out the old, cracked concrete slab. It was a pain, but I rented a jackhammer and got it done over a weekend. It felt great to demolish all of it。Then, I made sure the ground was pretty level. Used a shovel and some gravel to fill in any low spots. I didn’t go crazy with it, just eyeballed it to make sure there weren’t any huge dips or bumps. I compacted the soil as much as I could.
Building the Sleeper System
Next up, the LVL. I bought a bunch of 2×8 LVL beams. I laid them out across the area, spacing them about 16 inches apart. This is where a friend came in handy – holding those things in place while I checked for level was way easier with two people.
I used construction adhesive and some heavy-duty screws to secure the sleepers to each other. I basically created a big, flat grid. I’m no carpenter, so it wasn’t perfect, but it was solid.
Adding the Plywood
Once the sleeper grid was done, I started laying down the plywood. I went with 3/4-inch tongue-and-groove plywood. It was a bit more expensive, but I figured it would be more stable. This part was actually pretty satisfying. Screwing the plywood into the LVL was straightforward, just took some time.
The Finished Product(Almost)
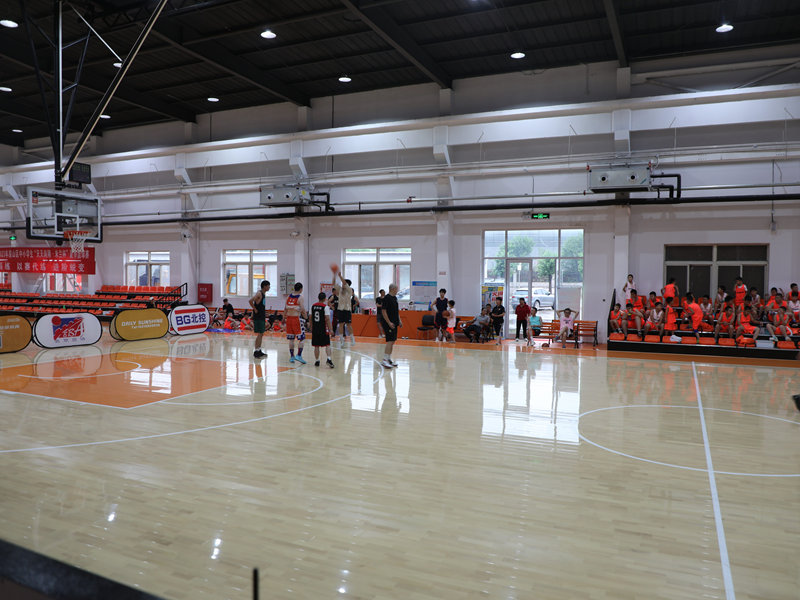
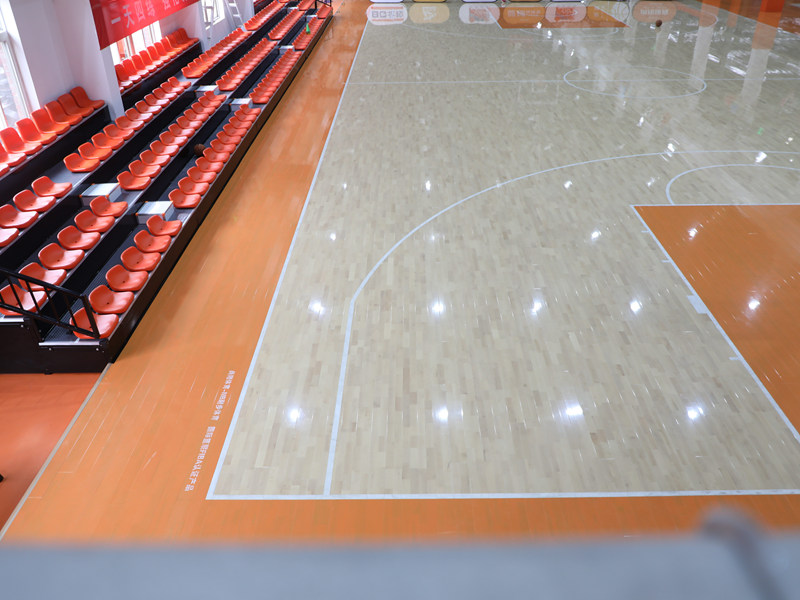
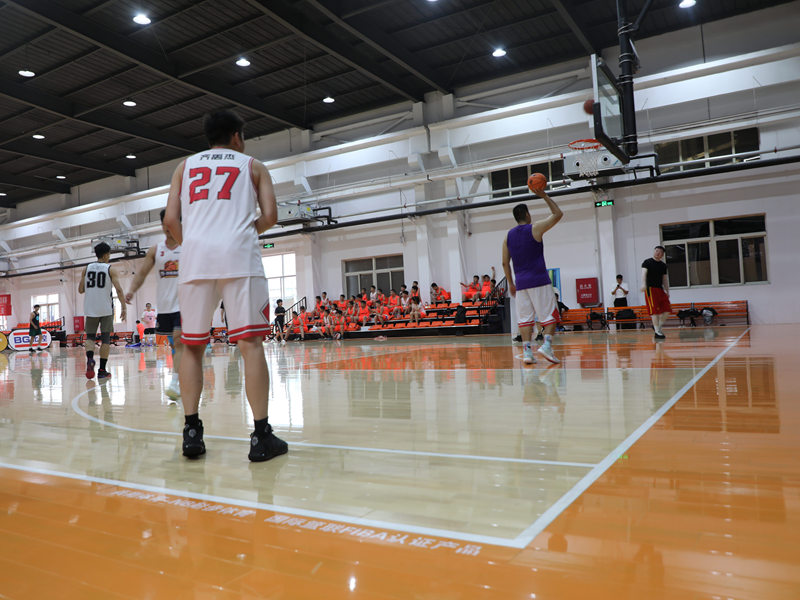
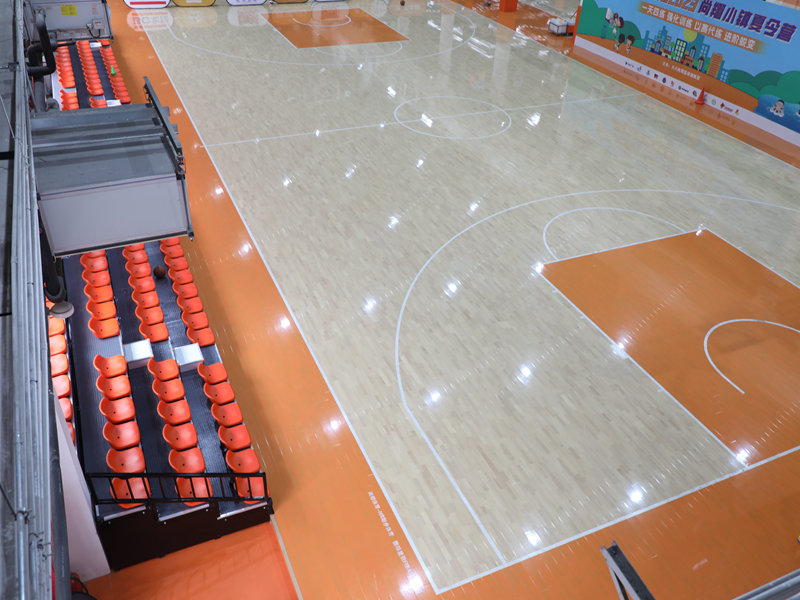
After all the plywood was down, I had a pretty sweet-looking wooden floor! I still need to sand it down and put a finish on it, maybe even paint some lines. But honestly, just seeing it all come together was awesome.
It’s sturdy, it’s level (enough!), and it’s going to be so much better than that old cracked concrete.
It took few weekends, but I finally got the basketball flooring to be installed. Yeah!


