
Okay, here’s my attempt at writing a blog post in the style you requested, focusing on the “laminate Basketball parquet portable wooden flooring” topic:
Alright, guys, so I’ve been wanting to level up my backyard basketball game for a while now. I was sick of playing on cracked concrete. Seriously, it was killing my knees (and my pride, when I’d trip!). I started looking into options, and this whole “portable wooden flooring” thing caught my eye. It seemed… ambitious, but also kinda cool.
The Hunt Begins
First, I had to figure out what the heck I even needed. I spent a good few evenings just scrolling through options, and feeling totally lost. “Laminate”? “Parquet”? It was all gibberish. I felt really confused at the time.
Eventually, I narrowed it down to something that looked like interlocking tiles – seemed easy enough, right?
Getting My Hands Dirty (Literally)
The boxes arrived, and man, were they heavy! I roped my buddy, Mark, into helping me – pizza and beer were promised, naturally. We cleared the area in the backyard, which involved moving a bunch of old flower pots and dodging the kids’ toys. Good times.
We started laying out the tiles, and at first, it was a disaster. We couldn’t get them to click together properly. Mark was getting frustrated, I was sweating like crazy, and we were both starting to think this whole thing was a huge mistake. After wasting a good hour. I realized that I should read the instructions carefully.
Then, I – and I’m not ashamed to admit this – actually READ THE INSTRUCTIONS. Turns out, there’s a specific way you have to angle them to get them to lock. Who knew?
Finally Making Progress
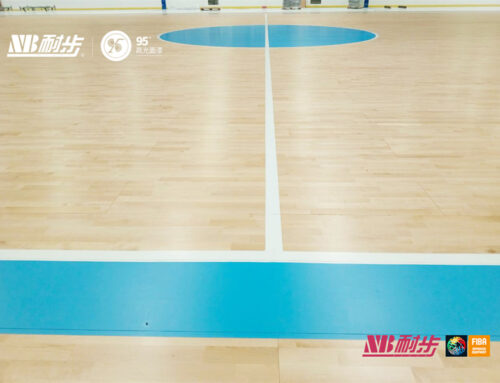
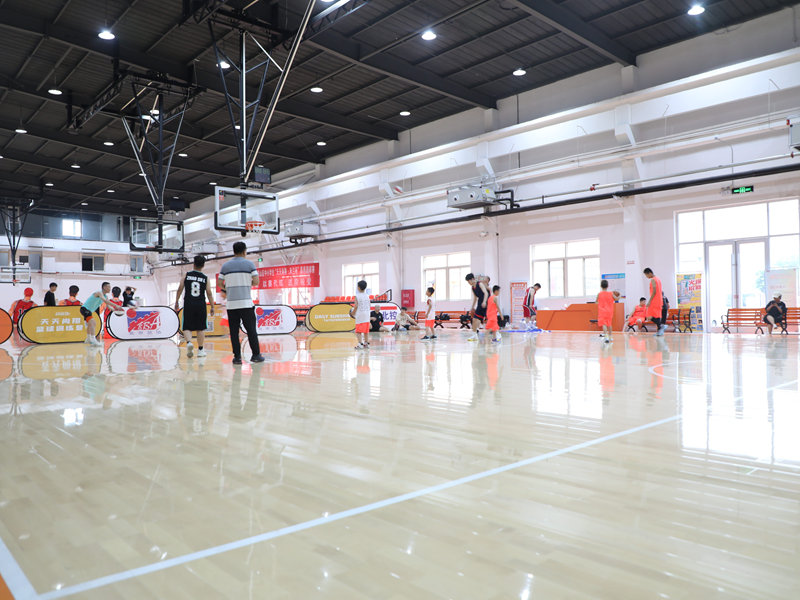
Once we figured out the “click” trick, things went a LOT smoother. We got into a rhythm – me laying them out, Mark stomping on them (his favorite part, obviously). It actually started to look like a basketball court! A small one, sure, but still… a court!
- Lay out the base: Make sure your ground is as level as you can. We put down a tarp first, just to be extra careful.
- Click and lock: This is the key! Don’t force it, or you’ll break the tiles. It’s all about the angle.
- Stomp it down: Once they’re clicked, give ’em a good stomp to make sure they’re secure.
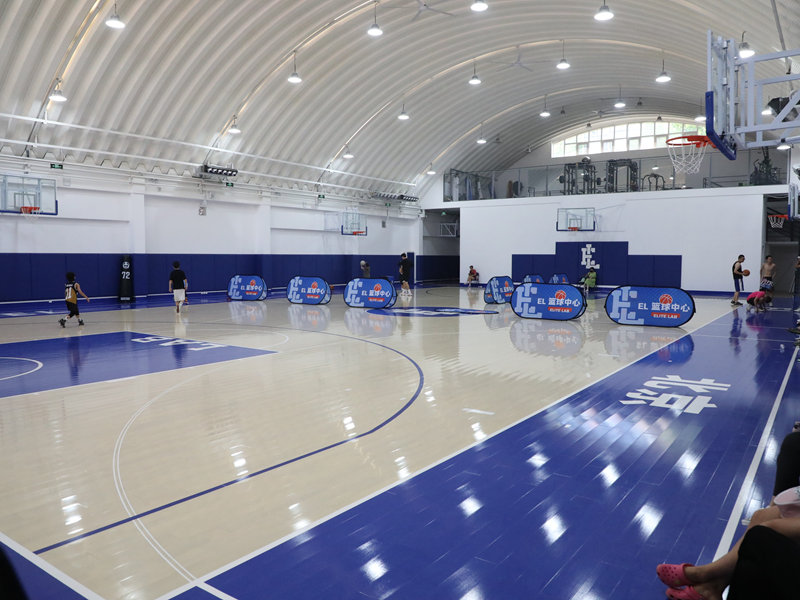
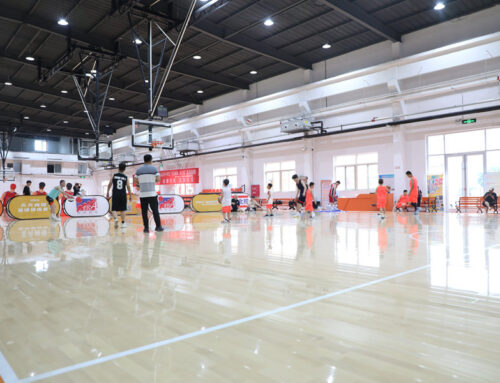
The Big Reveal (and the Test Run)
It took us the better part of a day, but we finally finished. And honestly? It looked pretty awesome. We grabbed a basketball and started shooting around. The bounce was SO much better than the concrete. My knees felt… well, they still hurt a little, but that’s probably just because I’m old.
The real test will be seeing how it holds up to the weather and the kids’ constant abuse. But for now, I’m calling it a win. My backyard basketball game has officially been upgraded!


