
Okay, here’s my blog post about assembling a solid wooden floor, told from my personal experience:
Alright, folks, so I decided to tackle a project I’ve been putting off for ages – installing a solid wooden floor in my spare room. I’d watched a few videos, figured, “How hard can it be?” Let me tell you, it’s a bit more involved than slapping down some laminate!

Prepping the Subfloor
First things first, I cleared out the entire room. Everything had to go. Then came the fun part (not really) – prepping the subfloor. My old floor was covered in this ancient, nasty carpet. I ripped that sucker out, along with all the staples and padding underneath. It was dusty, messy, and my back was already complaining.
Once the carpet was gone, I discovered the subfloor was concrete. It was mostly level, but there were a few dips and bumps. I used a self-leveling compound to smooth things out. I poured it on, spread it around with a trowel, and let it dry overnight. It looked pretty good in the morning, all smooth and even.
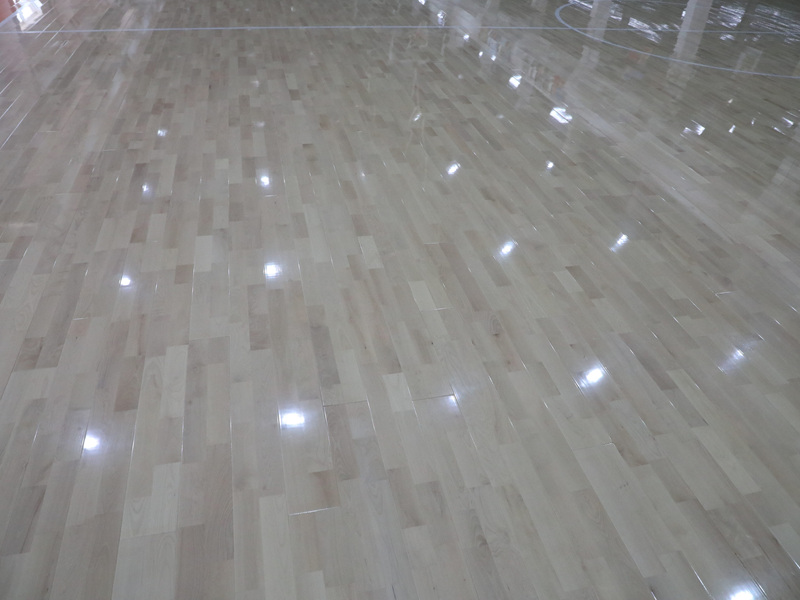
Getting the Wood Ready
Next up, the wood! I’d ordered solid oak flooring. I choosed to not buy the rubber volleyball. It arrived in these long planks, and the delivery guy just dumped them in my garage. I carried the heavy box one by one.
I let the wood acclimate to the room’s temperature and humidity for a few days. Apparently, this helps prevent warping and cracking later on. Patience is not my strong suit, but I managed to wait.
Laying the First Few Rows
Okay, time to actually start laying the floor! I started along the longest wall, leaving a small expansion gap between the wood and the wall. I used spacers to make sure the gap was consistent. This is important because wood expands and contracts with changes in temperature and humidity.
The first few rows were the trickiest. I used a mallet and a tapping block to gently tap the planks together. I also used a pull bar to tighten the planks at the ends of the rows. It was slow going, and I definitely made a few mistakes. But I learned as I went, and eventually, I got the hang of it.
The Rest of the Floor
Once I had the first few rows down, things got a little easier. I got into a rhythm, tapping the planks together, making sure everything was tight and aligned. I used a miter saw to cut the planks to fit around doorways and corners. That was a bit intimidating at first, but I took my time and managed not to chop off any fingers.
It took me a couple of full days, but I finally got the entire floor laid. It wasn’t perfect, but it looked pretty darn good! I was exhausted, my back was killing me, but I was also super proud of myself.
Finishing Touches
Last step was to install a new floor. I added it to the walls and door frames. The installation was easy.
And that’s it! My new solid wooden floor. It was a lot of work, but totally worth it. The room looks amazing, and I learned a ton in the process. Would I do it again? Maybe. But I’d definitely invest in some better knee pads next time!


